
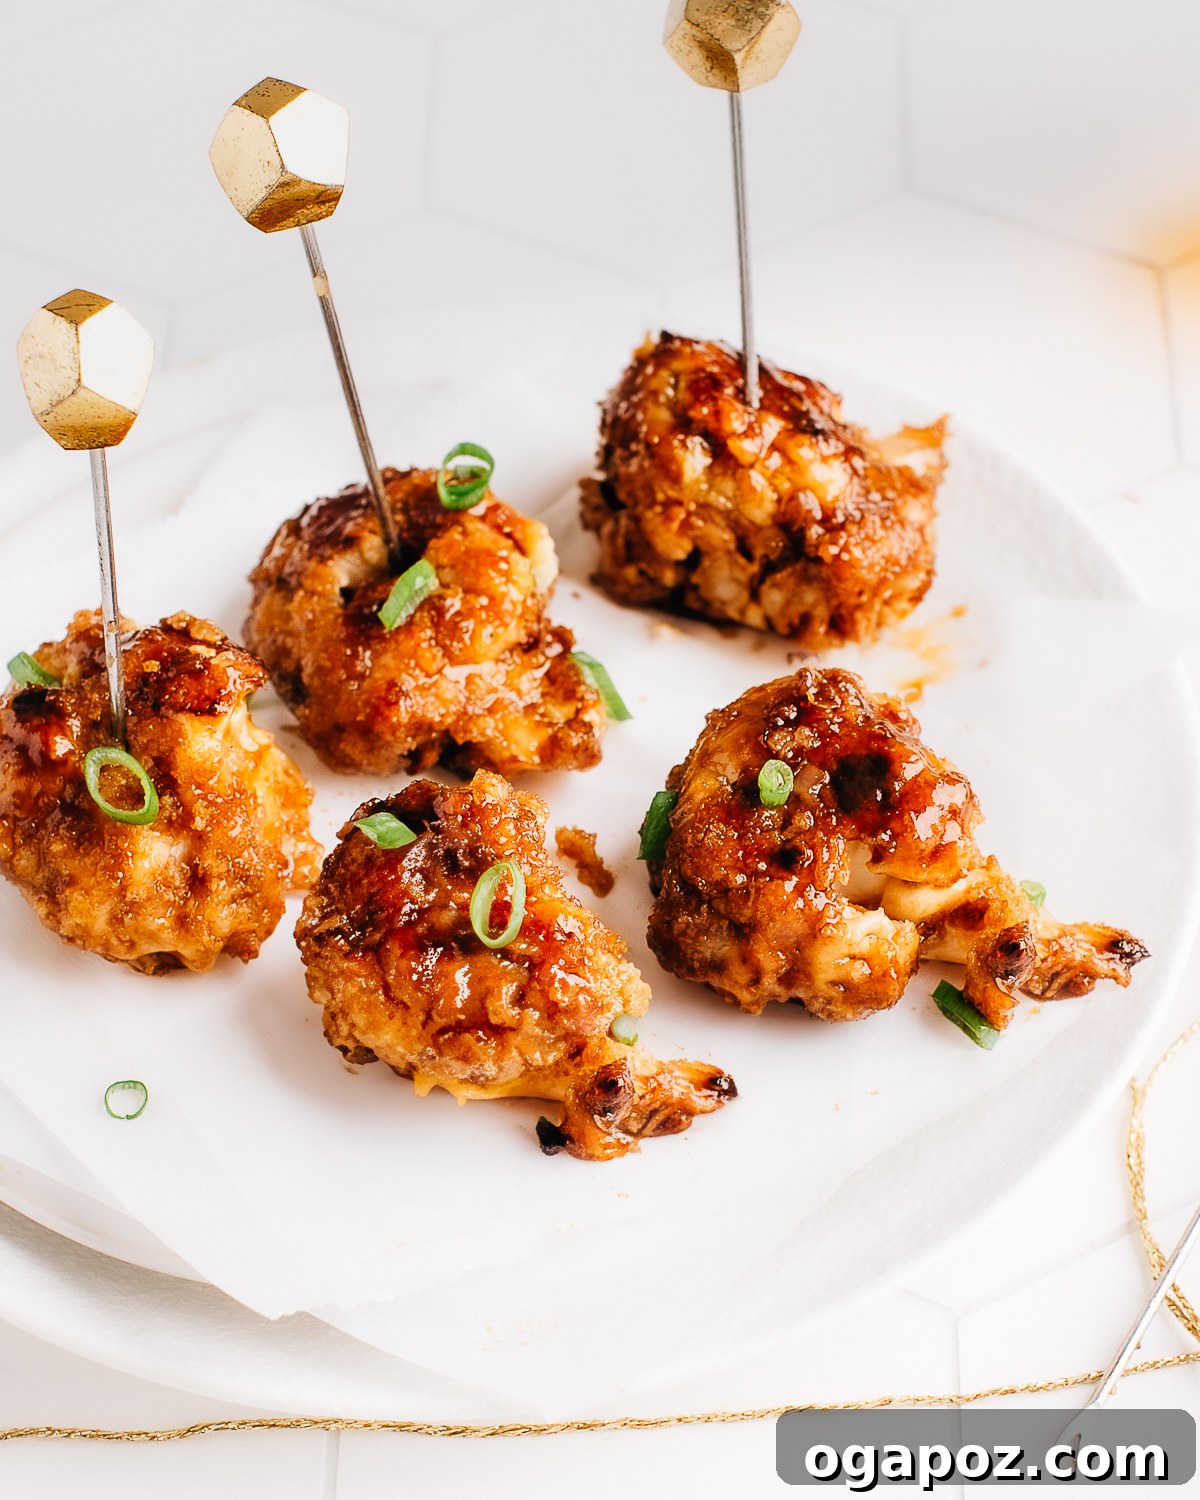
Prepare to be amazed by these incredibly **Crispy Cauliflower Wings**, delivering a satisfying crunch with every bite. Crafted with a simple yet effective batter and a golden-brown coating, these veggie marvels are so flavorful, they consistently win over even the most ardent meat enthusiasts. If you’re searching for a plant-based appetizer that doesn’t compromise on taste or texture, look no further.
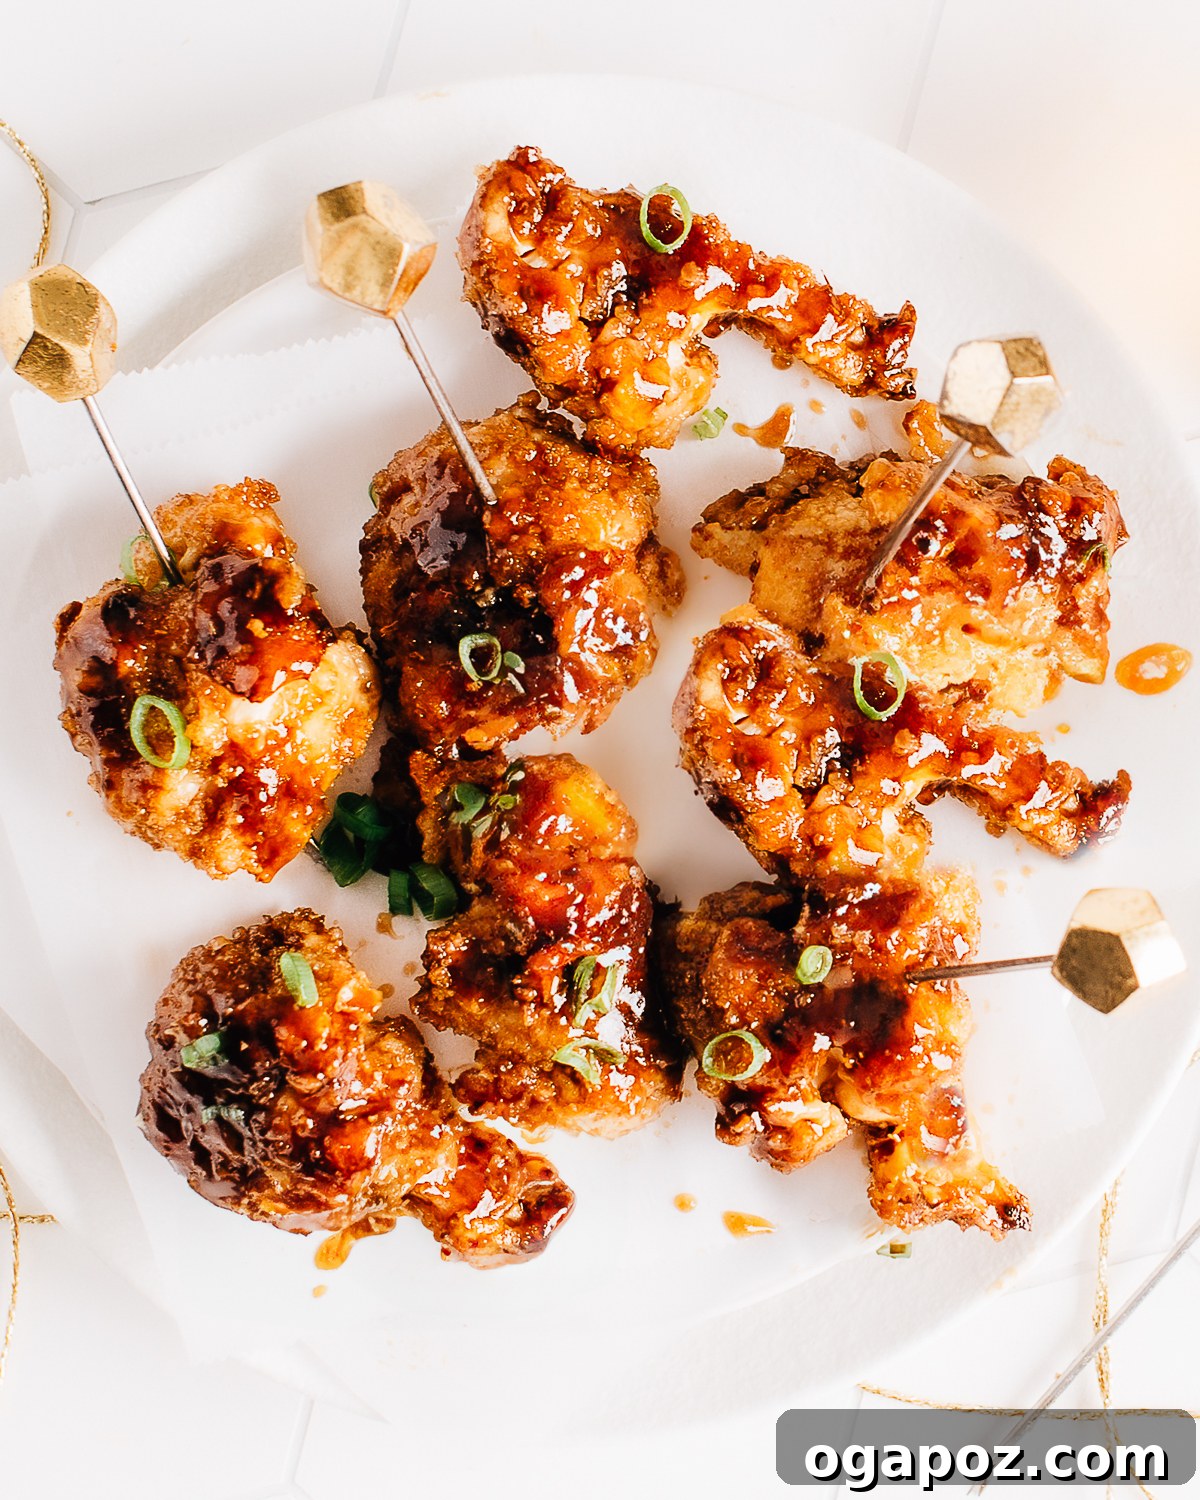
My culinary journey has led me to a profound appreciation for making cauliflower wings. While I undeniably relish classic chicken wings—whether grilled, baked, or fried—I’ve discovered that there’s simply no more delicious or exciting way to enjoy cauliflower than transforming it into these irresistible “wings.” They offer a fantastic alternative, packed with flavor and a texture that mimics their meaty counterparts, making them an ideal choice for healthy eating, vegetarian diets, or simply adding more vegetables to your plate without feeling like you’re sacrificing anything.
Essential Ingredients for Perfect Cauliflower Wings
Creating mouth-watering cauliflower wings starts with a selection of fresh, high-quality ingredients. Here’s a breakdown of what you’ll need to achieve that desired crispy texture and rich flavor profile:
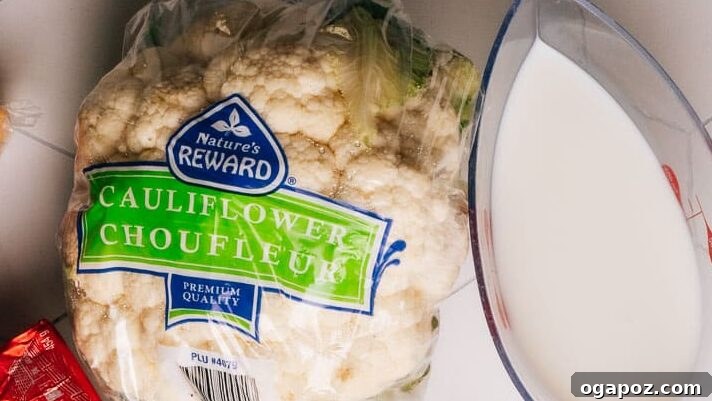
- All-Purpose Flour: This forms the structural foundation of our batter, ensuring it adheres beautifully to each cauliflower floret. It helps create a light yet sturdy coating that becomes wonderfully crisp when baked.
- Baking Powder: A crucial leavening agent, baking powder introduces tiny air bubbles into the batter. This results in a slightly puffed-up, incredibly light, and airy coating, enhancing the overall crispiness.
- Kosher Salt & Black Pepper: Proper seasoning is paramount for amplifying the natural flavors of the cauliflower and the batter. Don’t skimp on these basic but essential flavor enhancers.
- Milk: The liquid component that binds all the dry batter ingredients together. For those following a vegan diet or seeking a dairy-free option, any plain, unsweetened plant-based milk (such as oat, almond, or soy milk) works perfectly.
- Cauliflower Florets: The star of our dish! It’s important to cut these into uniform, bite-sized pieces. This ensures even coating, consistent baking, and a pleasant eating experience. Aim for pieces roughly the size of a standard chicken wingette.
- Panko Breadcrumbs: The secret weapon for superior crunch! Panko, a Japanese-style breadcrumb, is renowned for its larger, flakier texture compared to regular breadcrumbs, delivering an unparalleled crispiness that truly makes these feel like “wings.”
- Olive Oil: Used both in the panko coating and for baking, olive oil is vital for achieving that desirable golden-brown color and irresistible crisp finish in the oven. You can substitute with other high-heat-friendly oils like avocado oil or vegetable oil.
- Green Onion: A fresh, vibrant garnish that adds a pop of color and a mild, piquant onion flavor, perfectly complementing the rich sauce and crispy cauliflower.
For the Irresistible Sticky Sauce
While you can certainly experiment with any of my delicious chicken wing sauces, the recipe below features a sweet, sticky, and garlicky sauce. It bears a delightful resemblance to a classic teriyaki sauce, offering a perfect balance of savory and sweet notes that cling beautifully to the crispy cauliflower.
- Minced Garlic: Provides an aromatic depth and a bold, savory kick to the sauce. Freshly minced garlic offers the best flavor, but in a pinch, garlic powder or onion powder can be used.
- Water: Used to thin the sauce to the ideal consistency, allowing it to evenly coat each cauliflower wing without being too thick or too runny.
- Brown Sugar: Essential for introducing sweetness and creating that signature sticky glaze. It caramelizes slightly during cooking, adding depth and shine to the sauce.
- Soy Sauce: Delivers a rich umami flavor and a pleasant saltiness, forming the backbone of this savory-sweet profile. Opt for a low-sodium version if you’re mindful of salt intake.
- Cornstarch: The thickening agent that transforms the liquid mixture into a glossy, clingy sauce. It ensures every floret is perfectly coated with flavor.
Exact ingredient quantities and precise measurements can be found in the comprehensive recipe card at the very bottom of this article.
Smart Substitutions and Creative Variations for Your Cauliflower Wings
This cauliflower wing recipe is incredibly adaptable, allowing for a variety of dietary needs and flavor preferences. Feel free to make these simple changes:
- Making it Gluten-Free: Easily convert this recipe by swapping out the all-purpose flour for a high-quality 1:1 gluten-free flour blend. For the crispy coating, use gluten-free panko breadcrumbs or finely crushed rice crackers, which provide a similar satisfying crunch. Ensure your soy sauce is also gluten-free (tamari is a great option).
- Vegan-Friendly Options: The base recipe is already largely plant-based. To ensure it’s fully vegan, simply use a plain, unsweetened plant-based milk for the batter. Oat milk, almond milk, or soy milk are excellent choices that won’t interfere with the flavor.
- No Panko? No Problem!: If you don’t have panko on hand, you can still achieve a fantastic crispy texture. Try using crushed cornflakes (ensure they are unsweetened), crushed pretzels for a salty twist, or even regular seasoned breadcrumbs. Each will offer a unique crunch.
- Switch Up the Sauce: The beauty of cauliflower wings lies in their versatility with sauces. Don’t limit yourself to just one! Experiment with other exciting flavors like my fiery Baked Buffalo Wings Sauce (serve with a homemade blue cheese dressing!), exotic Mango Habanero Sauce, savory Garlic Parmesan Sauce, sweet and spicy Hot Honey, bold Nashville Hot Sauce, or a creamy, tangy Alabama White Sauce.
- Spice Up Your Batter: For an extra layer of flavor, consider adding a pinch of smoked paprika, cayenne pepper, garlic powder, or onion powder to your dry batter mix. This infuses the cauliflower with more seasoning from the inside out.
- Different Cooking Fats: While olive oil is recommended, coconut oil (for a subtle tropical note) or grapeseed oil (for its neutral flavor and high smoke point) can also be used for tossing the panko and baking.
Step-by-Step Guide: How to Craft the Best Crispy Cauliflower Wings
Making incredibly delicious and crispy cauliflower wings is simpler than you might think! Follow these detailed steps for a flawless result that will impress everyone:
Step 1: Preheat Your Oven to Perfection
Begin by preheating your oven to 425ºF (220ºC). If your oven has a convection setting, definitely use it—convection helps circulate heat more evenly, leading to superior crispiness. Line a large baking sheet with parchment paper. This prevents sticking and makes cleanup a breeze.
Step 2: Prepare the Flavorful Batter
In a very large mixing bowl, combine the all-purpose flour, baking powder, kosher salt, and black pepper. Whisk these dry ingredients thoroughly to ensure they are well-mixed. Next, gradually pour in the milk, stirring just until the dry ingredients are moistened and a smooth, thick batter forms. Avoid overmixing, as this can develop the gluten in the flour, making the coating tougher. Add your prepared cauliflower florets to the bowl and toss gently but thoroughly until each piece is completely coated in the batter. Gently drain off any excessive batter.
Step 3: Achieve Maximum Crunch with Panko
In a separate, medium-sized bowl, combine the panko breadcrumbs with the olive oil. Stir well to ensure the panko is evenly moistened with the oil. This step is crucial, as the oil helps the panko toast beautifully and adhere better to the cauliflower during baking, guaranteeing an exceptional crunch. Sprinkle the oiled panko over the batter-coated cauliflower in the large bowl. Toss again gently until most of the cauliflower pieces are coated with panko. Don’t worry if the coating isn’t absolutely perfect or uniform on every single piece; the goal is good coverage for crispiness.
Step 4: Bake to Golden Perfection
Carefully arrange the coated cauliflower florets in a single layer on your parchment-lined baking sheet. It’s essential that the pieces do not touch each other; overcrowding the pan will trap steam, preventing them from crisping up properly. Bake for approximately 30 minutes, making sure to flip the cauliflower pieces halfway through the baking time (around the 15-minute mark). Continue baking until the coating is beautifully golden brown, and the cauliflower inside is tender when pierced with a fork.
Step 5: Whisk Up the Sticky Garlic Sauce
While the cauliflower wings are baking, prepare your delicious sticky garlic sauce. Heat 2 teaspoons of oil in a small saucepan over medium heat. Add the minced garlic and sauté for about 2 minutes, stirring frequently, until fragrant but not browned. Pour in the water and brown sugar, stirring until the sugar dissolves. In a separate small bowl, whisk together the cornstarch and soy sauce until completely smooth—this slurry prevents lumps. Stir this cornstarch mixture into the saucepan. Bring the sauce to a boil, then immediately reduce the heat to a simmer. Cook for about 2 minutes, stirring continuously, until the sauce thickens and becomes wonderfully glossy and sticky.
Step 6: Finish, Sauce, and Serve
Once the cauliflower wings are baked and crispy, rewarm the sticky garlic sauce over low heat if it has cooled down and thickened too much. Transfer the baked cauliflower wings to a large mixing bowl, pour the warm sauce over them, and toss gently until every piece is evenly coated in the glistening, sticky glaze. Garnish generously with freshly sliced green onion for a burst of freshness and color. Serve immediately and piping hot with some of my best side dishes for wings, such as a crisp salad or fluffy rice.
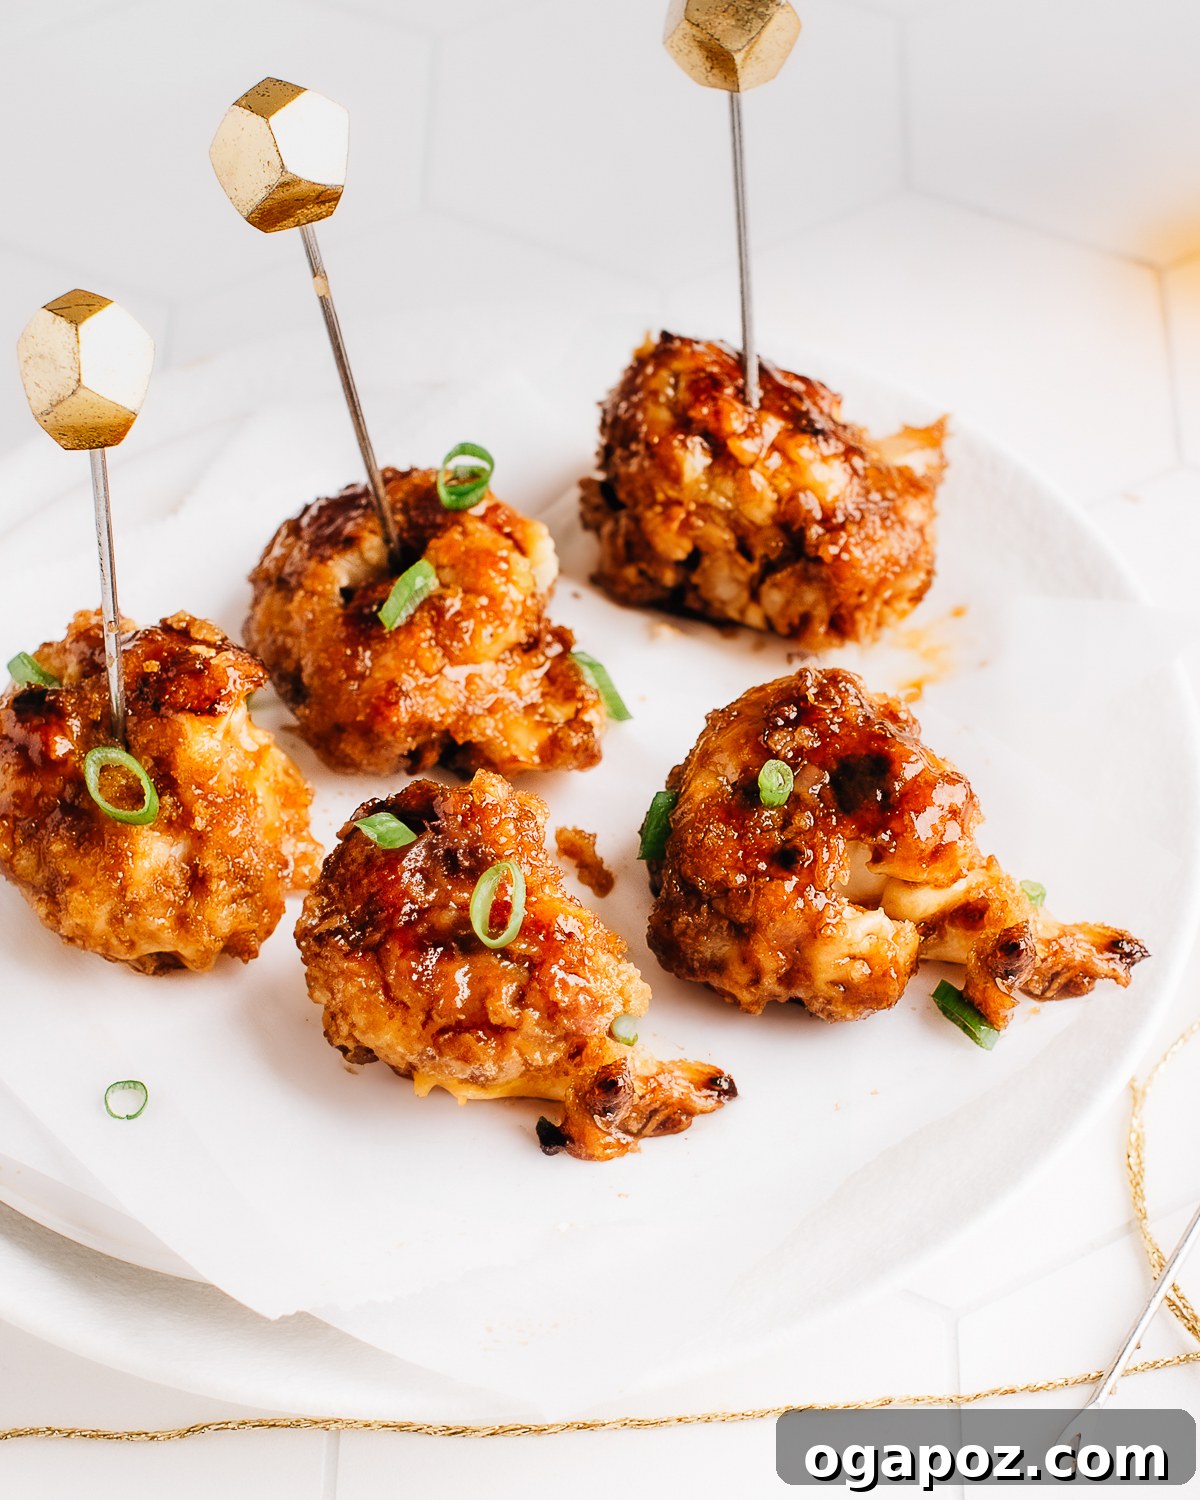
Make-Ahead Tips and Storage Solutions for Cauliflower Wings
Cauliflower wings are a fantastic option for meal prepping or entertaining, as many components can be prepared in advance. Proper storage also ensures you can enjoy leftovers without sacrificing quality.
Preparing Ahead
To save time, you can prepare the batter, cut your cauliflower florets, and even mix the sticky sauce up to a full day in advance. Simply store each component separately in airtight containers in the refrigerator. When you’re ready to bake, just combine the cauliflower with the batter and panko, then proceed with the baking and saucing steps as usual. This minimizes last-minute prep, making serving these delicious wings even easier.
Storing Leftovers
Any leftover cauliflower wings should be stored in an airtight container in the refrigerator. They will maintain their quality and flavor for up to 3 days. While they are best enjoyed fresh, reheating them properly can bring back much of their original crispiness.
Freezing for Future Enjoyment
For longer storage, you can freeze baked (but *unsauced*) cauliflower wings. After baking, allow them to cool completely. Then, spread the cooled wings in a single layer on a baking tray and place it in the freezer until the wings are frozen solid. Once frozen, transfer them to a freezer-safe bag or container, removing as much air as possible to prevent freezer burn. They can be stored in the freezer for up to 2 months. When ready to eat, reheat directly from frozen.
Reheating for Optimal Crispness
To bring your leftover or frozen cauliflower wings back to life with their desired crisp texture, avoid the microwave at all costs—it will make them soggy. The best methods for reheating are:
- Oven: Preheat your oven to 400ºF (200ºC). Spread the wings in a single layer on a baking sheet and heat for 10-15 minutes, or until thoroughly hot and crispy. If reheating from frozen, add an extra 5-10 minutes.
- Air Fryer: The air fryer is a fantastic tool for reheating! Cook at 400ºF (200ºC) for about 5-8 minutes, shaking the basket halfway through, until they are hot and wonderfully crispy. For frozen wings, they might need 10-12 minutes. For sauced wings, it’s best to reheat them first, then toss them in freshly warmed sauce, or re-toss them quickly in the sauce and then air fry for just a few minutes until sizzling.
Expert Tips and Science-Backed Secrets for the Best Cauliflower Wings
As a food scientist, I’ve honed this recipe through understanding the culinary principles that make ingredients sing. Here are my top three science-based secrets and pro tips to ensure your cauliflower wings are nothing short of spectacular:
- Embrace the Full Bake Time: The Maillard Reaction is Your Friend: It’s tempting to pull your cauliflower wings from the oven early, but resist the urge! Cauliflower, like many vegetables, needs sufficient time to roast, caramelize, and undergo the Maillard reaction. This complex chemical process, responsible for browning and the development of hundreds of new flavor compounds, is what gives roasted vegetables their crave-worthy depth and savory notes. A rushed bake time means sacrificing this crucial flavor development and that delicious, slightly charred texture. Patience truly pays off here.
- Pre-Oiling the Panko for Superior Browning and Adhesion: Tossing the panko breadcrumbs with a little oil *before* coating the cauliflower florets is a game-changer. The oil creates a thin, even layer around each panko flake, which helps it brown more uniformly and intensely in the oven. Without this pre-oiling, some panko might burn while other parts remain pale. Furthermore, the oil acts as a binder, helping the panko cling better to the batter, ensuring you get that satisfying, uninterrupted crunch in every single bite. This simple step elevates the texture from good to exceptional.
- Mastering Moisture Control and the Magic of Baking Powder: Cauliflower is approximately 92% water. Any excess moisture on the florets before coating will turn into steam during baking, which hinders crisping and can make your wings soggy. Therefore, **thoroughly drying the florets after washing is absolutely critical.** Use a clean kitchen towel or paper towels to pat them as dry as possible. Think of it this way: steam cooks, but dry heat roasts and crisps. Additionally, the baking powder in the batter isn’t just for fluffiness; it creates tiny carbon dioxide bubbles when heated. These bubbles expand, causing the coating to puff up slightly, creating an airy structure. This lightness contributes significantly to the crispness and prevents the coating from becoming dense or gummy. It’s a subtle but powerful leavening effect that makes all the difference for a truly light and crispy exterior.
If you’re a true cauliflower aficionado, don’t stop here! You’ll also love exploring my comforting Cauliflower Casserole and the flavorful Aloo Gobi (Cauliflower and Potato Curry). Both showcase the incredible versatility of this nutritious vegetable!
Frequently Asked Questions About Cauliflower Wings
Still have some questions buzzing in your mind? Here are quick answers to common queries to ensure your cauliflower wing experience is perfect:
Q: Can I make cauliflower wings without breading for a lighter option?
A: Yes, you certainly can skip the panko breading for a lighter, less caloric version. However, be aware that you will sacrifice the signature crispy crunch that the panko provides. For a different texture without traditional breadcrumbs, you could try tossing the battered florets in finely ground almonds, crushed cornflakes (unsweetened), or even a blend of spices for a “naked” baked cauliflower with intense flavor.
Q: Is it possible to prepare cauliflower wings ahead of time?
A: Absolutely! This recipe is excellent for meal prep. You can easily cut your cauliflower florets, prepare the batter, and even mix the sticky sauce up to 24 hours in advance. Store each component separately in airtight containers in the refrigerator. When you’re ready to cook, simply toss the cauliflower with the batter, then with the panko, and proceed with baking. This method makes quick weeknight meals or last-minute entertaining a breeze.
Q: How can I ensure my cauliflower wings are entirely gluten-free?
A: To make these cauliflower wings completely gluten-free, you’ll need to make a few key substitutions. Replace the all-purpose flour with a certified 1:1 gluten-free flour blend. For the crispy coating, use gluten-free panko breadcrumbs or finely crushed rice crackers. Additionally, always check the labels of your soy sauce (opt for tamari, which is typically gluten-free) and any other pre-made sauces or seasonings to ensure they do not contain hidden gluten.
Q: Can I air fry cauliflower wings instead of baking them in a conventional oven?
A: Yes, air frying is an excellent method for achieving an extra crispy texture! It often yields results comparable to deep frying with significantly less oil. To air fry, preheat your air fryer to 400ºF (200ºC). Arrange the coated cauliflower florets in a single layer in the air fryer basket, ensuring not to overcrowd it (you may need to work in batches). Cook for approximately 12-15 minutes, flipping or shaking the basket halfway through, until they are golden brown and wonderfully crisp. Adjust cooking time based on your air fryer model.
Q: What are the best dipping sauces to serve with cauliflower wings?
A: Beyond the sticky garlic sauce provided, cauliflower wings pair beautifully with a variety of dips. Classic choices include ranch dressing, blue cheese dressing, sriracha mayonnaise, a tangy BBQ sauce, or a spicy sweet chili sauce. For a unique twist, try a zesty lime cilantro crema or a creamy avocado dip.
Q: Are cauliflower wings a healthy alternative to traditional chicken wings?
A: Absolutely! Cauliflower wings are generally a much healthier option. Cauliflower is low in calories and fat, rich in fiber, and packed with vitamins and minerals like Vitamin C and K. While they still involve some oil and breading, they are a fantastic way to enjoy a “wing” experience with significantly less saturated fat and cholesterol, making them an excellent plant-based choice for a balanced diet.
Explore More Irresistible Wing Recipes
If you’ve enjoyed these cauliflower wings, you’re sure to love these other fantastic wing recipes, perfect for any occasion:
- Sweet & Spicy Hot Honey Wings
- Savory Garlic Parmesan Wings
- Tropical Mango Habanero Wings
- Classic Baked Buffalo Wings with Homemade Blue Cheese Dressing
Crispy Cauliflower Wings (with Sticky Sauce)
These Cauliflower Wings are the epitome of crispy, savory vegetable perfection, designed to satisfy all your party cravings. Featuring a simple yet effective batter, an undeniably crunchy coating, and a luscious sticky sauce, these wings will disappear quickly, adored by both vegetarians and meat-eaters alike. Prepare for a plant-based sensation!
10 minutes
30 minutes
6
Jennifer Pallian BSc, RD
Ingredients
For the Crispy Cauliflower:
- ½ cup all-purpose flour (or 1:1 gluten-free flour blend for GF)
- ½ tsp baking powder
- ½ tsp kosher salt
- ¼ tsp black pepper
- ½ cup milk (use plain, unsweetened plant-based milk for vegan)
- 2 ½ lbs cauliflower (approx. 1 average head), cut into bite-sized florets
- ¾ cup panko breadcrumbs (use gluten-free panko for GF)
- ¼ cup olive oil (or other high-heat-friendly oil)
- 1 sliced green onion, for garnish
For the Sticky Garlic Sauce:
- 2 tsp oil (any neutral cooking oil)
- 1 tbsp minced garlic
- ⅔ cup water
- ¼ cup brown sugar
- 2 tbsp soy sauce (use tamari for GF)
- 1 tbsp cornstarch
Instructions
For the Cauliflower Wings:
- Preheat your oven to 425ºF (220ºC). For best results, use the convection setting if available. Line a large baking sheet with parchment paper to prevent sticking.
- In a very large bowl, whisk together the all-purpose flour, baking powder, salt, and pepper. Add the milk and stir just until a smooth batter forms. Add the cauliflower florets and toss thoroughly to ensure they are evenly coated in the batter.
- In a separate, medium bowl, stir together the panko breadcrumbs and ¼ cup olive oil until the panko is evenly moistened. Sprinkle this mixture over the batter-coated cauliflower and toss again until the cauliflower pieces are well-coated (the coating might not be perfectly even, which is fine).
- Spread the panko-coated cauliflower in a single layer on the prepared baking sheet, ensuring that no pieces are touching. This is crucial for optimal crisping. Bake for approximately 30 minutes, flipping the cauliflower halfway through (around 15 minutes), until the coating is golden brown and the cauliflower inside is tender.
For the Sticky Garlic Sauce:
- While the cauliflower is baking, prepare the sauce. Heat 2 teaspoons of oil in a small saucepan over medium heat. Add the minced garlic and cook for about 2 minutes, stirring constantly, until it becomes fragrant.
- Pour in the water and brown sugar, stirring until the sugar completely dissolves. In a small separate bowl, whisk the cornstarch with the soy sauce until you have a smooth slurry. Whisk this slurry into the saucepan.
- Bring the sauce mixture to a boil, then immediately reduce the heat to a gentle simmer. Continue to cook for about 2 minutes, stirring frequently, until the sauce thickens to a glossy, sticky consistency.
- Just before serving, gently rewarm the sauce over low heat if it has cooled. Transfer the baked, crispy cauliflower wings into a large mixing bowl, pour the warm sauce over them, and toss gently until all the wings are evenly coated. Garnish with sliced green onion and serve immediately while hot.
Nutrition Facts (Approximate per serving)
Nutrition information is automatically calculated and should only be used as an approximation. Actual values may vary based on ingredients and preparation methods.
Calories: 262 kcal
Carbohydrates: 34 g
Protein: 7 g
Fat: 12 g
Saturated Fat: 2 g
Polyunsaturated Fat: 2 g
Monounsaturated Fat: 8 g
Trans Fat: 0.01 g
Cholesterol: 2 mg
Sodium: 689 mg
Potassium: 643 mg
Fiber: 5 g
Sugar: 15 g
Vitamin A: 34 IU
Vitamin C: 92 mg
Calcium: 120 mg
Iron: 2 mg
Tried this recipe? Share your experience and leave a comment below!