
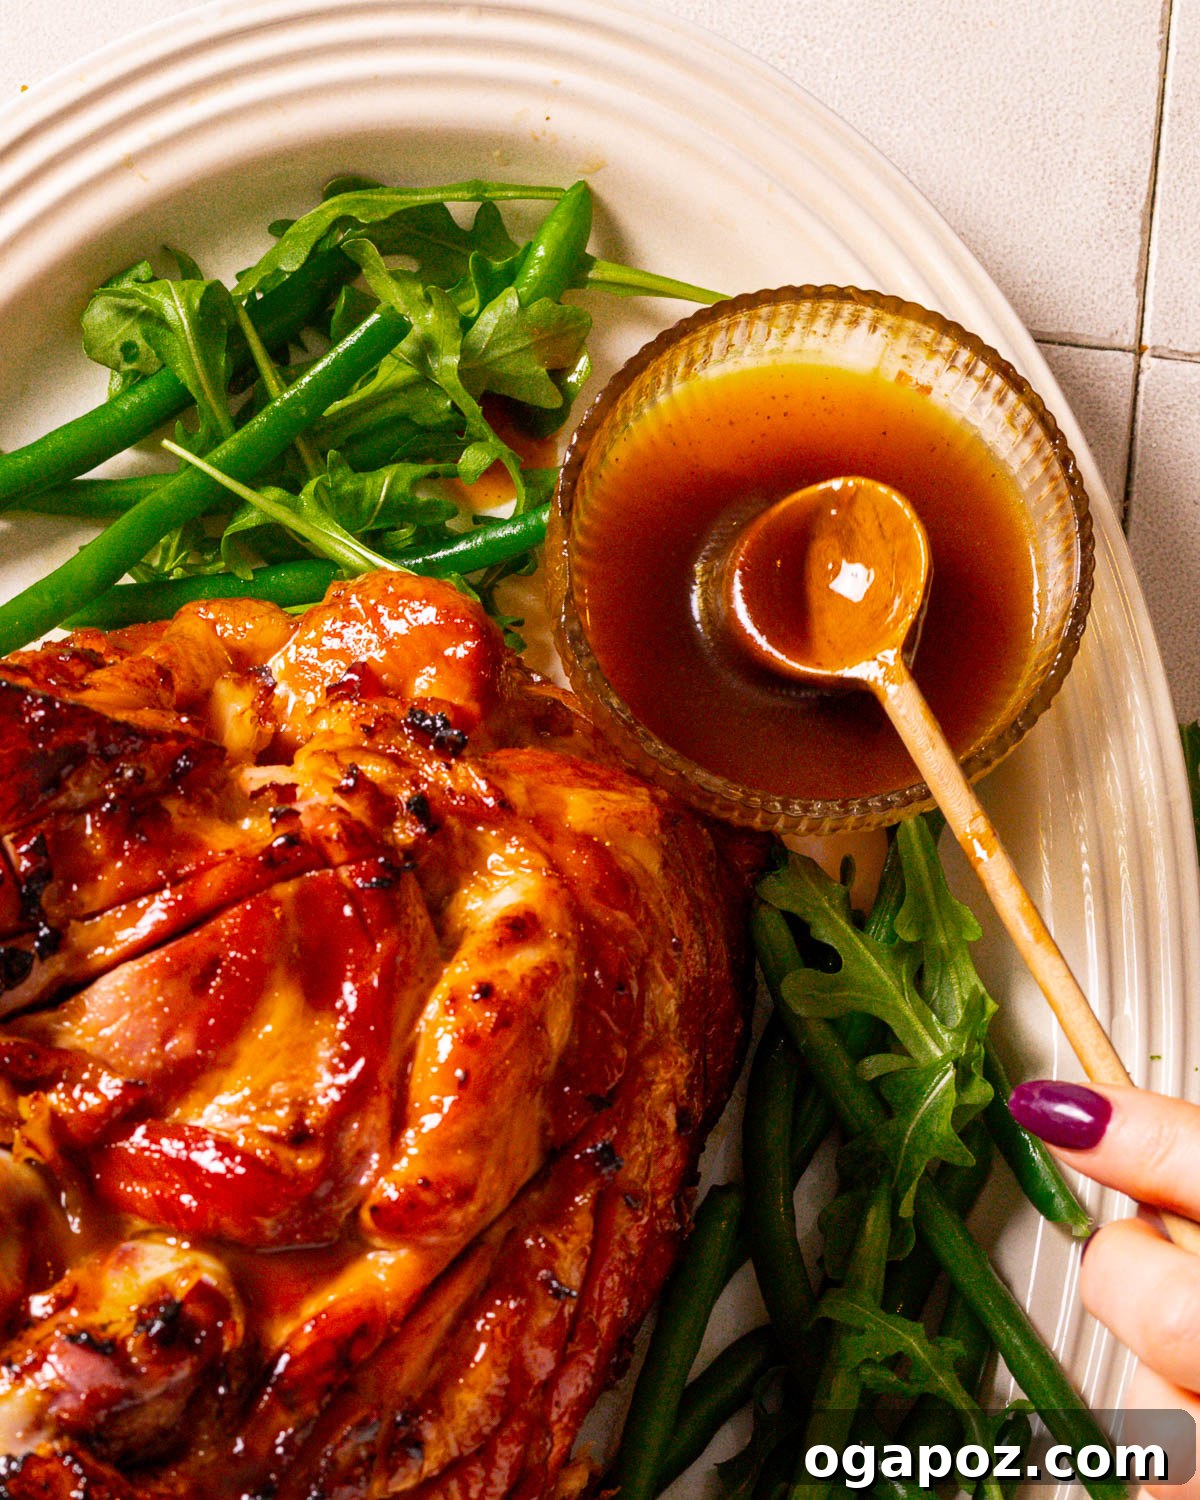
Transform your ordinary ham into an extraordinary culinary masterpiece with our renowned 5-Minute Ham Glaze. This recipe promises a beautifully caramelized, irresistibly glossy, and profoundly delicious finish every single time. As a dedicated food scientist, I’m thrilled to share my best professional tips and scientific insights to elevate your ham glazing technique, ensuring a show-stopping centerpiece for any meal or special occasion.
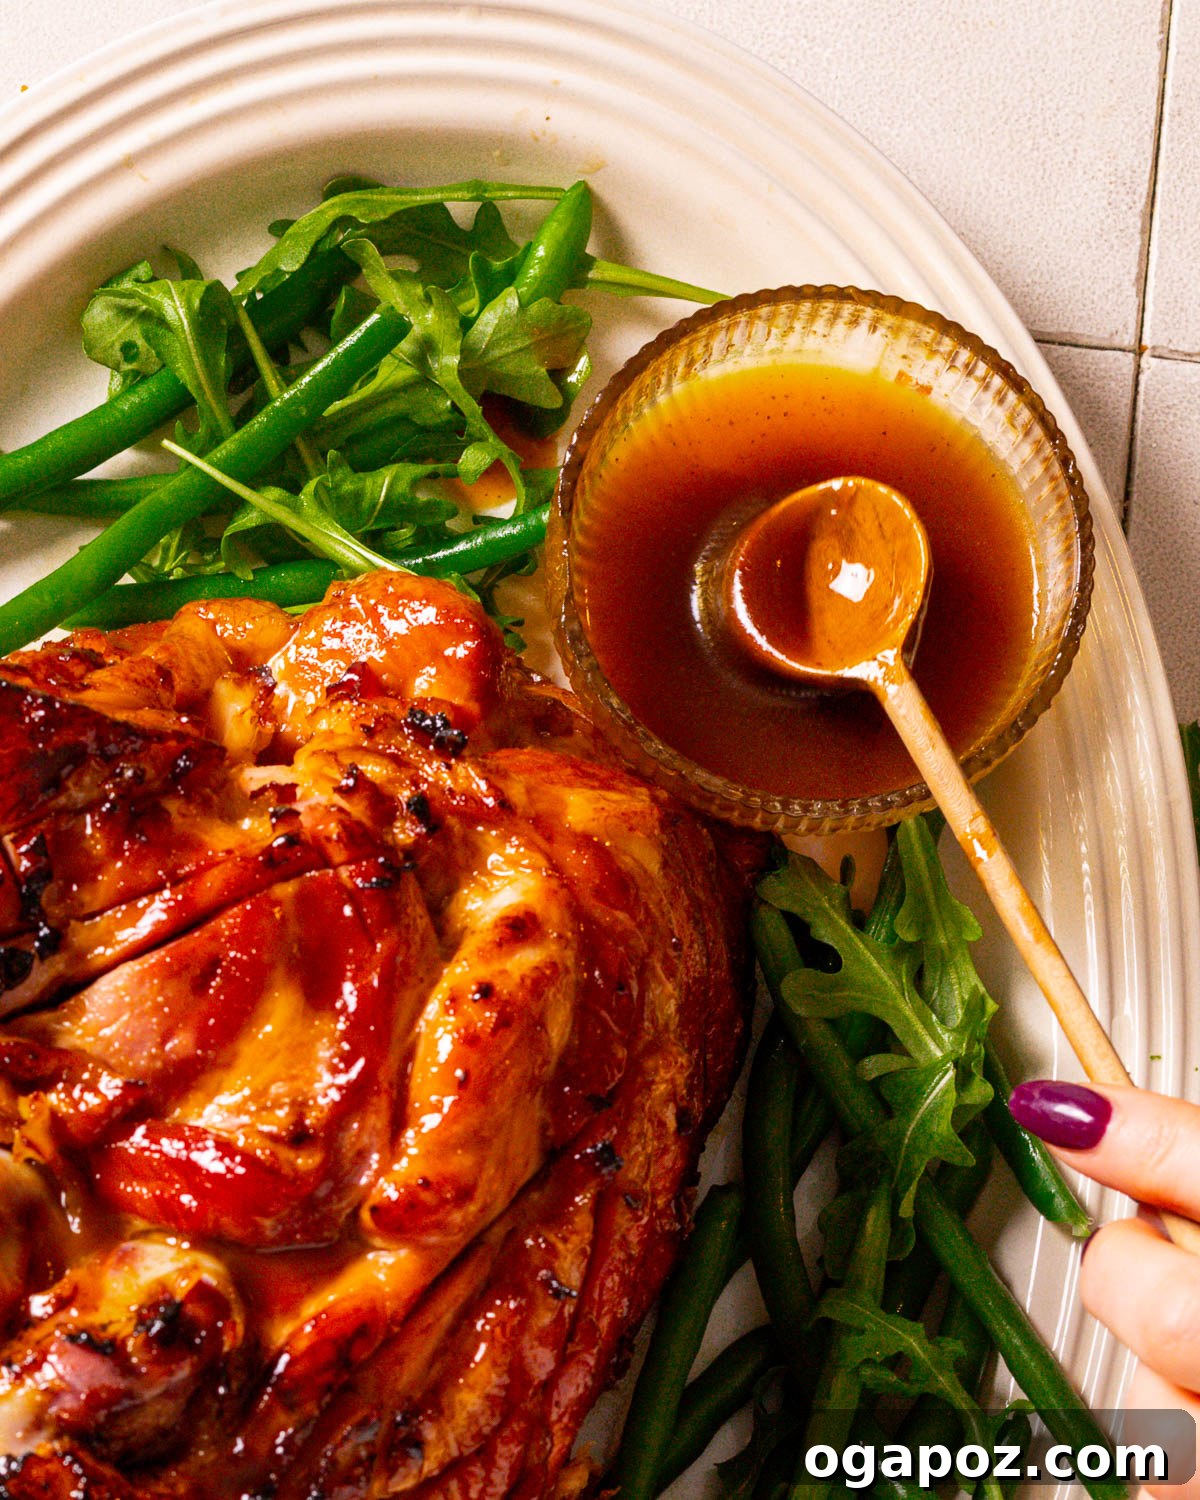
Prepare to discover your new favorite ham glaze recipe, crafted to deliver the glossiest, most flavorful, and delightfully sticky exterior. This incredible glaze enhances the natural savory notes of the ham with a perfect balance of sweetness and tang, creating a symphony of flavors in every bite. Whether you’re preparing a succulent spiral-cut ham, a tender boneless ham, a robust bone-in ham roast, a convenient pressure cooker ham, or a rustic crockpot ham recipe, these are the indispensable secrets to achieving a truly juicy and unforgettable glazed ham. Bid farewell to dry, bland ham and welcome a world of culinary excellence!
Science-Based Secrets for the BEST Glazed Ham
As a food scientist, I believe that understanding the ‘why’ behind cooking techniques is key to achieving consistent, perfect results. Here, I’ll demystify the art of glazing ham with proven methods that guarantee a professional finish every time. These geeky tips are designed to give you ultimate control over flavor and texture, turning your ham into a magnificent focal point.
- Score the Ham for Maximum Flavor: Before applying any glaze, lightly score the ham’s surface in a diamond pattern. This isn’t just for aesthetics; it significantly increases the surface area, allowing the glaze to penetrate deeper and adhere better. These shallow cuts also create tiny channels where the sugary glaze can pool and caramelize, resulting in a more intense flavor and a beautifully crisp texture. This process encourages the Maillard reaction, a chemical reaction between amino acids and reducing sugars that gives browned food its distinctive flavor.
- Line the Pan for Effortless Cleanup: Glaze, by its very nature, is sticky and can bake onto your pan, making cleanup a chore. Prevent this by lining your roasting pan with aluminum foil or parchment paper. This simple step will save you considerable time and effort after your delicious meal, allowing you to enjoy the feast without worrying about stubborn baked-on sugar.
- Monitor Internal Temperature: Timing is crucial when it comes to glazing. Start applying your glaze when the ham reaches an internal temperature of 110-115°F (approximately 43-46°C). Starting too early risks burning the sugars in the glaze, leading to a bitter taste and a dark, unappealing crust. A meat thermometer is your best friend here, ensuring you hit this critical temperature window perfectly.
- Strategic Glazing Timing: For optimal caramelization without burning, apply the glaze during the last 25-30 minutes of baking. This short window allows the sugars to melt, bubble, and transform into a rich, glossy coating. Multiple thin layers applied during this period are more effective than one thick application, building depth of flavor and creating that desirable sticky texture.
- Finish with a Quick High Heat Broil: To achieve an extra-crisp and deeply golden-brown crust, briefly broil the ham at the very end of cooking. Keep a very close watch, as sugars can go from perfectly caramelized to burnt in a matter of seconds under the broiler. This final touch adds an incredible layer of texture and visual appeal, making your ham truly irresistible.
- Rest Before Carving for Juicier Slices: Once your beautifully glazed ham is out of the oven, resist the urge to slice it immediately. Allow it to rest for at least 15 minutes. This resting period is vital: it gives the juices, which have been pushed to the center of the ham during cooking, time to redistribute throughout the meat. The result is consistently juicy, tender slices that retain their moisture and flavor.
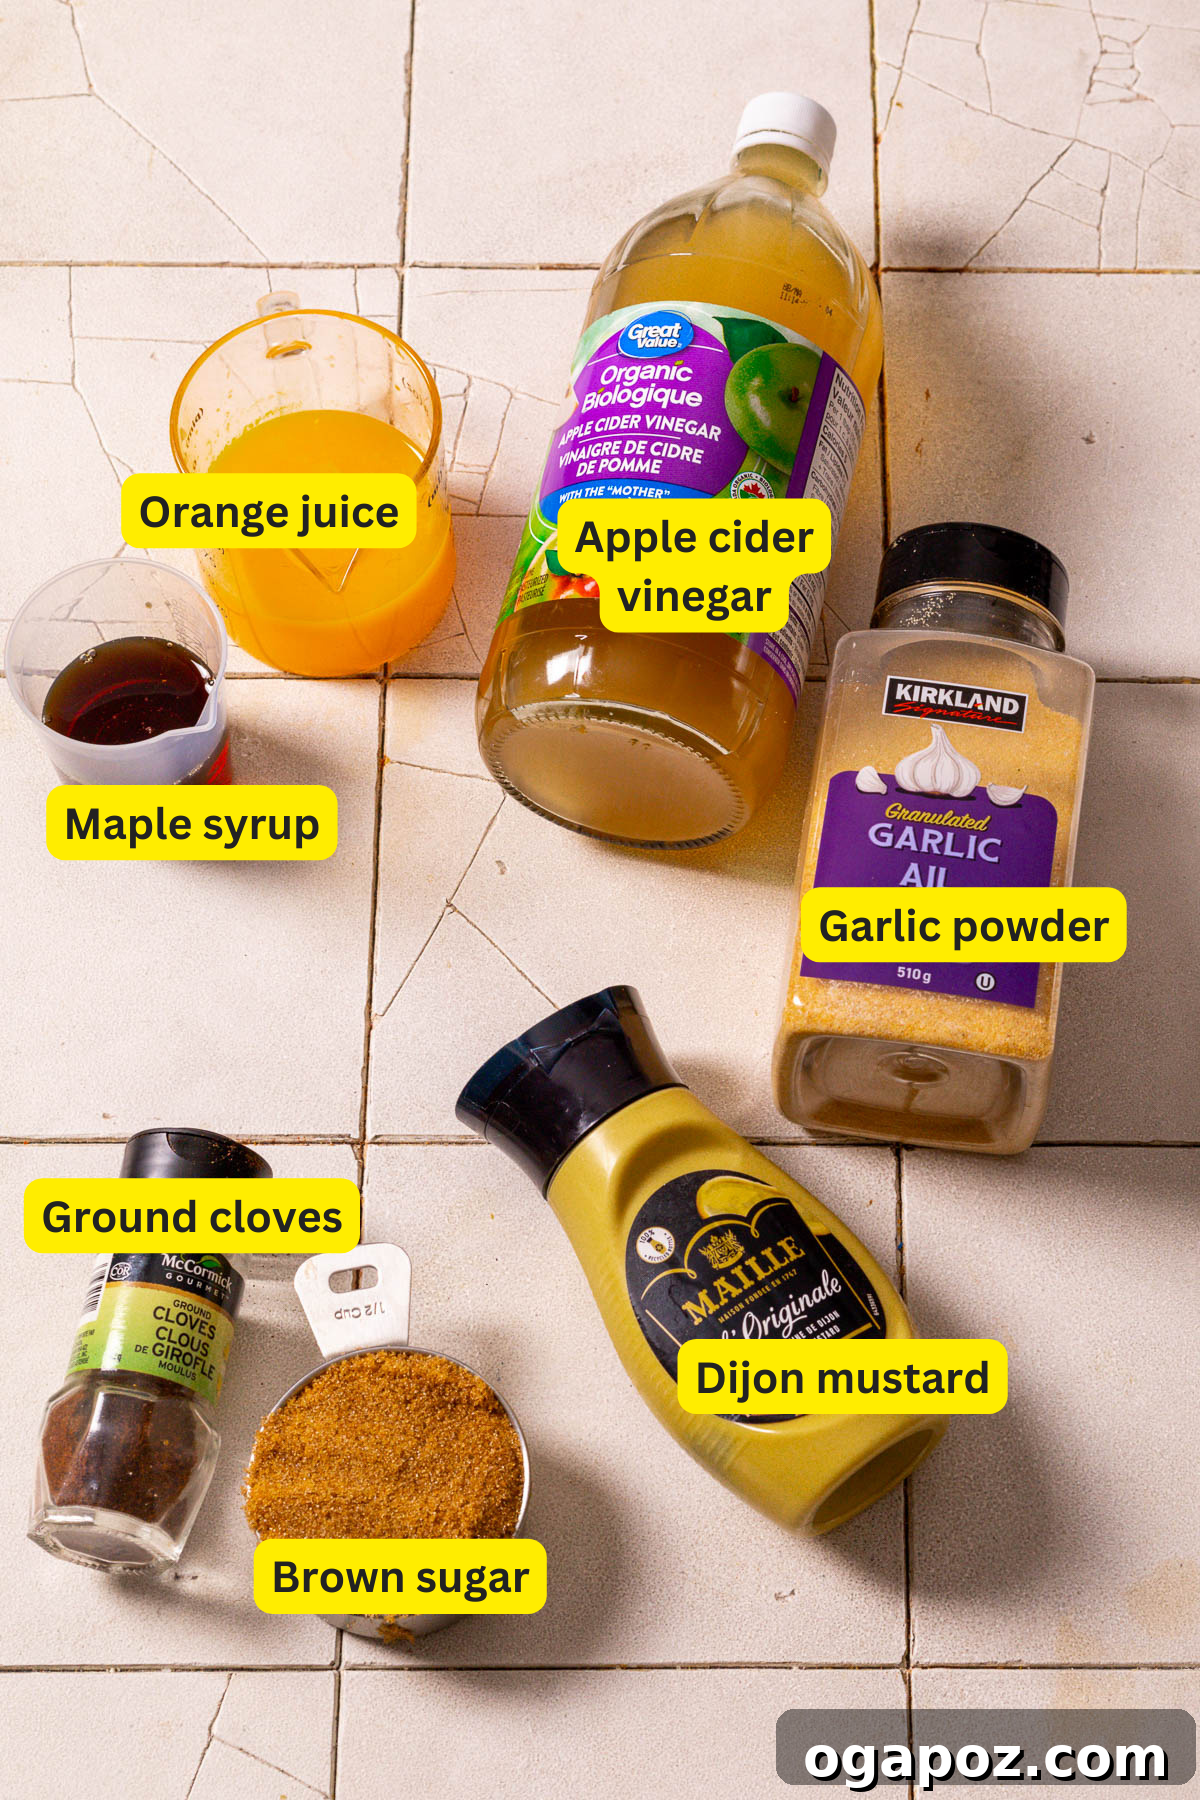
Ham Glaze Ingredients: A Symphony of Flavors
Each ingredient in this glaze plays a crucial role in creating its balanced and irresistible flavor profile. This harmonious blend offers the perfect combination of sweetness, tang, and aromatic spice:
- Brown Sugar: Provides a deep, molasses-rich sweetness that caramelizes beautifully, forming the sticky foundation of the glaze. It offers more complex notes than white sugar, enhancing the overall depth.
- Maple Syrup (or Honey): Adds another layer of natural sweetness and a distinct, warm flavor profile. Maple syrup brings earthy undertones, while honey offers floral notes. Both contribute to the luxurious sheen.
- Orange Juice or Pineapple Juice: Introduces a vibrant, fruity acidity that cuts through the richness of the ham and balances the sweetness. Orange juice offers a classic citrus brightness, while pineapple juice provides a tropical tang and contains enzymes that can help tenderize the ham.
- Dijon Mustard: A critical ingredient for its sharp, pungent tang and emulsifying properties. Dijon mustard prevents the glaze from being overly sweet, adding a savory depth and a subtle spicy kick that pairs exceptionally well with pork. It also helps to thicken the glaze slightly.
- Apple Cider Vinegar: Contributes a bright, fruity acidity that enhances the overall flavor balance. Its tartness helps to tenderize the ham’s exterior and promotes a desirable crispy crust.
- Garlic Powder: Infuses the glaze with a savory, aromatic depth without the raw sharpness of fresh garlic. It’s a subtle background note that complements the other flavors beautifully.
- Ground Cloves (optional): For those who love a classic, warm spice profile, ground cloves add an aromatic, slightly sweet, and pungent note that is traditionally associated with glazed ham. Use sparingly, as cloves can be potent.
Exact ingredient quantities can be found in the comprehensive recipe card at the bottom of this article.
Substitutions and Flavor Variations for Your Signature Glaze
While the original recipe is perfect, feel free to experiment with these substitutions and variations to tailor the glaze to your personal taste or dietary needs. These suggestions allow for endless creative possibilities, ensuring your ham is always unique and delicious.
- Sweeteners: For different nuances of sweetness, honey or agave nectar can be excellent replacements for maple syrup. Honey will impart a richer, more floral note, while agave nectar offers a neutral sweetness. Coconut sugar can also be used for a lower glycemic option, though it might change the texture slightly.
- Juices: While orange and pineapple juice are classic choices, don’t hesitate to swap them with other fruit juices. Apple juice provides a milder, sweeter fruit note, while lemon juice delivers a sharper, more intense citrus kick. For an unparalleled depth of flavor and brightness, always opt for freshly squeezed orange juice when available. Cherry juice can also add an intriguing tartness and beautiful color.
- Spices and Aromatics: The world of spices offers many avenues for variation. Ground cinnamon can replace or complement ground cloves, adding a warmer, sweeter aroma. A pinch of ground ginger introduces a zesty, slightly spicy element, while allspice combines notes of cinnamon, nutmeg, and cloves for a complex flavor. For a bolder garlic flavor, use freshly minced garlic instead of garlic powder (about 2-3 cloves, finely minced). A touch of smoked paprika can add a subtle smokiness and a beautiful red hue.
- Heat Factor: If you enjoy a bit of heat, consider adding a pinch of cayenne pepper, red pepper flakes, or a dash of your favorite hot sauce to the glaze mixture. This will add a gentle warmth that complements the sweetness without overpowering the ham.
Essential Tools for Glazing Success
Having the right tools at hand makes the glazing process smooth and enjoyable. You’ll primarily need a sturdy saucepan for preparing the glaze, a reliable whisk to ensure all ingredients are well combined and smooth, and a high-quality basting brush for even application onto your ham. For carving your perfectly cooked ham, a sharp knife and a stable chopping board are indispensable. An instant-read meat thermometer is also highly recommended for precise temperature monitoring, ensuring optimal cooking and glazing timing.
How to Make the Ultimate 5-Minute Ham Glaze
This section outlines my foolproof method for creating this incredibly flavorful glaze and then applying it to your ham to achieve that coveted, glossy, caramelized finish. Follow these straightforward steps for a magnificent result.
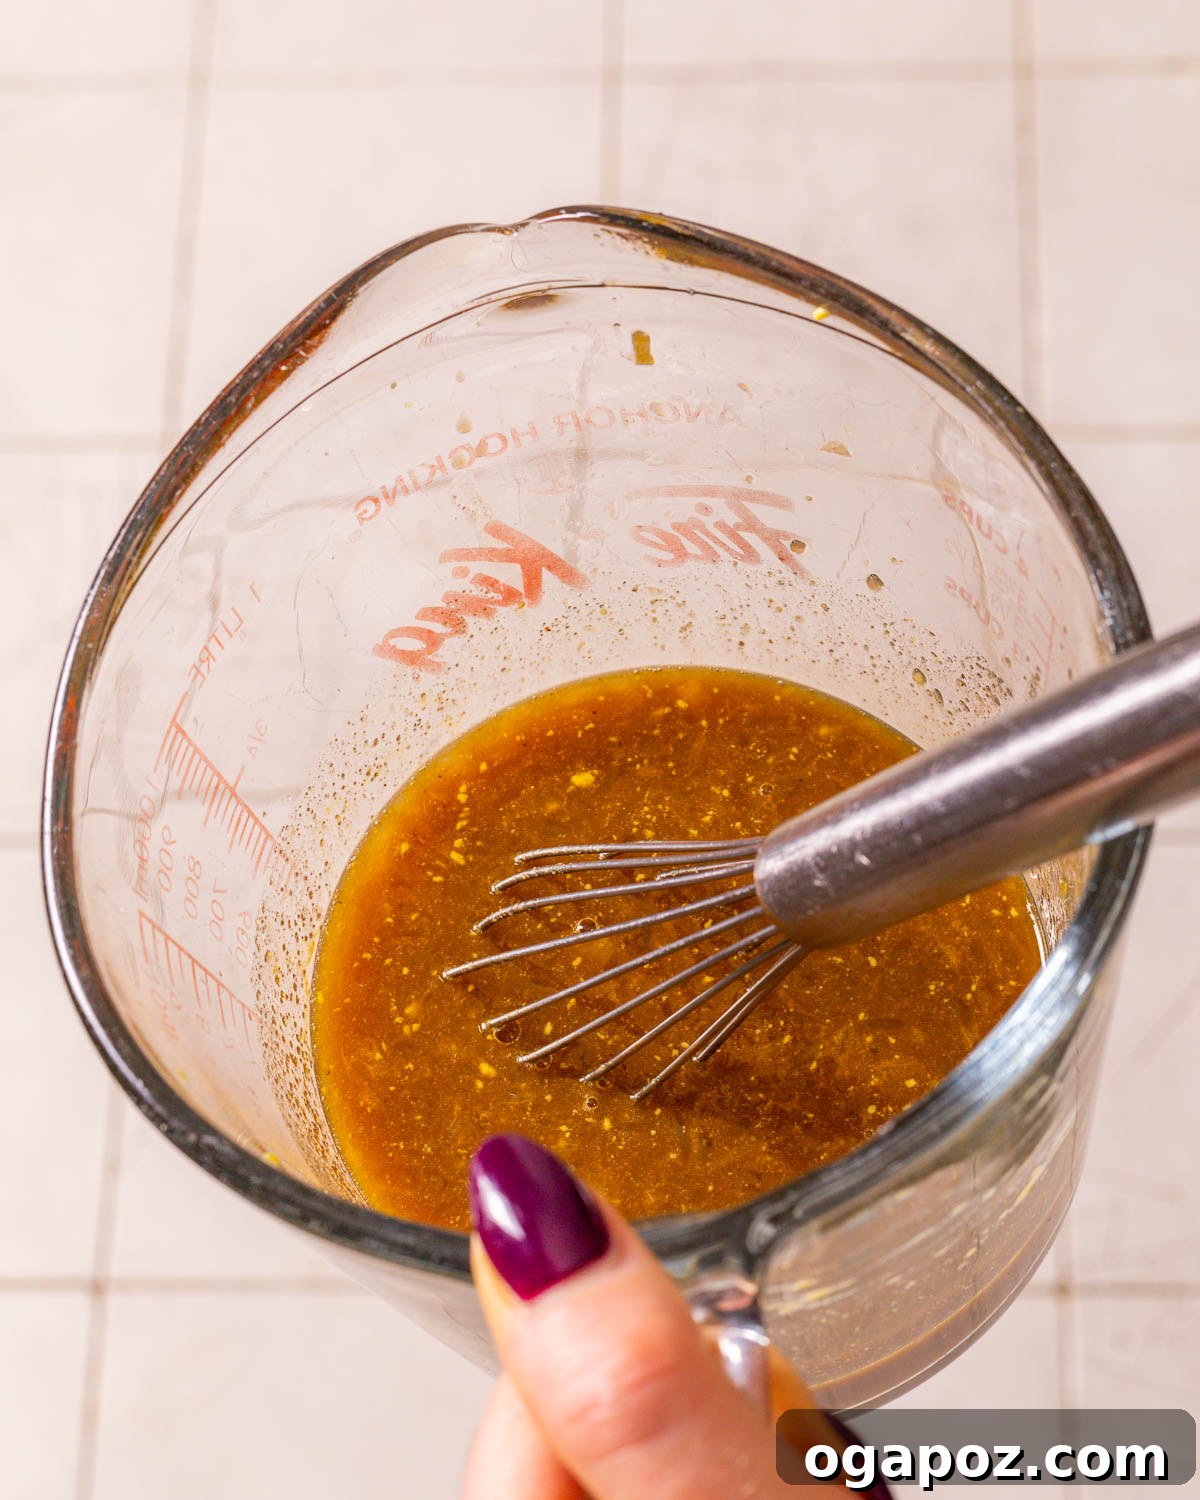
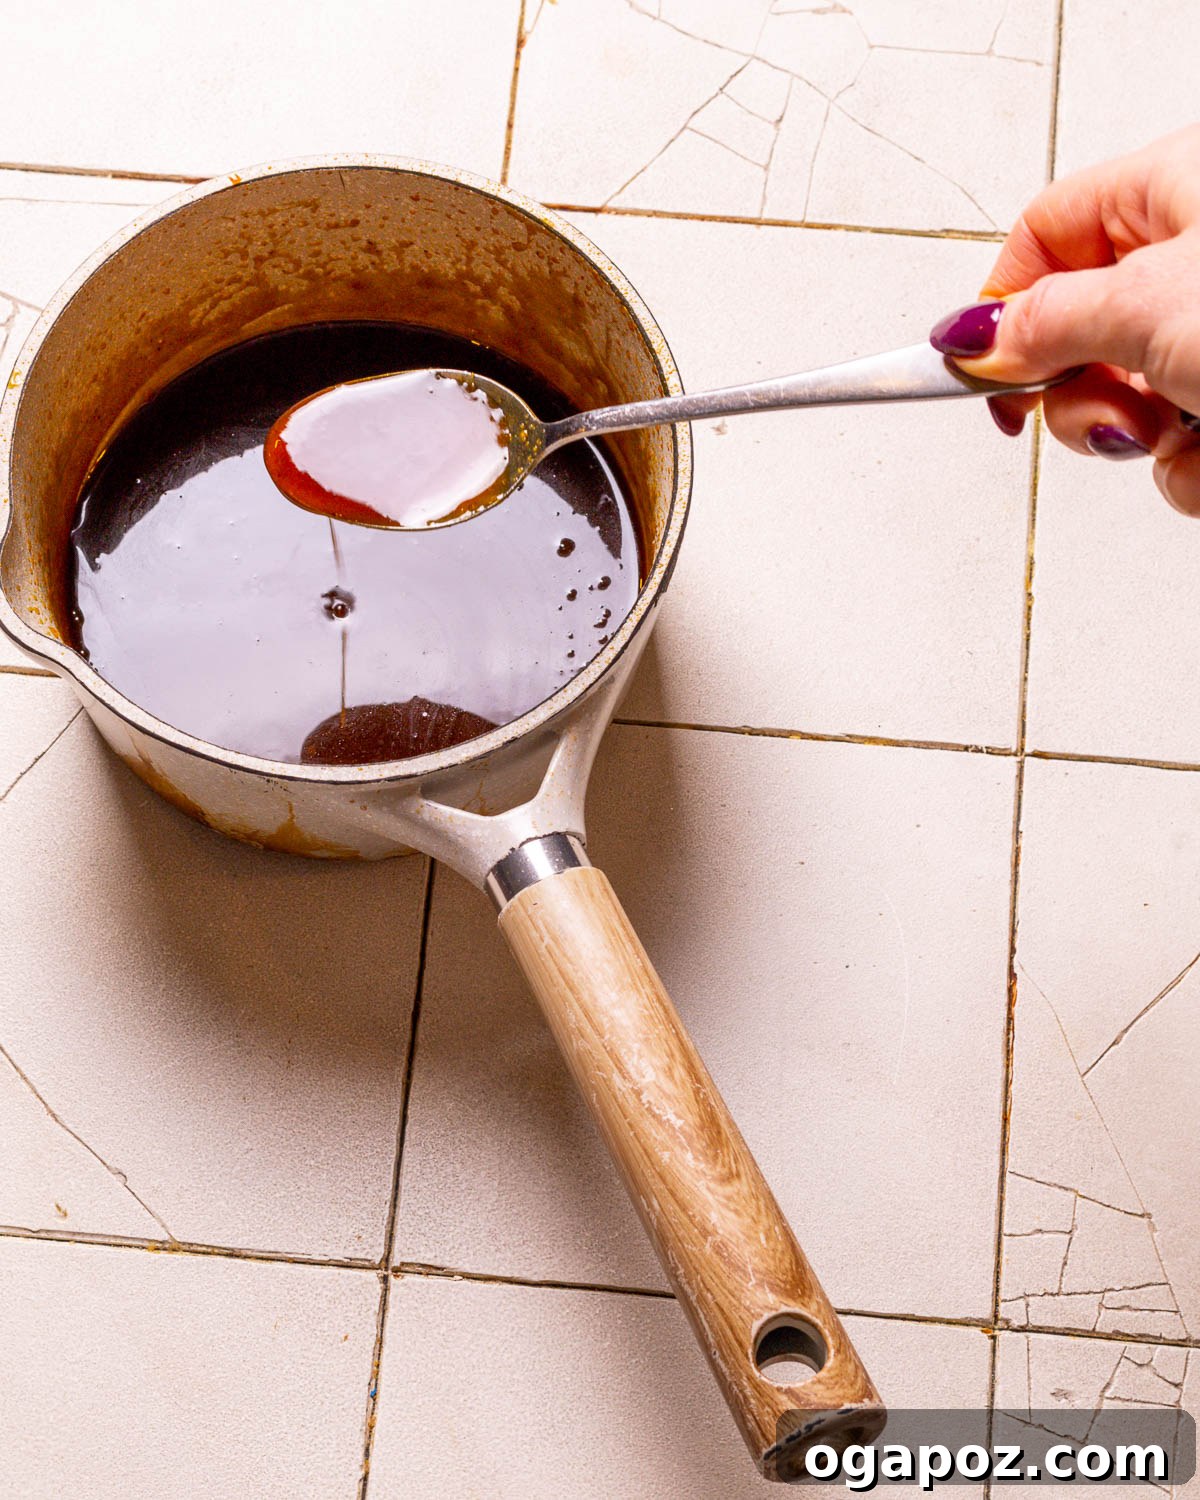
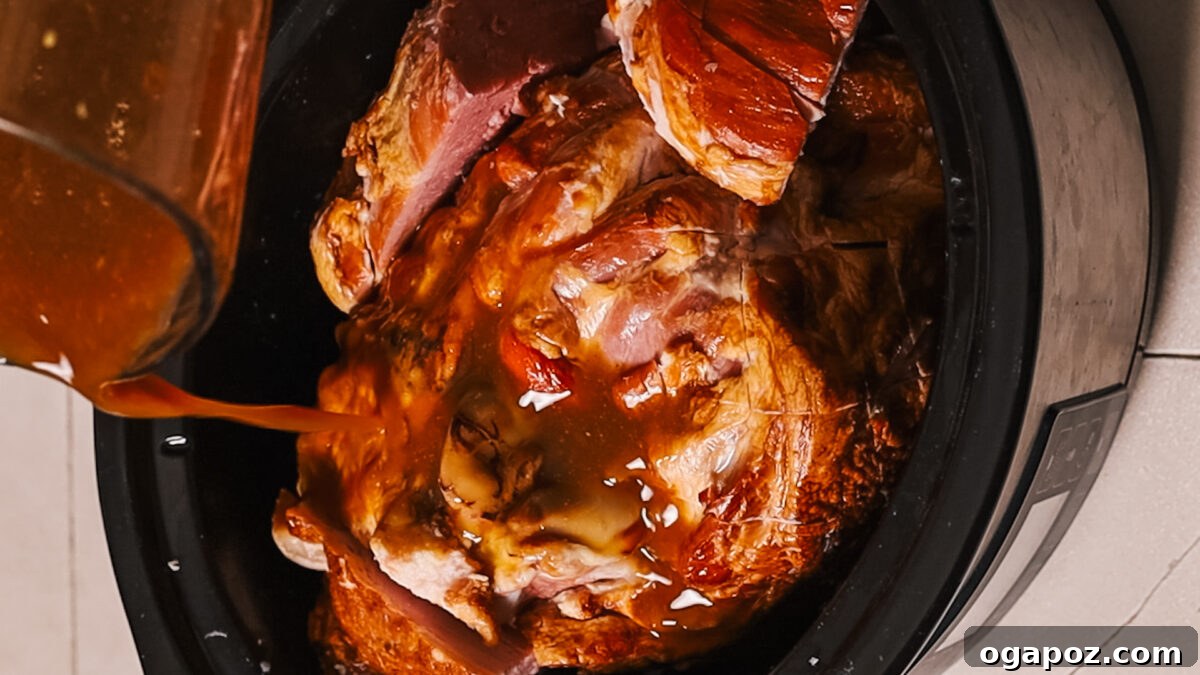
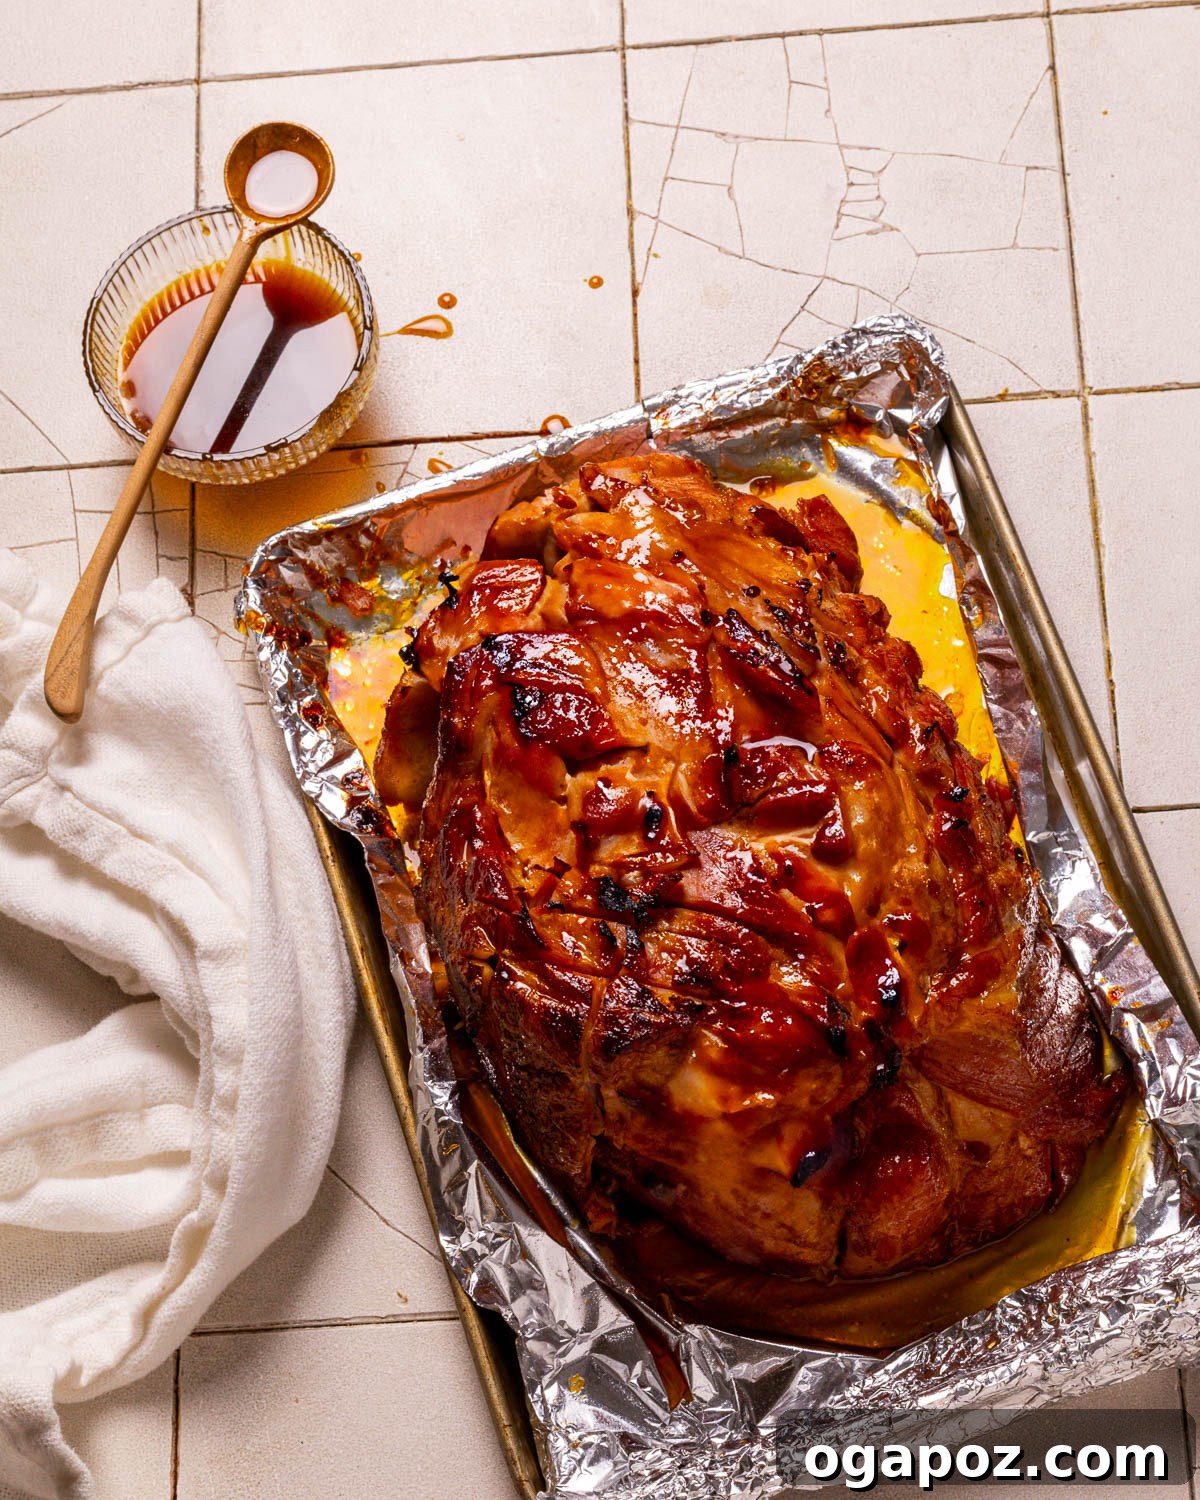
Preparing the 5-Minute Glaze
- In a small, heavy-bottomed saucepan, combine all the glaze ingredients: brown sugar, maple syrup (or honey), orange juice (or pineapple juice), Dijon mustard, apple cider vinegar, garlic powder, and ground cloves (if using).
- Place the saucepan over medium heat. Bring the mixture to a gentle simmer, stirring occasionally with a whisk to ensure all the sugars dissolve and the ingredients are thoroughly combined.
- Continue to cook for approximately 5-7 minutes. The glaze will thicken slightly and become syrupy. It should coat the back of a spoon. Remove from heat and set aside; it will continue to thicken as it cools.
Expert Glazing Techniques for Your Ham
The application of the glaze is just as important as its preparation. These steps ensure a beautiful, even, and deeply flavorful crust.
First Glaze Application for Depth of Flavor
- Approximately 25-30 minutes before your ham is scheduled to finish baking, remove it from the oven. Using a basting brush, apply a thin, even layer of the prepared glaze over the entire surface of the ham. Pay special attention to the scored areas, ensuring the glaze seeps into the cuts.
- After applying the first layer, increase your oven temperature to 425°F (220°C). This higher heat will initiate the beautiful caramelization process, creating a sticky, slightly crisp finish. Return the ham to the oven.
Second Glaze for Enhanced Shine and Sweetness
- About 10-15 minutes before the ham is completely cooked (when its internal temperature is nearing 135-140°F or 57-60°C), remove it from the oven once more. Apply a second generous layer of glaze. This reapplication will significantly enhance both the flavor intensity and the glossy, caramelized texture of the crust. Return the ham to the oven to finish baking.
Optional Third Glaze for an Extra Glossy Finish
- For a truly show-stopping, extra-glossy finish, consider brushing a final thin layer of glaze onto the ham immediately after removing it from the oven. The residual heat will melt and set this last layer, providing a magnificent sheen. Once glazed, let the ham rest as described below. Slice and serve your perfectly prepared ham, perhaps with any extra glaze from the pan for drizzling.
💡 Pro Tip: How to Perfectly Estimate Glazing Time
Precise timing is paramount to achieve that perfect caramelized crust without burning. Here’s how to ensure your ham is glazed at just the right moment:
- General Rule: Plan to apply the first layer of glaze during the final 25-30 minutes of the ham’s total baking time. This window is ideal for the sugars to caramelize beautifully.
- Standard Baking Times: Most hams are baked at 325°F (160°C). For a fully cooked ham, you’re generally aiming for an internal temperature of 135-140°F (57-60°C) for reheating, which typically takes about 10-15 minutes per pound.
- Practical Example: Let’s say you have a 6-pound fully cooked ham baking at 325°F.
- Total estimated baking time: 6 pounds * 15 minutes/pound = 90 minutes (1 hour 30 minutes).
- To find the glazing start time: Total time – 30 minutes (glazing window) = 60 minutes (1 hour).
- Therefore, you would apply your first glaze at the 1-hour mark, continuing to glaze for the last 30 minutes of cooking.
- The Most Accurate Method: Use a Meat Thermometer: Relying on an accurate instant-read meat thermometer is the most reliable way to determine when to start glazing. Begin applying your first layer of glaze when the ham’s internal temperature reaches approximately 110-115°F (43-46°C). This temperature indicates that you are roughly 25-30 minutes away from the ham reaching its final desired temperature of 135-140°F (for fully cooked hams).
- Important Note for Fully Cooked Hams: The vast majority of hams sold in stores are fully cooked and only require reheating. For these hams, the USDA recommends reheating to an internal temperature of 135°F to 140°F (57-60°C). Since the ham is already safe to eat, this temperature ensures it is thoroughly warmed through and ready to be served. Our glazing process aligns perfectly with this reheating guideline, creating a delicious crust while the ham warms up.
Make-Ahead and Storage Solutions for Your Glaze and Leftovers
Planning ahead can significantly reduce stress on the day of your meal. This ham glaze is perfect for preparing in advance, and knowing how to store both the glaze and leftover ham ensures you can savor the flavors for days to come.
The ham glaze itself can be prepared up to an entire week in advance. Simply follow the instructions for combining and cooking the ingredients until it thickens slightly. Once cooked, allow the glaze to cool completely to room temperature before transferring it to an airtight container. Store this container in your refrigerator.
- Reheating Make-Ahead Glaze: To use your pre-made glaze, gently reheat it over low heat in a small saucepan, stirring occasionally, until it becomes fluid and warm enough to brush onto the ham. If the glaze has thickened too much during refrigeration, you can easily thin it out by whisking in a splash of water, orange juice, or pineapple juice until it reaches the desired consistency.
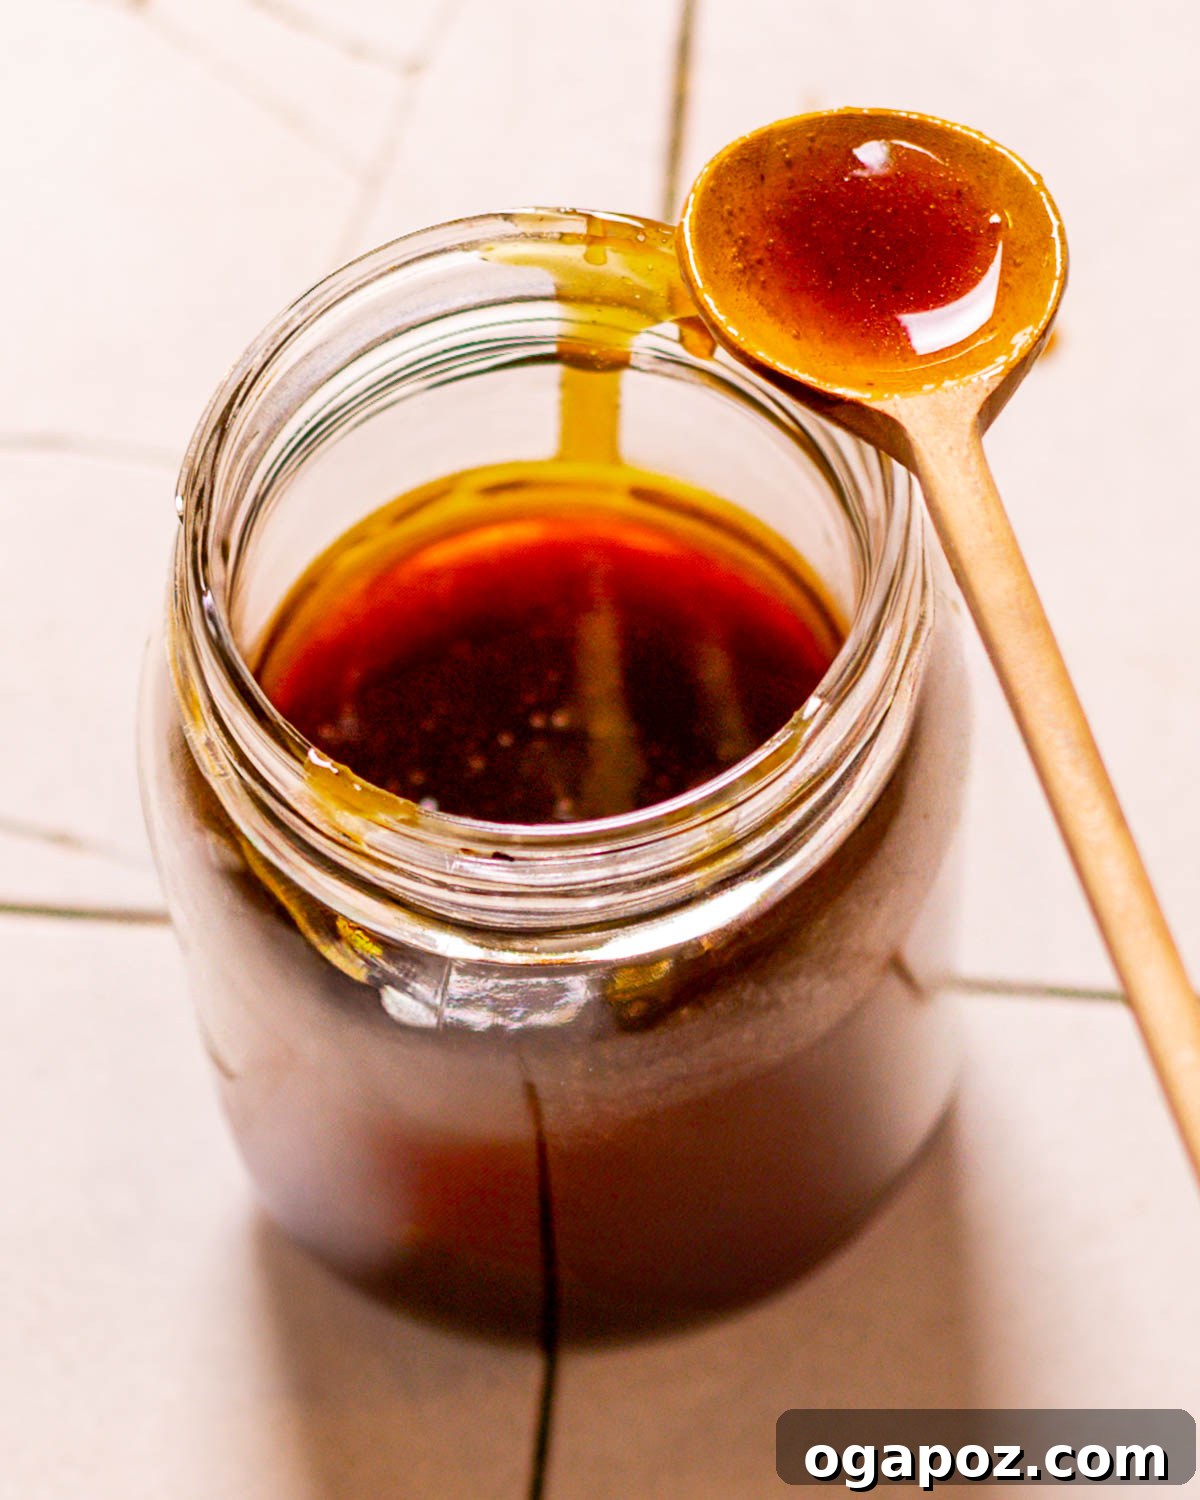
Handling Leftovers: Maximizing Flavor and Longevity
- Leftover Ham Glaze: Any remaining glaze, after it has been cooked, can be stored in an airtight container in the refrigerator for up to one week. Don’t let it go to waste! This versatile glaze is fantastic for brushing onto other meats like chicken breasts, pork chops, or even salmon for a quick burst of flavor. It can also be added to stir-fries or roasted vegetables for a sweet and savory kick.
- Leftover Glazed Ham: Should you find yourself with leftover glazed ham, store it in a sealed, airtight container in the refrigerator for 3-5 days. For reheating, gently warm slices in the oven, covered with foil, to help retain moisture and prevent drying out. You can also microwave individual portions, again covering them to keep them succulent.
How to Serve Your Magnificently Glazed Ham
A glossy, perfectly glazed ham is more than just a meal; it’s a celebration. It’s the quintessential centerpiece for cherished holidays like Easter and Christmas, or any special dinner where you want to impress. Presenting it beautifully with thoughtful accompaniments truly elevates the dining experience.
- Perfect Condiments: Enhance the ham’s rich flavor by offering a selection of complementary condiments. Classic yellow or spicy brown mustards are always a hit. For a more adventurous pairing, consider a tangy mango chutney, a sweet and tart cranberry relish, or even a homemade apple sauce. These additions provide textural contrast and bright, refreshing notes that cut through the richness of the ham.
- Complementary Side Dishes: The right side dishes can transform your glazed ham into an unforgettable feast. Pair the ham with hearty and comforting options such as perfectly roasted vegetables (like asparagus, Brussels sprouts, or carrots), a rich and creamy au gratin potatoes (naturally gluten-free), fluffy mashed potatoes, or a vibrant fresh green salad with a light vinaigrette. Don’t forget classics like sweet potato casserole or green bean almondine.
- Wine Pairings: For adult guests, consider pairing your glazed ham with a semi-dry Riesling, a light-bodied Pinot Noir, or a sparkling cider for a non-alcoholic option. The sweetness and acidity of these beverages beautifully complement the savory and sweet flavors of the ham.
Creative Ideas for Leftover Glazed Ham: Beyond the Sandwich
Leftover ham is a gift that keeps on giving! While a simple sandwich is always a delight, there are countless creative ways to transform your remaining glazed ham into exciting new meals.
- Elevated Sandwiches and Wraps: Thick slices of glazed ham make the absolute BEST sandwiches. Pair them with a sharp cheddar, a crisp lettuce, and a smear of whole-grain mustard or a sweet pickle relish on artisan bread. For a lighter option, dice ham and add to wraps with fresh veggies and a creamy dressing.
- Hearty Soups and Stews: Dice leftover ham to infuse a wonderful smoky and savory flavor into a variety of comforting soups and stews. It’s perfect in a classic ham and bean soup, a deeply flavorful ham bone soup (especially if you have a large ham bone left over), or my personal favorite, a hearty ham and lentil soup recipe.
- Delicious Breakfast and Brunch Dishes: Incorporate chopped glazed ham into your morning meals for a flavorful start to the day. It’s fantastic in fluffy omelets, charming mini quiches, a satisfying breakfast tater tot casserole, or even innovative Ham & Cheese Buttermilk Waffles.
- Casseroles and Pasta Bakes: Cubed ham is an excellent addition to cheesy pasta bakes, comforting potato casseroles, or even creamy mac and cheese for a boost of protein and flavor.
- Salads and Appetizers: Shredded or diced ham can elevate a simple green salad or be used to create delicious ham salad spreads for crackers and toast points.
Frequently Asked Questions About Ham Glaze
Navigating the world of ham glazing can sometimes raise a few questions. Here are answers to some of the most common queries I receive, ensuring you feel confident and prepared for your culinary adventure.
Absolutely! To add a delightful kick, you can incorporate a pinch of cayenne pepper, a dash of hot sauce, or a quarter teaspoon of red pepper flakes to the glaze mixture. For a deeper, more robust spice, consider substituting the Dijon mustard with a spicier variety, such as a whole-grain mustard infused with horseradish or chili. Start with a small amount and taste as you go to achieve your preferred level of heat.
Yes, you can experiment with sugar substitutes, but be aware that the final texture, flavor, and caramelization properties may differ. Coconut sugar can be a good one-to-one replacement for brown sugar, offering a similar depth of flavor, though it might produce a slightly less sticky finish. Monk fruit sweetener is another option, but it may not caramelize as effectively as traditional sugars, impacting the glossy crust. When using substitutes, monitor the glaze closely during simmering and baking, as their chemical properties can affect thickening and browning rates differently.
Glaze burning typically happens for a few reasons. The most common is applying the glaze too early in the cooking process, subjecting the sugars to prolonged high heat. Always wait until the last 25-30 minutes of baking, or when the ham reaches 110-115°F internal temperature. Over-broiling is another culprit; always watch the ham intensely during the broiling stage, as sugars can burn in seconds. Ensure your oven temperature isn’t running too high, and always use a lined pan to prevent glaze from sticking and scorching.
Certainly! If your glaze is too thin after simmering, return it to low heat and continue to simmer gently, stirring frequently, until it reduces and thickens to your desired consistency. Be careful not to reduce it too much, as it will thicken further upon cooling. If it’s too thick, simply whisk in a tablespoon at a time of warm water, orange juice, or pineapple juice until it reaches a brushable consistency. The Dijon mustard and brown sugar naturally contribute to its thickening properties, so adjustments should be minor.
Other Easy Glaze Recipes You’ll Love
If you enjoyed mastering this ham glaze, you’ll be thrilled to explore these other fantastic and easy glaze recipes that can elevate various dishes:
- Best Meatloaf Glaze (an incredibly simple 3-ingredient wonder!)
- Honey Teriyaki Glaze (absolutely amazing on fresh salmon fillets)
- Maple-Butter Glaze (perfect for a boneless turkey breast roast, and yes, it works beautifully on ham too!)
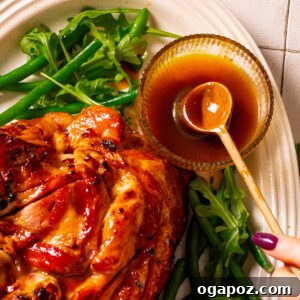
Perfect Glaze for Ham (Easy 5-Minute Recipe + Pro Tips!)
Jennifer Pallian BSc, RD
5 minutes
7 minutes
12 minutes
10
Ingredients
- ½ cup brown sugar
- ¼ cup maple syrup or honey
- ½ cup orange juice or pineapple juice
- 2 tbsp Dijon mustard
- 1 tbsp apple cider vinegar
- 1 tsp garlic powder
- ¼ tsp ground cloves optional for warm spice
Instructions
-
Combine Ingredients: Whisk all glaze ingredients together in a small saucepan. Place over medium heat and bring to a simmer, stirring occasionally. Cook for 5-7 minutes until slightly thickened and syrupy.
-
First Glaze: About 25-30 minutes before the ham is finished baking (or when internal temperature reaches 110-115°F), brush a thin, even layer of glaze over the ham. Increase the oven temperature to 425°F (220°C) to achieve a beautifully caramelized finish. Return ham to the oven.
-
Second Glaze: Brush on a second, more generous layer of glaze 10-15 minutes before the ham is done cooking.
-
Optional Third Glaze: After removing the ham from the oven, brush with a final layer of glaze for an extra glossy finish.
-
Let the ham rest for 10-15 minutes before slicing. This allows the juices to redistribute, ensuring incredibly juicy slices. Serve with any extra glaze that has collected in the pan for drizzling.
Notes
Example: A 6-pound ham at 325°F takes around 1 hour 30 minutes. You’d apply the glaze at the 1-hour mark for the last 30 minutes.
OR Use a Thermometer: The most accurate way is to check the internal temperature. When the ham reaches around 110-115°F (43-46°C), you’re about 25-30 minutes away from the finish line.
If your ham is fully cooked (most store-bought hams are), you only need to heat it to 135°F to 140°F (57-60°C). The USDA recommends this range for reheating cooked ham. It’s safe because the ham was already cooked during processing.
Nutrition Information (per serving)
Carbohydrates: 13g |
Protein: 0.3g |
Fat: 0.1g |
Saturated Fat: 0.01g |
Polyunsaturated Fat: 0.04g |
Monounsaturated Fat: 0.1g |
Sodium: 37mg |
Potassium: 50mg |
Fiber: 0.2g |
Sugar: 12g |
Vitamin A: 27IU |
Vitamin C: 6mg |
Calcium: 13mg |
Iron: 0.2mg
Nutrition information is automatically calculated and should only be used as an approximation. It may vary based on specific ingredients and preparation methods.
Tried this recipe? Leave a comment!
Your feedback helps others discover delicious recipes!