
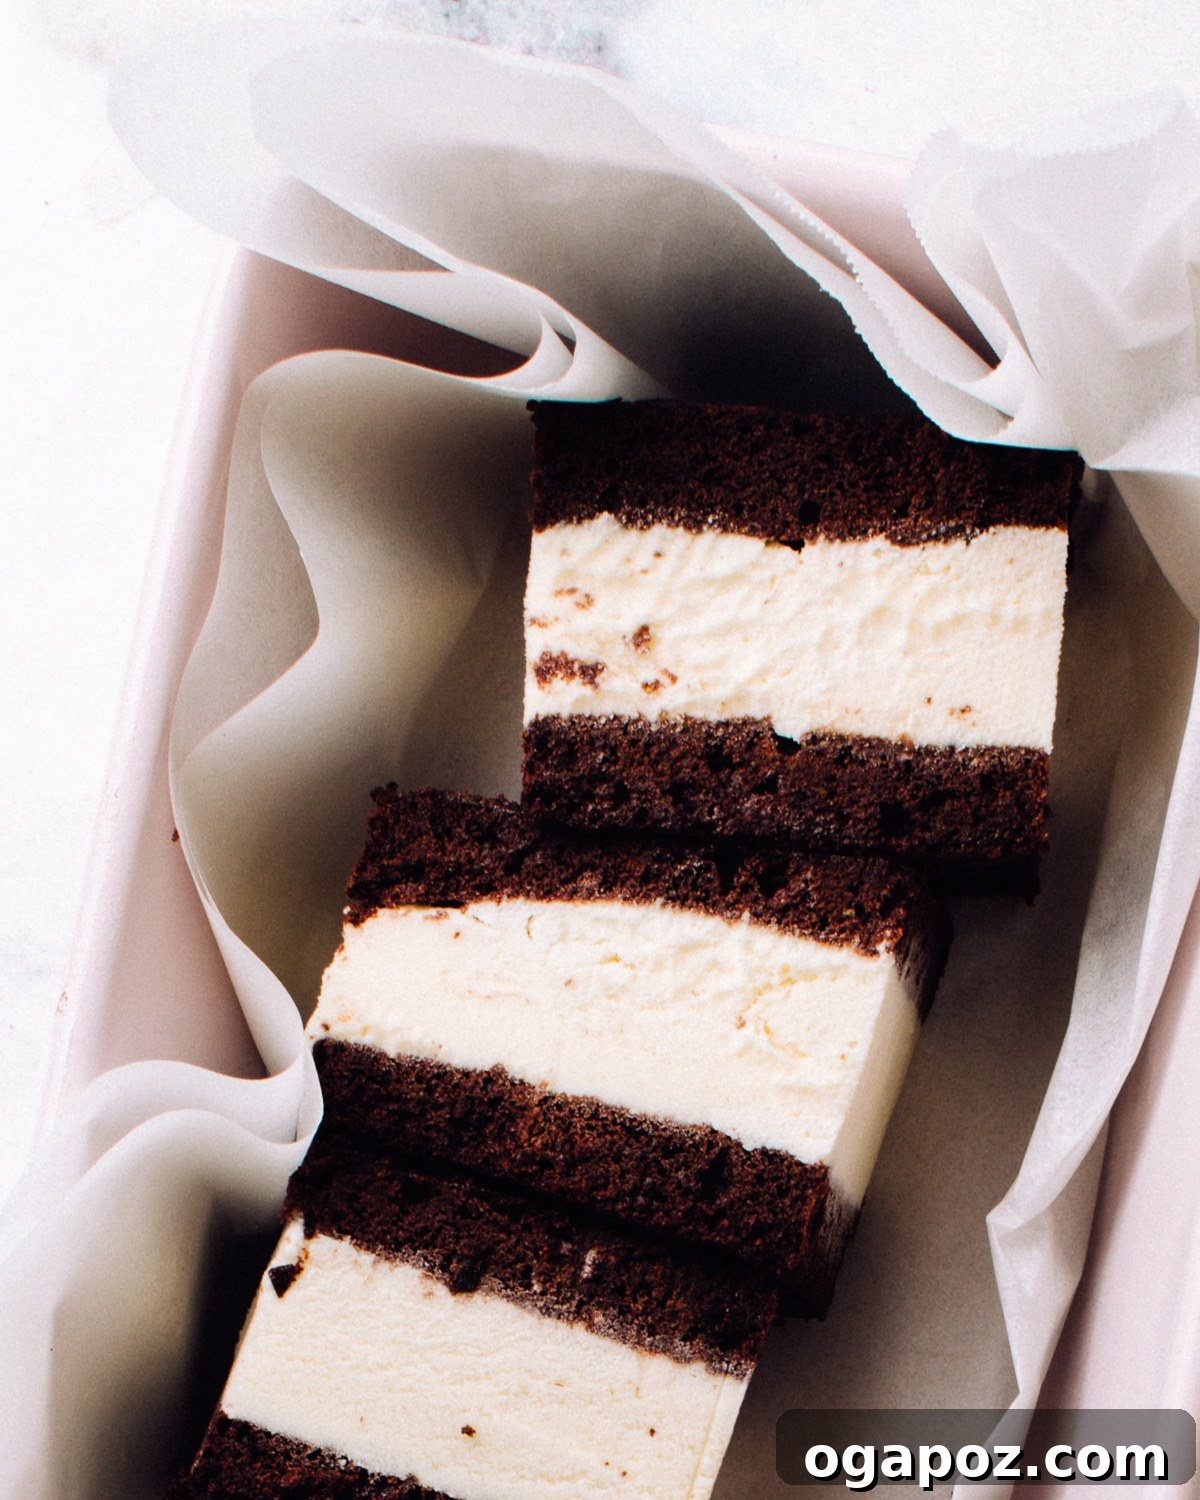
There’s nothing quite like a homemade treat to elevate a simple pleasure, and ice cream sandwiches are no exception. Forget the days of store-bought versions; once you experience the deep, rich chocolate flavor and the soft, chewy, brownie-like texture of these homemade ice cream sandwich wafers, you’ll be hooked. This recipe delivers the quintessential nostalgic taste and texture, ensuring every bite is a delightful journey into summer bliss.
Why You’ll Absolutely Love This Homemade Ice Cream Sandwich Wafer Recipe
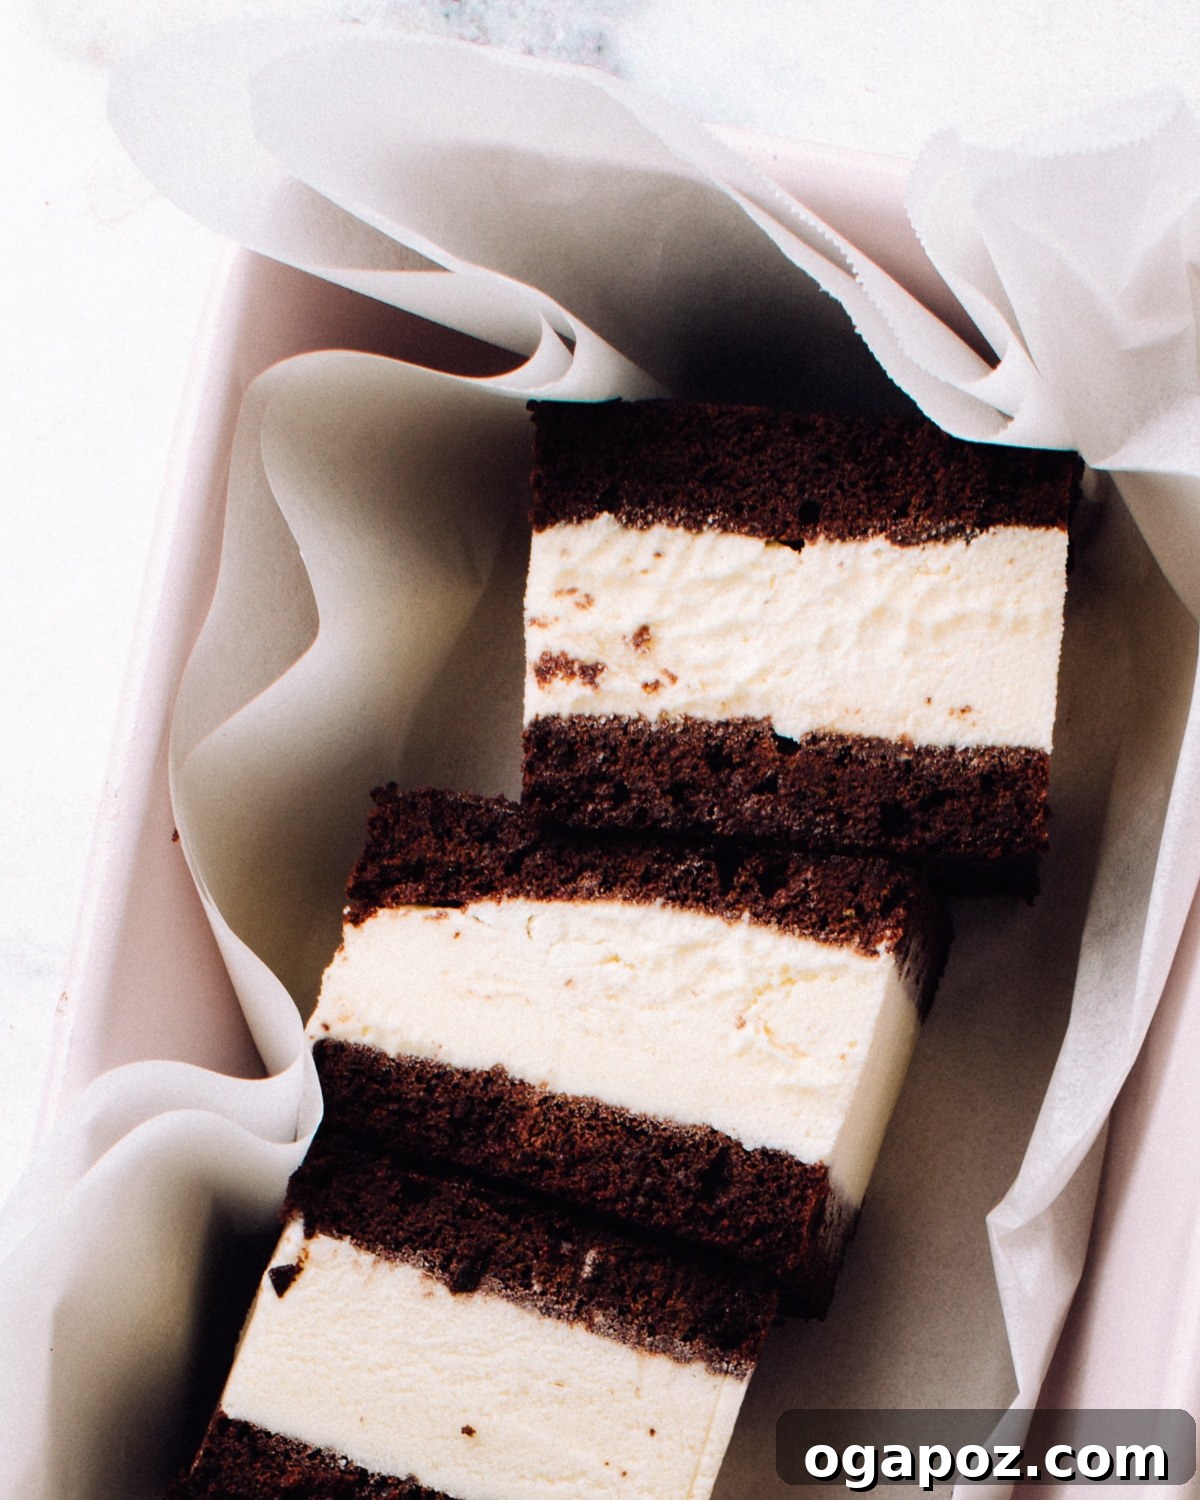
Stepping into the world of homemade ice cream sandwiches is a game-changer. The difference between a store-bought, often bland and crumbly version, and one crafted from scratch is truly astonishing. This recipe isn’t just about assembling two cookies with ice cream; it’s about creating an experience. Our signature homemade chocolate ice cream sandwich wafers are the star of the show. Their texture is a dream – reminiscent of light, fudgy brownies or tender whoopie pie cookies, providing the perfect contrast to cold, creamy ice cream. This isn’t just a basic cookie; it’s a foundation designed for optimal ice cream sandwich enjoyment.
Beyond the incredible wafers, this recipe equips you with ingenious, no-fail tricks for effortless filling and assembly. We address the common challenges of homemade ice cream sandwiches, turning potential frustrations into simple, enjoyable steps. From perfectly spreading the batter to cleanly cutting your finished treats, we’ve got you covered, ensuring your homemade ice cream sandwiches are not only delicious but also beautifully presented.
What Exactly Makes an Ice Cream Sandwich? Understanding the Components
At its core, an ice cream sandwich is a delightful dessert consisting of a layer of ice cream nestled between two soft cookies or wafers. While the concept seems simple, the quality of each component significantly impacts the final result. Traditionally, ice cream sandwiches feature thin, rectangular chocolate wafers, but homemade versions offer a canvas for creativity and superior flavor.
There are generally two popular approaches to crafting ice cream sandwiches from scratch, each with its own benefits:
- Individual Chocolate Ice Cream Wafers: This classic method involves baking separate, individual cookies that are then paired up to form each sandwich. While it offers a traditional aesthetic, it can be more time-consuming due to multiple scooping and shaping steps. Achieving uniform size and thickness for each cookie can also be a challenge, sometimes leading to a less tidy overall appearance in the finished product.
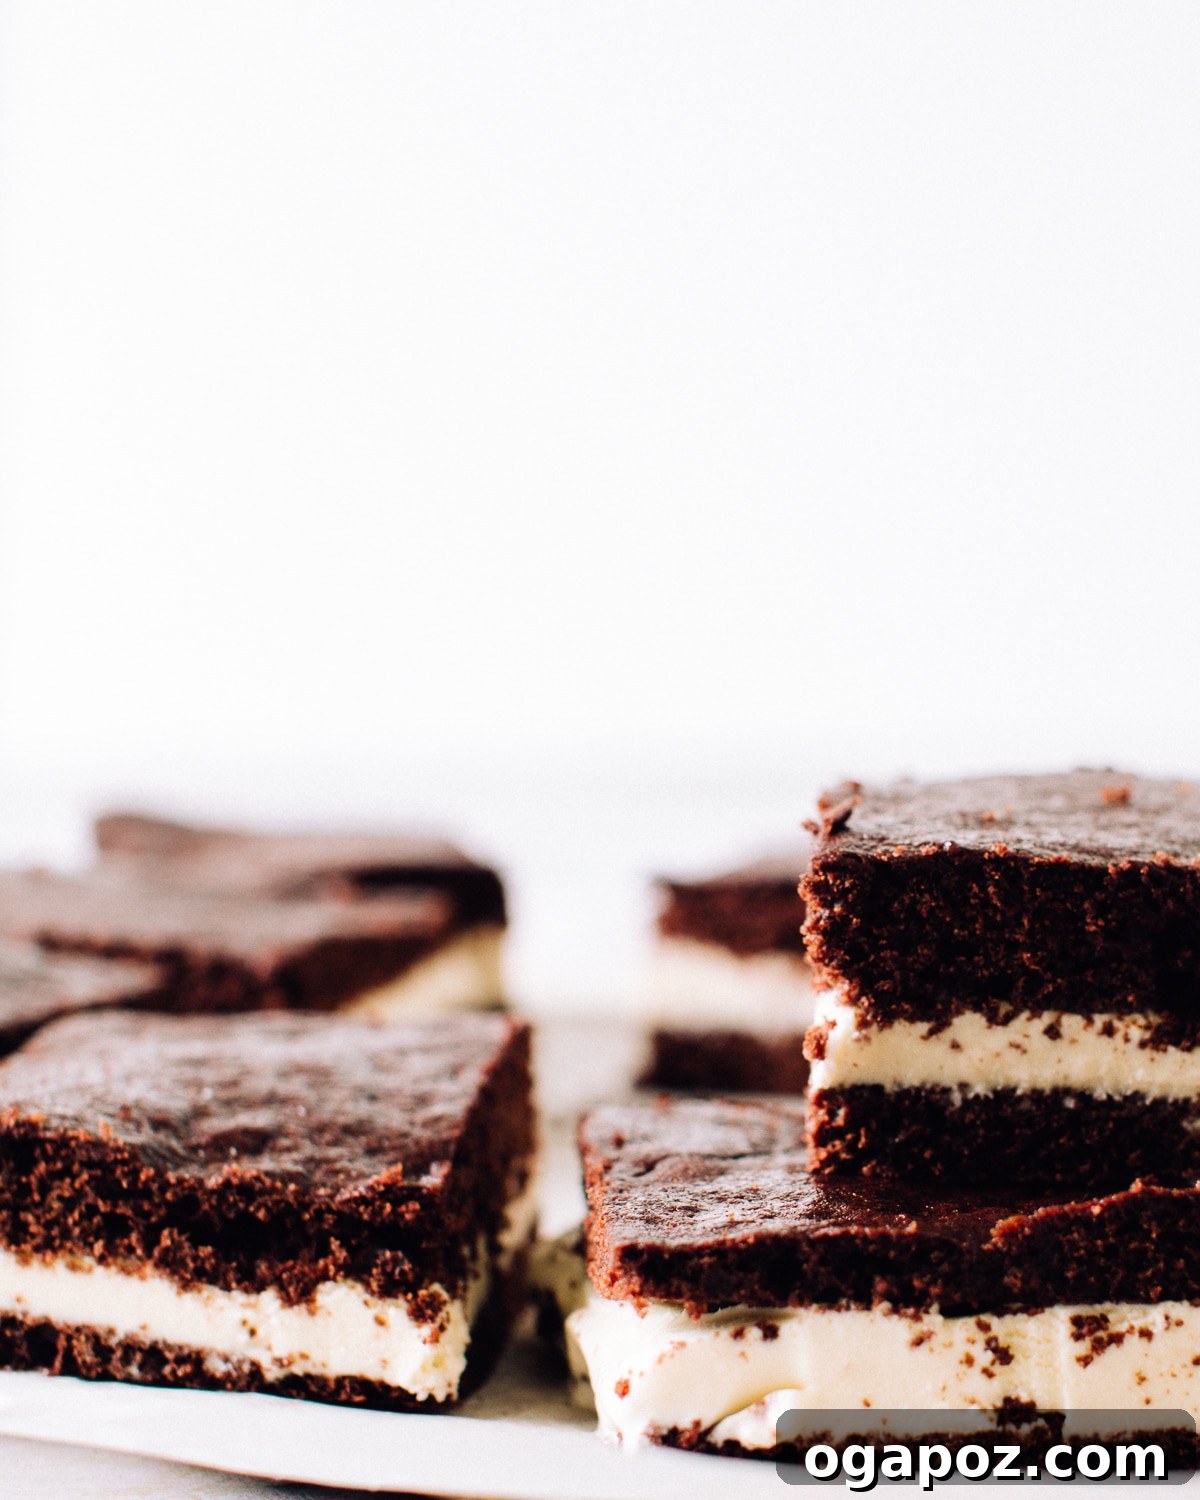
- The Giant Cookie Slab Method (Our Preferred & Recommended Approach): This technique, which we wholeheartedly endorse and utilize in this recipe, streamlines the entire process. Instead of baking many small cookies, you bake one large, thin layer of cookie dough on a baking sheet. This giant slab is then frozen and cut after the ice cream is added. This method is incredibly efficient as it significantly reduces assembly time. More importantly, it allows you to easily slice the entire assembled “super sandwich” into perfect, even rectangles, ensuring every single ice cream sandwich is uniformly shaped and delightfully neat. This consistency not only looks professional but also enhances the eating experience.
Step-by-Step Guide: Crafting Your Own Homemade Ice Cream Sandwiches
Creating this iconic summer dessert from scratch is an incredibly rewarding experience. The aroma alone will transport you back to childhood! Here’s a detailed breakdown of the process to ensure success:
- Prepare the Cookie Batter: Begin by combining your dry ingredients (flour, sugar, cocoa powder, baking soda, and salt) in one bowl. In a separate bowl, whisk together the wet ingredients (egg, buttermilk, oil, and vanilla extract). Gently fold the wet mixture into the dry ingredients until just combined. Avoid overmixing, as this can lead to tough wafers.
- Spread the Batter Evenly: Once your rich chocolate batter is ready, dollop spoonfuls onto a parchment-lined 18×13-inch half-sheet pan. This is where a key trick comes in: use a metal spatula, warmed under hot water and lightly oiled, to meticulously spread the thick, sticky batter into a perfectly even, thin layer across the entire pan. This ensures uniform baking and consistent wafer thickness.
- Bake and Chill the Wafers: Bake the cookie slab until it is just set – it should still have a slight sheen in some spots, indicating a soft, cake-like texture. Overbaking will result in brittle wafers, so keep a close eye on it. Once cooled to room temperature, carefully slice the large cookie slab into two even pieces while it’s still in the pan. Transfer these pieces, still on the parchment, to the freezer to firm up. This step is crucial for easy handling without breakage.
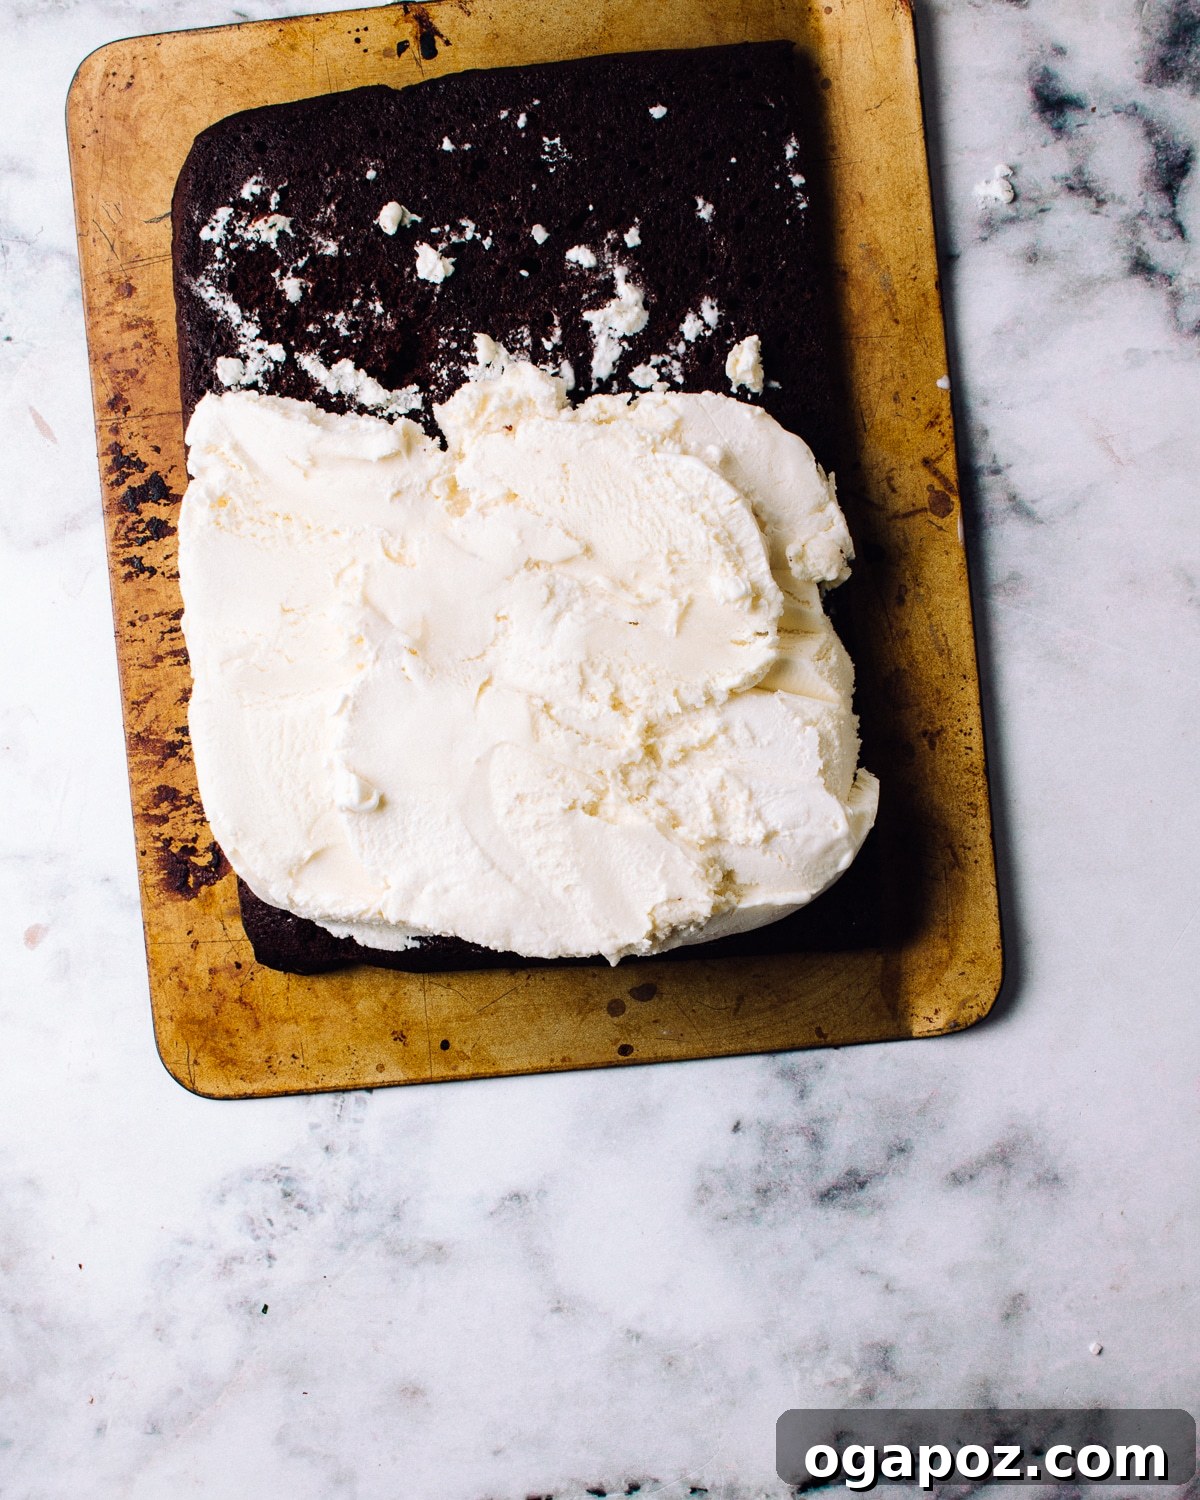
- Assemble with Ice Cream: When your cookie slabs are firm, take one half and place it pretty-side down on your work surface. Now for the ice cream! You can scoop slightly softened ice cream onto the cookie, or for an even easier and neater approach, cut open your ice cream carton with scissors and slice the hard-frozen ice cream into slabs. Position these slabs over the bottom cookie and use your (cleaned and warmed) metal spatula or a knife to firmly press and spread the ice cream evenly to cover the entire cookie base. Gently place the second cookie slab, pretty side up, on top to complete your giant ice cream sandwich.
- Final Freeze and Slice: Return the entire assembled ice cream sandwich slab to the freezer until the ice cream is very solid again. This will make slicing much easier and cleaner. Once firm enough to handle, use a sharp knife dipped in hot water to slice it into individual portions. For best storage, wrap each individual sandwich in plastic wrap or parchment paper and store them in freezer bags. They will keep beautifully for up to a month, ready for a delicious treat anytime!
Mastering the Art: Top Tips for Effortless Homemade Ice Cream Sandwiches
While making homemade ice cream sandwiches is incredibly rewarding, there are a few common “pain points” that can arise. However, these challenges are easily overcome with a few clever tricks that transform the process from daunting to delightfully simple. Consider these insider secrets your guide to a seamless and enjoyable experience.
Ingenious Hacks for Handling the Ice Cream Sandwich Wafer Batter
The batter for these wafers is intentionally thick and sticky to ensure that rich, fudgy texture we love. While delicious, this consistency can make spreading it evenly a bit tricky. But with these two simple hacks, you’ll find it becomes incredibly easy to handle, gliding across the pan like magic:
- Warm Your Spatula: Before you start spreading, run your metal spatula under hot water for a few seconds. This warms the metal, making it less likely for the sticky batter to cling.
- Grease the Spatula: Immediately after warming and drying the spatula, lightly grease it. You can use a quick spray of nonstick cooking spray or simply wipe it with a paper towel dipped in a neutral-tasting oil (like canola). This combination of warmth and grease allows the spatula to effortlessly glide and push the batter around, smoothing it into a perfect, even layer. Repeat this warming and greasing procedure as many times as necessary if the batter starts to catch on the spatula – it’s a small step that makes a huge difference!
Effortless Handling: Tricks for Your Delicate Chocolate Wafers
Once baked, our delicious cookie base is designed to be wonderfully soft and slightly underdone, ensuring that signature fudgy, chewy texture. This is key for the ideal ice cream sandwich experience! However, this very softness and thinness mean the wafers can be delicate and prone to breaking during assembly.
To avoid any wafer mishaps and ensure a smooth, intact sandwich, follow this crucial trick:
- The Freezer Firm-Up: After the large cookie slab has cooled completely to room temperature (while still on its baking pan with the parchment paper), pop the entire thing into the freezer. Let it chill there for about 30 minutes, or until it’s firm enough to easily lift off the parchment without bending or cracking. This temporary hardening provides the structural integrity needed to assemble your ice cream sandwiches without any wafer breakage, making the process stress-free and enjoyable.
Achieving Perfection: Tricks for Filling Chocolate Cookie Wafers with Ice Cream
The ice cream layer is just as crucial as the wafer. If the ice cream is too soft, it becomes a messy, runny disaster. If it’s too firm, spreading it evenly without damaging the wafer or exhausting yourself can be nearly impossible. Fortunately, we have an elegant solution to this common dilemma:
- The “Slice from the Carton” Method: The easiest and cleanest way we’ve found to apply ice cream is to bypass scooping altogether. Simply cut open the ice cream container with scissors (cardboard cartons are usually easier than plastic, but both work). Once the carton is open, slice the hard-frozen ice cream directly into uniform slabs.
- Position and Smooth: Carefully position these pre-sliced ice cream slabs over your bottom cookie wafer. Then, use the same (now cleaned and, if needed, slightly warmed) metal spatula you used for the batter to gently but firmly smooth the ice cream across the entire surface of the cookie. If the ice cream feels too resistant, a quick dip of your spatula in hot water will help it glide more easily, ensuring a perfectly even and beautiful ice cream layer.
Precision Slicing: Tricks for Cutting Your Homemade Ice Cream Sandwiches
After all your careful work, the final step is to slice your large ice cream sandwich slab into neat, individual portions. This might seem straightforward, but a little trick can make all the difference in achieving those clean, professional-looking edges:
- The Hot Knife Technique: Just like with the spatula, the secret here is heat. Dip a sharp, long knife into hot water before each cut. The heated blade will glide through the frozen ice cream and crisp wafers with remarkable ease, creating beautifully clean and distinct lines. Wipe the knife clean between each cut to maintain sharpness and prevent sticky residue.
- Patience is Key: If at any point the ice cream starts to melt too quickly or become too soft to slice cleanly, don’t force it. Simply pop the entire slab back into the freezer for another 10-15 minutes to firm up again. We’re essentially utilizing hot water and the freezer as precision cooking tools here, working in tandem to give you the perfect result every time!
With these comprehensive tips, you’re not just making ice cream sandwiches; you’re mastering a delightful culinary craft, ensuring every single homemade treat is a testament to your newfound expertise.

Homemade Ice Cream Sandwich Recipe Card
Ingredients for Soft Chocolate Wafers:
- 7.9 oz (approx. 1 ¾ cups) all-purpose flour
- 1 cup granulated sugar
- ¾ cup unsweetened cocoa powder
- ½ tsp baking soda
- ¼ tsp salt
- 1 large egg
- 1 cup buttermilk
- ½ cup canola or other neutral-tasting oil
- 1 tsp vanilla extract
For the Filling:
- 2 pints (1 liter or 4 cups) vanilla ice cream (or your favorite flavor!)
Instructions:
- Preheat your oven to 350°F (175°C). Line an 18×13-inch (half-sheet pan) with parchment paper, allowing some overhang for easy lifting later.
- In a large bowl, whisk together the dry ingredients: flour, granulated sugar, cocoa powder, baking soda, and salt until well combined.
- In a separate large bowl, whisk the egg until light, then whisk in the buttermilk, canola oil, and vanilla extract.
- Pour the wet egg mixture into the dry flour mixture. Gently fold together with a spatula until no dry streaks of flour remain. Be careful not to overmix the batter; a few small lumps are fine. Overmixing can lead to tough wafers.
- Dollop spoonfuls of the thick, sticky cookie batter onto the prepared baking pan. To spread it evenly, warm a metal spatula under hot water, dry it quickly, then lightly spray it with nonstick cooking spray or grease it with a paper towel dipped in oil. Use the prepared spatula to spread the batter into a smooth, even layer across the entire parchment-lined pan. Repeat the warming and greasing of the spatula as needed to prevent sticking and ensure a perfectly flat surface.
- Bake for 7 minutes, or until the cookie slab is just set but still appears slightly shiny in spots. This ensures a soft, fudgy texture. Do not overbake.
- Allow the baked cookie slab to cool completely to room temperature while still in the pan. Once cool, carefully slice the slab in half crosswise, still in the pan. Transfer both halves, still on the parchment, to the freezer for about 30 minutes, or until firm enough to handle easily without breaking.
- Once the cookie halves are firm, place one half, pretty-side down, on a clean work surface. For the ice cream layer, either scoop slightly softened ice cream over the cookie or, for a neater application, cut open the ice cream carton with scissors and slice the hard-frozen ice cream into slabs. Arrange these slabs over the bottom cookie.
- Using a knife or a cleaned, warmed metal spatula, firmly press and spread the ice cream evenly over the entire surface of the bottom cookie.
- Carefully place the second frozen cookie slab, pretty side up, on top of the ice cream layer. Gently press down to create a cohesive sandwich.
- Transfer the entire giant ice cream sandwich slab back to the freezer. Freeze until the ice cream is very solid, typically at least 1-2 hours.
- When ready to serve, use a sharp knife that has been dipped in hot water to slice the frozen slab into individual, equal-sized ice cream sandwiches. Clean and re-warm the knife between cuts for the cleanest slices.
- For storage, freeze individual sandwiches in a single layer on a baking sheet until they are very hard. Then, wrap each sandwich individually in plastic wrap or parchment paper (you can tie them with kitchen string for a charming touch). Store them in an airtight freezer bag or container for up to one month.
Nutrition Information (Approximate Per Serving):
The following nutrition information is an approximation and can vary based on specific ingredients and preparation methods. It should be used as a general guide.
- Calories: 398 kcal
- Carbohydrates: 52g
- Protein: 7g
- Fat: 21g
- Saturated Fat: 7g
- Polyunsaturated Fat: 3g
- Monounsaturated Fat: 9g
- Trans Fat: 0.04g
- Cholesterol: 51mg
- Sodium: 185mg
- Potassium: 273mg
- Fiber: 4g
- Sugar: 35g
- Vitamin A: 385 IU
- Vitamin C: 0.5mg
- Calcium: 145mg
- Iron: 2mg
Nutrition information is automatically calculated, so should only be used as an approximation.
Frequently Asked Questions About Homemade Ice Cream Sandwiches
Here are answers to some common questions you might have when making these delightful treats at home:
Can I make these ice cream sandwiches ahead of time?
Absolutely! Homemade ice cream sandwiches are excellent for making ahead. In fact, freezing them well is part of the process. Once individually wrapped, they can be stored in the freezer for up to a month. This makes them perfect for parties, meal prep, or simply having a delicious treat on hand whenever a craving strikes.
Can I use different ice cream flavors?
Yes, please do! While vanilla ice cream provides a classic contrast to the rich chocolate wafers, feel free to experiment. Mint chocolate chip, strawberry, coffee, or even a salted caramel ice cream would be fantastic variations. Consider seasonal flavors for a special touch.
What if I don’t have buttermilk?
No problem! You can easily make a homemade buttermilk substitute. For 1 cup of buttermilk, measure 1 cup of regular milk (dairy or non-dairy) and stir in 1 tablespoon of lemon juice or white vinegar. Let it sit for 5-10 minutes until it slightly curdles. This acidity is important for the tenderness of the wafers and reacting with the baking soda.
How do I prevent the wafers from becoming hard or brittle?
The key to soft, chewy wafers lies in not overbaking them. Look for them to be just set, with a slight sheen remaining on top, as outlined in the instructions. Additionally, ensuring proper moisture in the batter (which buttermilk helps with) and not overmixing are crucial. The initial freezer firm-up step helps them hold their shape without drying them out.
Can I add sprinkles or other toppings?
Definitely! Before the assembled slab goes back into the freezer for its final chill, you can gently press sprinkles, mini chocolate chips, chopped nuts, or even finely crushed candies onto the exposed sides of the ice cream layer. This adds extra flavor, texture, and a festive look!
More Popular Summer Dessert Recipes to Explore
If you’ve loved making these homemade ice cream sandwiches, you’re in for a treat with these other refreshing summer desserts that are perfect for warm weather gatherings or simply enjoying at home:
- Frozen Lemon Mousse Bars: Light, tangy, and incredibly refreshing, these bars are a delightful citrusy escape.
- Healthy Homemade Fudgesicles: A guilt-free indulgence, these simple 4-ingredient fudgesicles are rich, chocolatey, and healthier than store-bought.
- Cherry Cheesecake Popsicles: Combine two beloved desserts into one frosty, creamy, and fruity treat that kids and adults alike will adore.
- Fudgey Mint Ice Cream Sandwiches: For mint lovers, this variation offers a cool, refreshing twist on the classic chocolate and vanilla combination.