
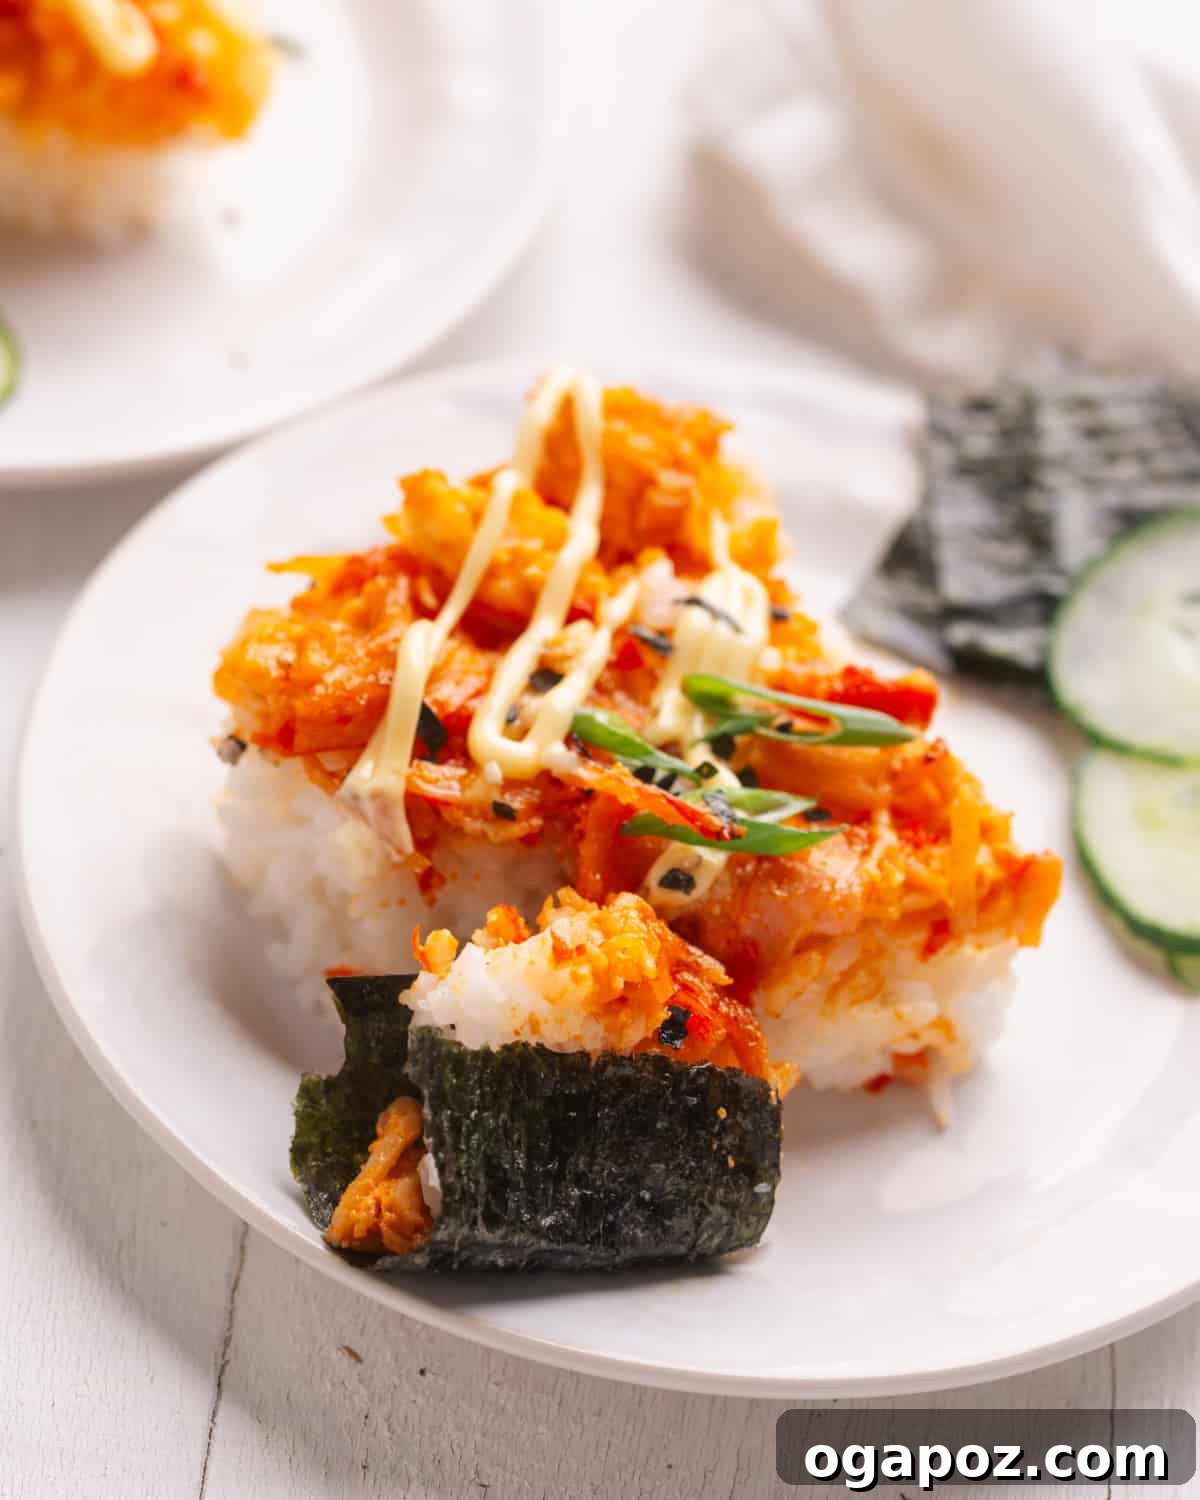
Prepare to be absolutely obsessed with this viral **sushi bake recipe** – a culinary sensation that brings all the beloved flavors of sushi into an easy, comforting casserole. Imagine creamy, umami-rich seafood layered over perfectly seasoned sushi rice, baked to golden perfection. This isn’t just a dish; it’s a revelation for sushi lovers everywhere, offering an accessible and incredibly delicious way to enjoy your favorite Japanese-inspired flavors without the intricate rolling or high restaurant costs.
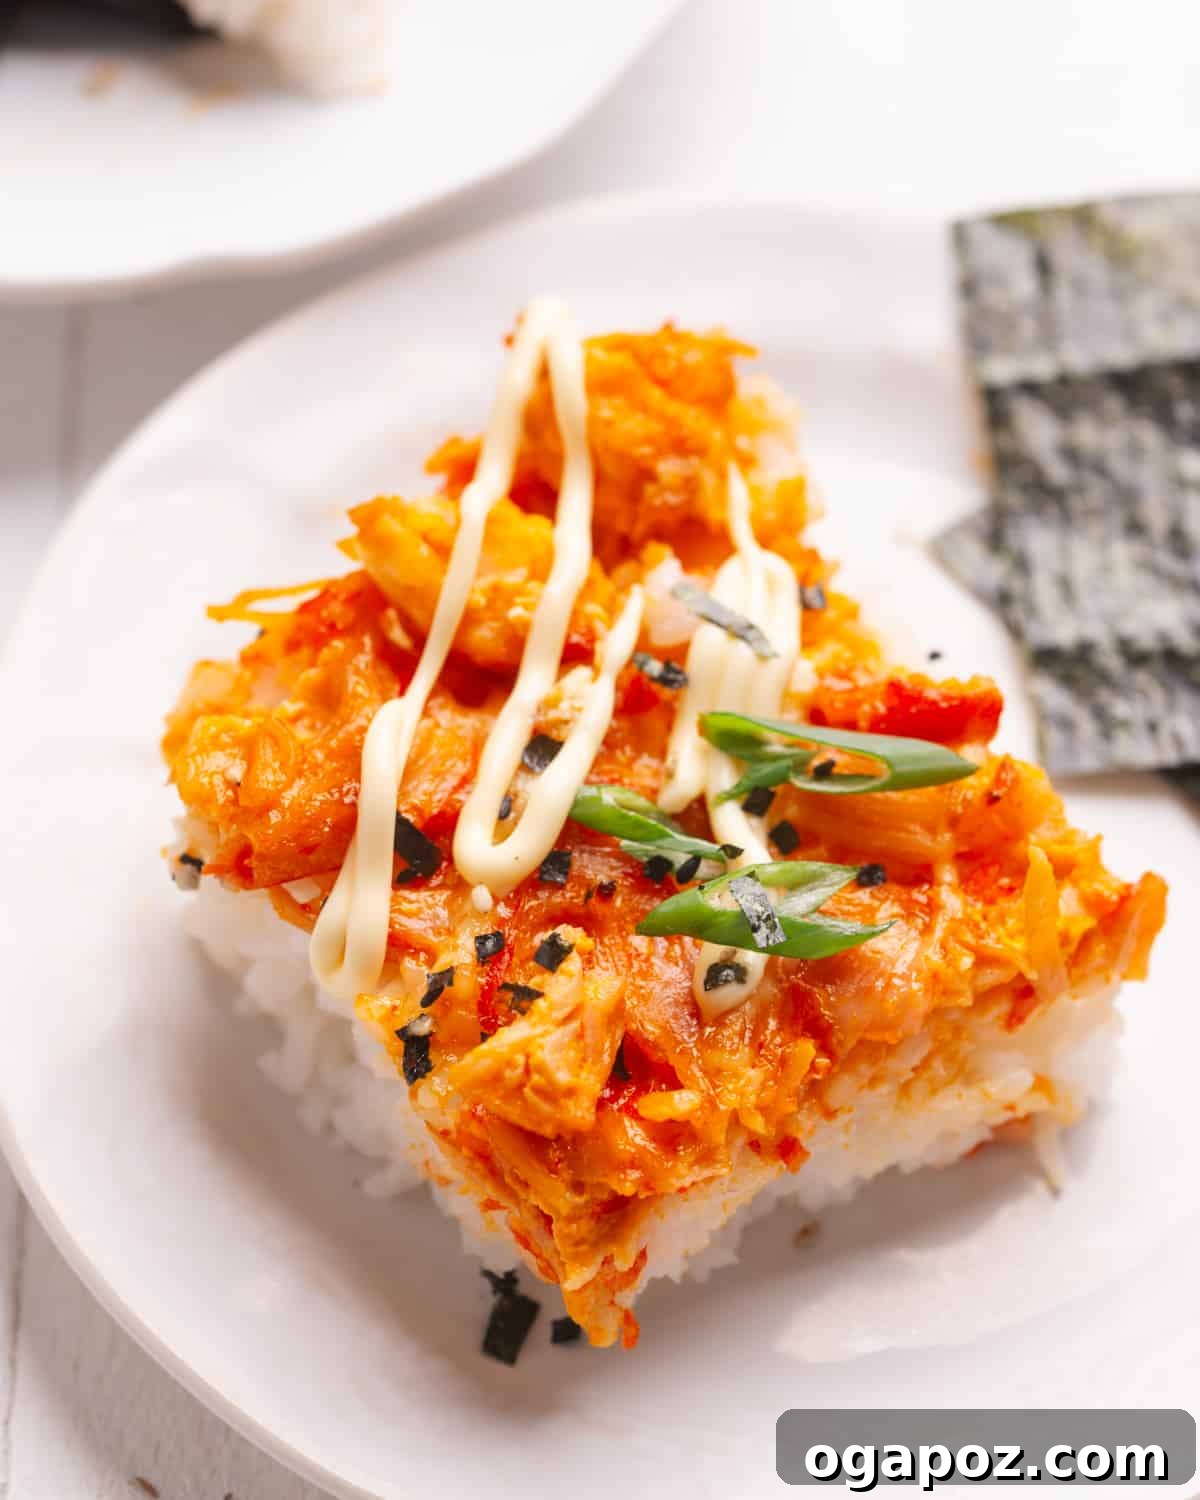
Every succulent bite is a delightful combination of savory seafood, fluffy sushi rice, and a tantalizing drizzle of caramelized spicy mayo. This dish quickly became a household favorite, and we’re certain it will become one of yours too. It’s the ultimate comfort food experience, delivering the essence of a boatload of sushi at a mere fraction of the price. Let’s dive into creating this irresistible culinary delight!
Why This Sushi Bake Recipe Will Become Your New Favorite
Beyond its incredible taste, this sushi bake offers numerous compelling reasons to make it your next go-to recipe:
- Unbeatable Flavor, Unbeatable Value: Enjoy all the intricate, crave-worthy flavors of traditional sushi, enhanced with creamy textures and rich savory notes, all without the premium price tag typically associated with sushi restaurants. It’s gourmet taste on a budget.
- Infinitely Customizable: This recipe is a canvas for your culinary creativity! Feel free to incorporate your favorite sushi-grade seafood, such as perfectly seared salmon, delicate scallops, or even high-quality raw tuna. You can also play with vegetables and additional sauces to make it truly your own.
- Effortlessly Easy to Make: Don’t let the word “sushi” intimidate you. Forget about complex rolling techniques, intricate folding, or precise slicing. This Sushi Bake simplifies the entire process, making it incredibly straightforward and accessible for even novice cooks. If you can make rice and mix ingredients, you can make this!
- Perfect for Sharing and Gatherings: Whether you’re hosting a lively party with friends, enjoying a cozy family dinner, or bringing a dish to a potluck, this sushi bake is designed for sharing. Its casserole format makes serving a breeze, ensuring everyone gets to enjoy a generous portion.
- A Kid-Friendly Delight: The familiar and appealing flavors of sushi, combined with the exciting novelty of a baked dish, make this recipe a huge hit with children. It’s a fantastic way to introduce new textures and flavors to younger palates in a comforting format they’ll love.
For a bite-sized appetizer version, consider: Baked Salmon Rice Muffins (affectionately known as Sushi Cups!). These individually-portioned delights are ideal for tidier serving at gatherings.
Essential Ingredients and Equipment
Gather these key ingredients and kitchen tools to effortlessly bring this delectable dish to life:
Ingredients Overview
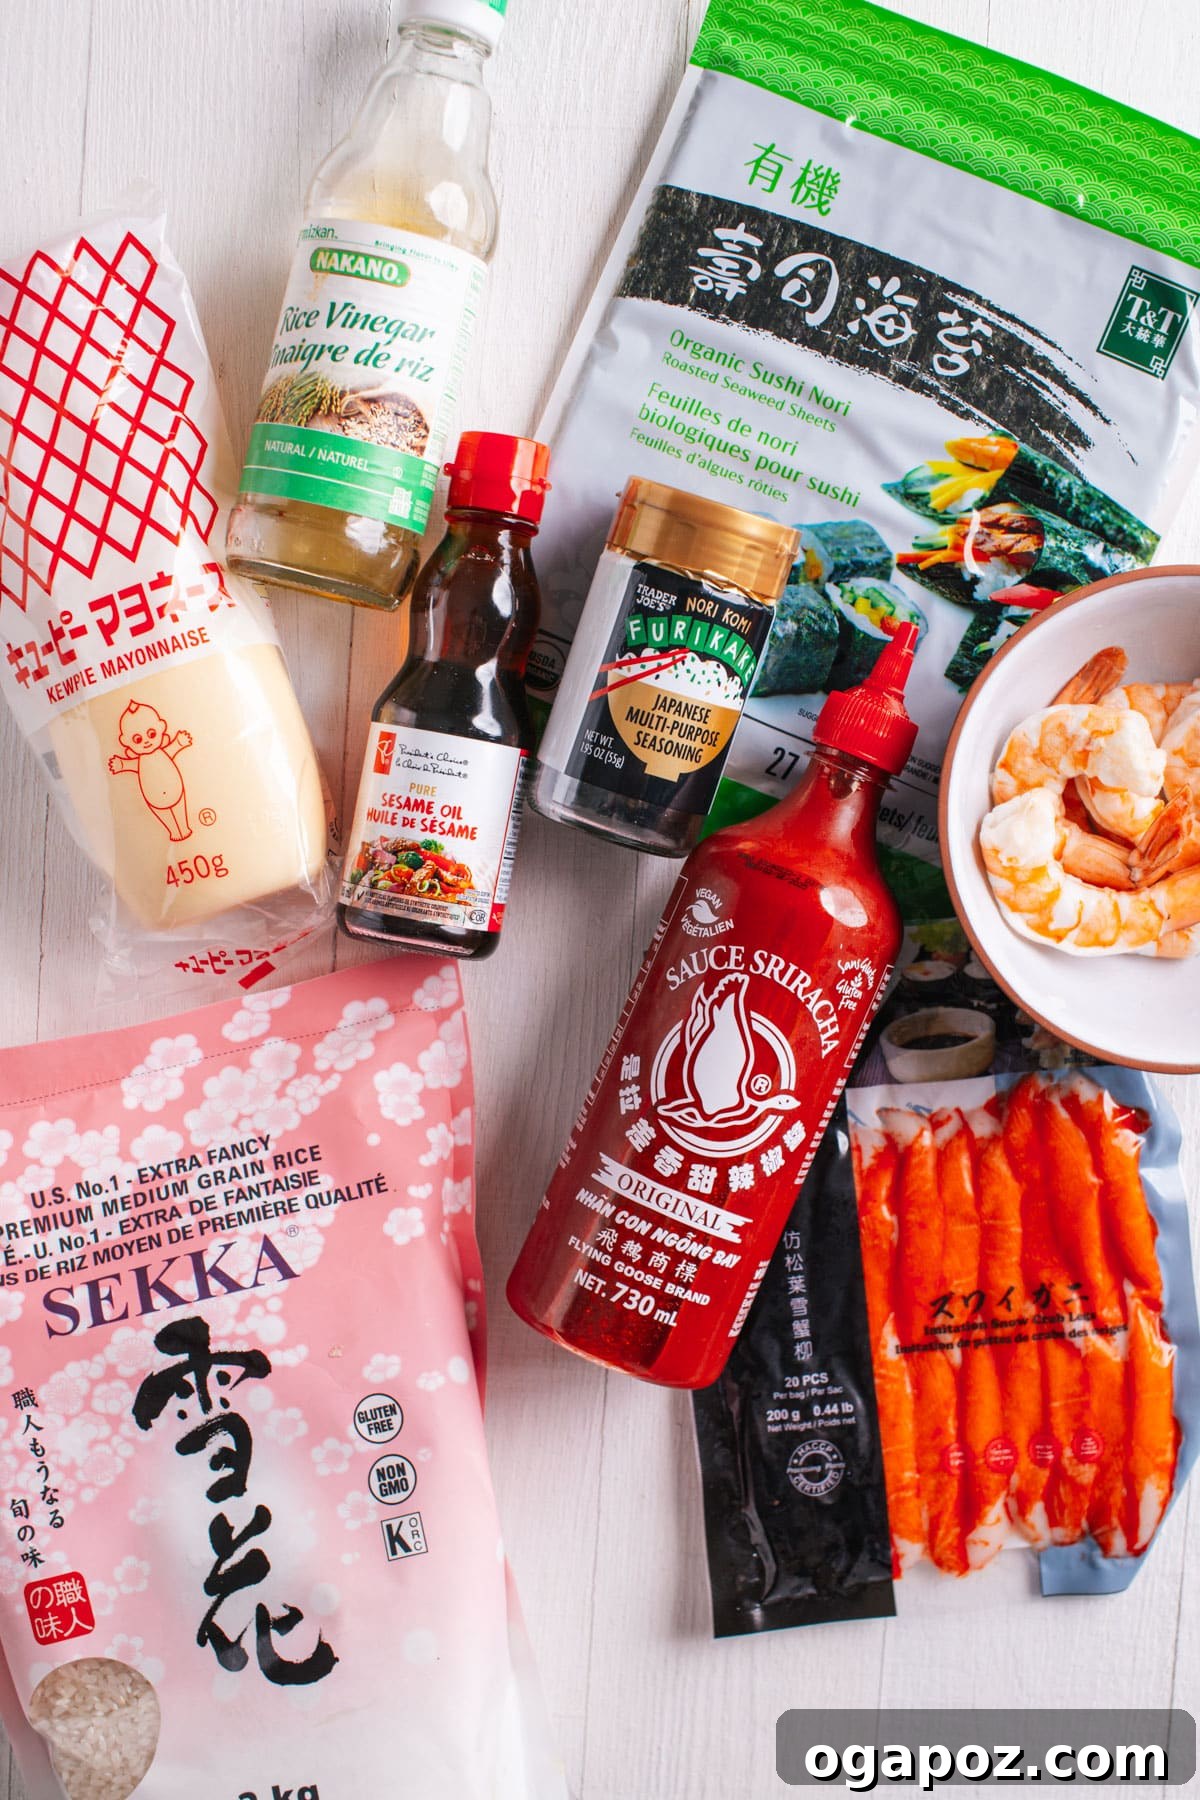
The ingredient list is thoughtfully divided into three main components to ensure a balanced and flavorful sushi bake: the fluffy rice base, the creamy and savory sushi topping, and the nori sheets essential for serving.
For the Flavorful Rice Base:
- Sushi Rice: The star of our base! Japanese short-grain sushi rice is crucial for its inherent stickiness and ability to hold the layers together, providing the authentic sushi experience. Avoid substitutions like arborio or long-grain rice, as they will not yield the desired texture or flavor in this casserole.
- Granulated Sugar: Essential for seasoning the rice, this balances the savory and tangy notes, creating that classic sushi rice flavor profile.
- Natural Rice Vinegar: Opt for unseasoned rice vinegar. This allows you to control the exact balance of sugar and salt, which we add separately, ensuring a perfectly seasoned rice.
- Kosher Salt: Enhances the natural flavors of the rice and complements the other seasonings without overpowering them.
- Furikake (Optional but Recommended): This Japanese rice seasoning, typically a mix of dried fish, sesame seeds, chopped seaweed, and salt, adds an extra layer of umami and texture. You can find it in the Asian foods aisle of most major grocery stores, specialty Asian markets, or conveniently online.
For the Creamy Sushi Topping:
- Imitation Crab Meat: A classic and convenient sushi component, imitation crab offers a delicate flavor and flaky texture reminiscent of real crab, making it ideal for this bake.
- Cooked Shrimp: These add a lovely texture and mild seafood flavor, perfectly complementing the crab. If your shrimp are large, a quick chop will ensure even distribution. You can substitute with other flaky white fish or additional seafood if preferred.
- Mayonnaise: The key to the topping’s luxurious creaminess. While any good mayonnaise works, Kewpie mayo is highly recommended for its distinctive rich, umami flavor that elevates the entire dish. A final drizzle before baking will caramelize beautifully, adding depth.
- Sriracha: Infuses the topping with a delightful spicy kick, cutting through the richness of the mayonnaise and adding an exciting layer of heat. Adjust to your preferred spice level.
- Soy Sauce: Used sparingly, a splash of soy sauce provides a crucial savory depth and umami richness to the seafood mixture, tying all the flavors together.
To Serve and Enjoy:
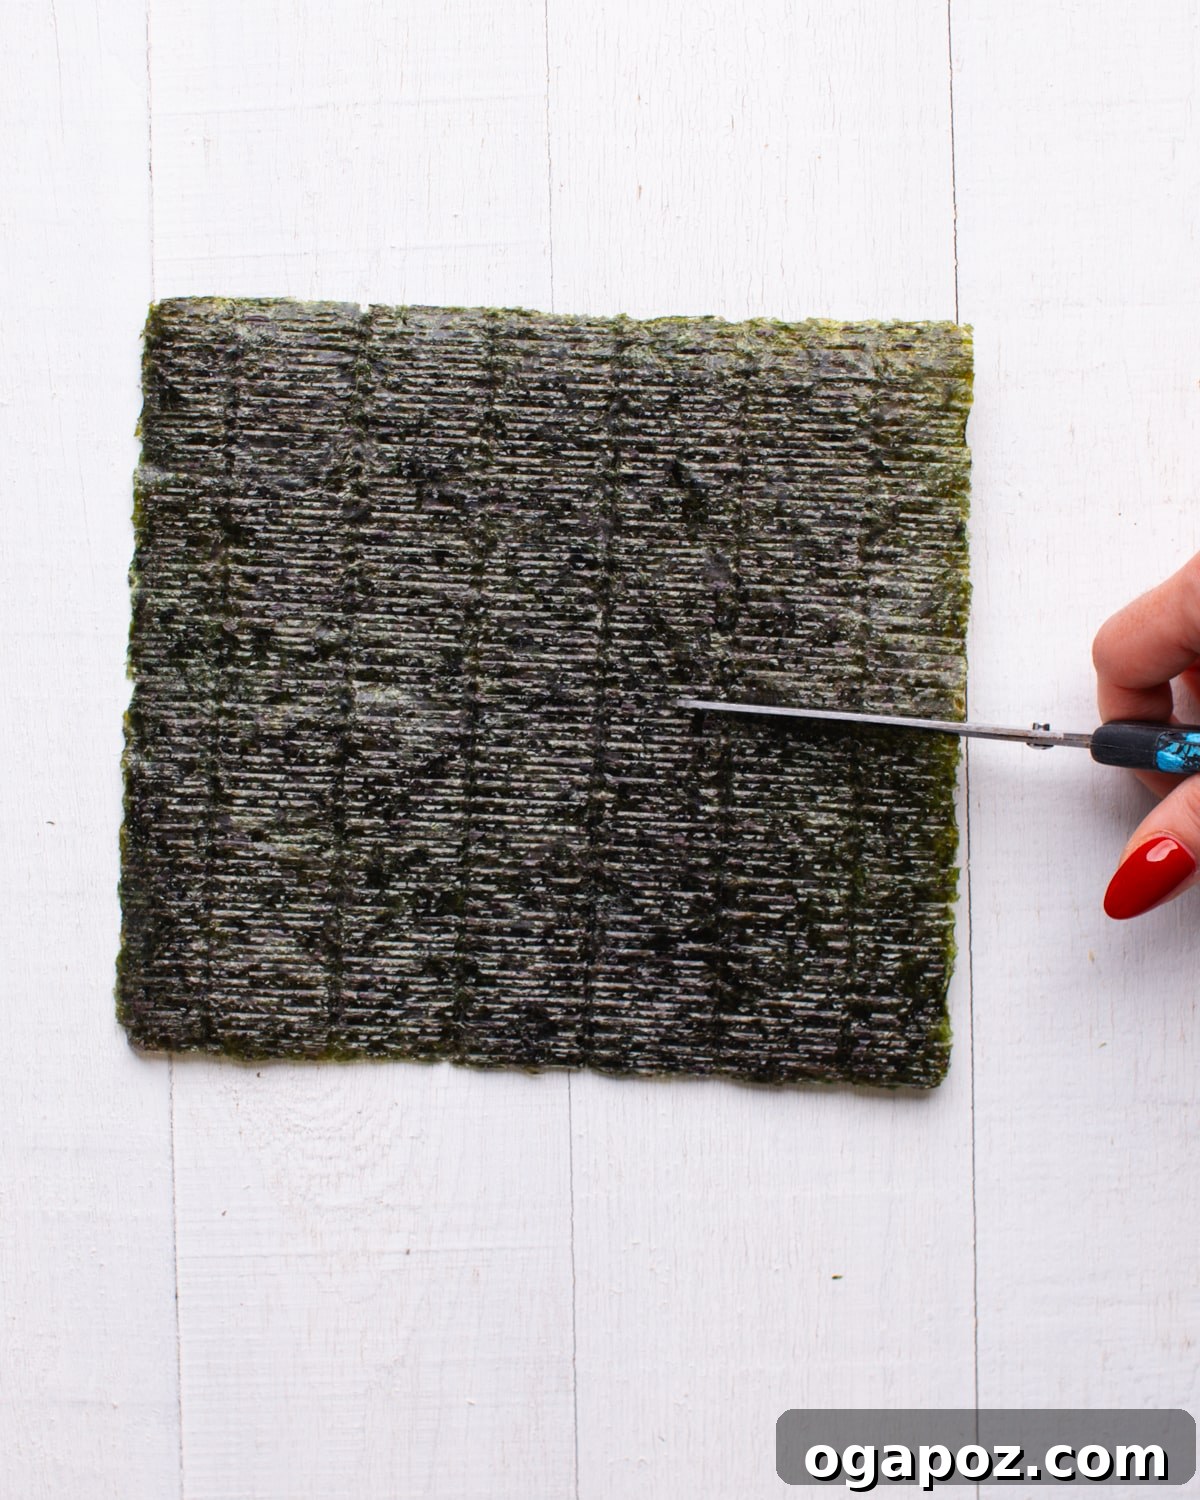
- Nori Seaweed Sheets: These traditional sushi wrappers are perfect for scooping up individual portions of the sushi bake. They add a delightful hint of brininess and a satisfying crisp texture to each mouthful. Cut them into smaller, manageable squares for easy serving.
Customizable Substitutions and Exciting Variations
One of the best aspects of this sushi bake is its versatility. Feel free to experiment with these ideas to create your own unique versions:
- Premium Seafood Swaps: Elevate your sushi bake by replacing imitation crab with luxurious real crab meat, succulent lobster, or diced high-quality sushi-grade fish like fresh salmon, tender scallops, or vibrant tuna.
- Freshness Boosters: Incorporate thinly sliced fresh avocado for creamy texture and healthy fats, or crisp cucumber for a refreshing crunch. These add a vibrant contrast to the baked elements.
- Flavor Amplifiers: Stir in finely chopped scallions for a mild oniony zest, fresh cilantro for herbaceous notes, or thinly sliced jalapeños for an extra layer of heat and freshness.
- Alternative Sauces: While spicy mayo is a classic, explore other delicious options like a sweet and savory eel sauce (unagi sauce), or a bright and tangy ponzu sauce for different flavor profiles.
- Textural Toppings: Sprinkle toasted sesame seeds or slivered almonds over the top before serving for an added layer of delightful crunch and nutty flavor.
- Color and Tang: Garnish with thinly sliced radishes, finely shredded carrots, or traditional pickled ginger for a pop of color and a zesty counterpoint.
- Briny Delights: For an authentic sushi experience, add a dollop of briny masago (capelin roe) or vibrant tobiko (flying fish roe) over individual servings.
Essential Kitchen Tools
Making this sushi bake requires only a few common kitchen items:
- Sieve or Colander: Indispensable for thoroughly rinsing the sushi rice, ensuring it’s clean and ready for cooking.
- Large Pot with Lid: Used for cooking the rice. A generous-sized pot provides ample space for the rice to cook evenly and for you to comfortably mix in the seasonings without grains scattering.
- Mixing Bowl: Essential for combining the creamy and flavorful sushi topping ingredients.
- 9×13-inch Baking Dish: The perfect size for this casserole. Remember to lightly spray it with oil or grease it with a teaspoon of sesame oil for easy serving and to prevent sticking.
How to Make the Viral Sushi Bake: A Step-by-Step Guide
Let’s get cooking! Follow these straightforward steps to create your luscious and viral sushi bake masterpiece:
Step 1: Prepare the Perfect Rice Layer
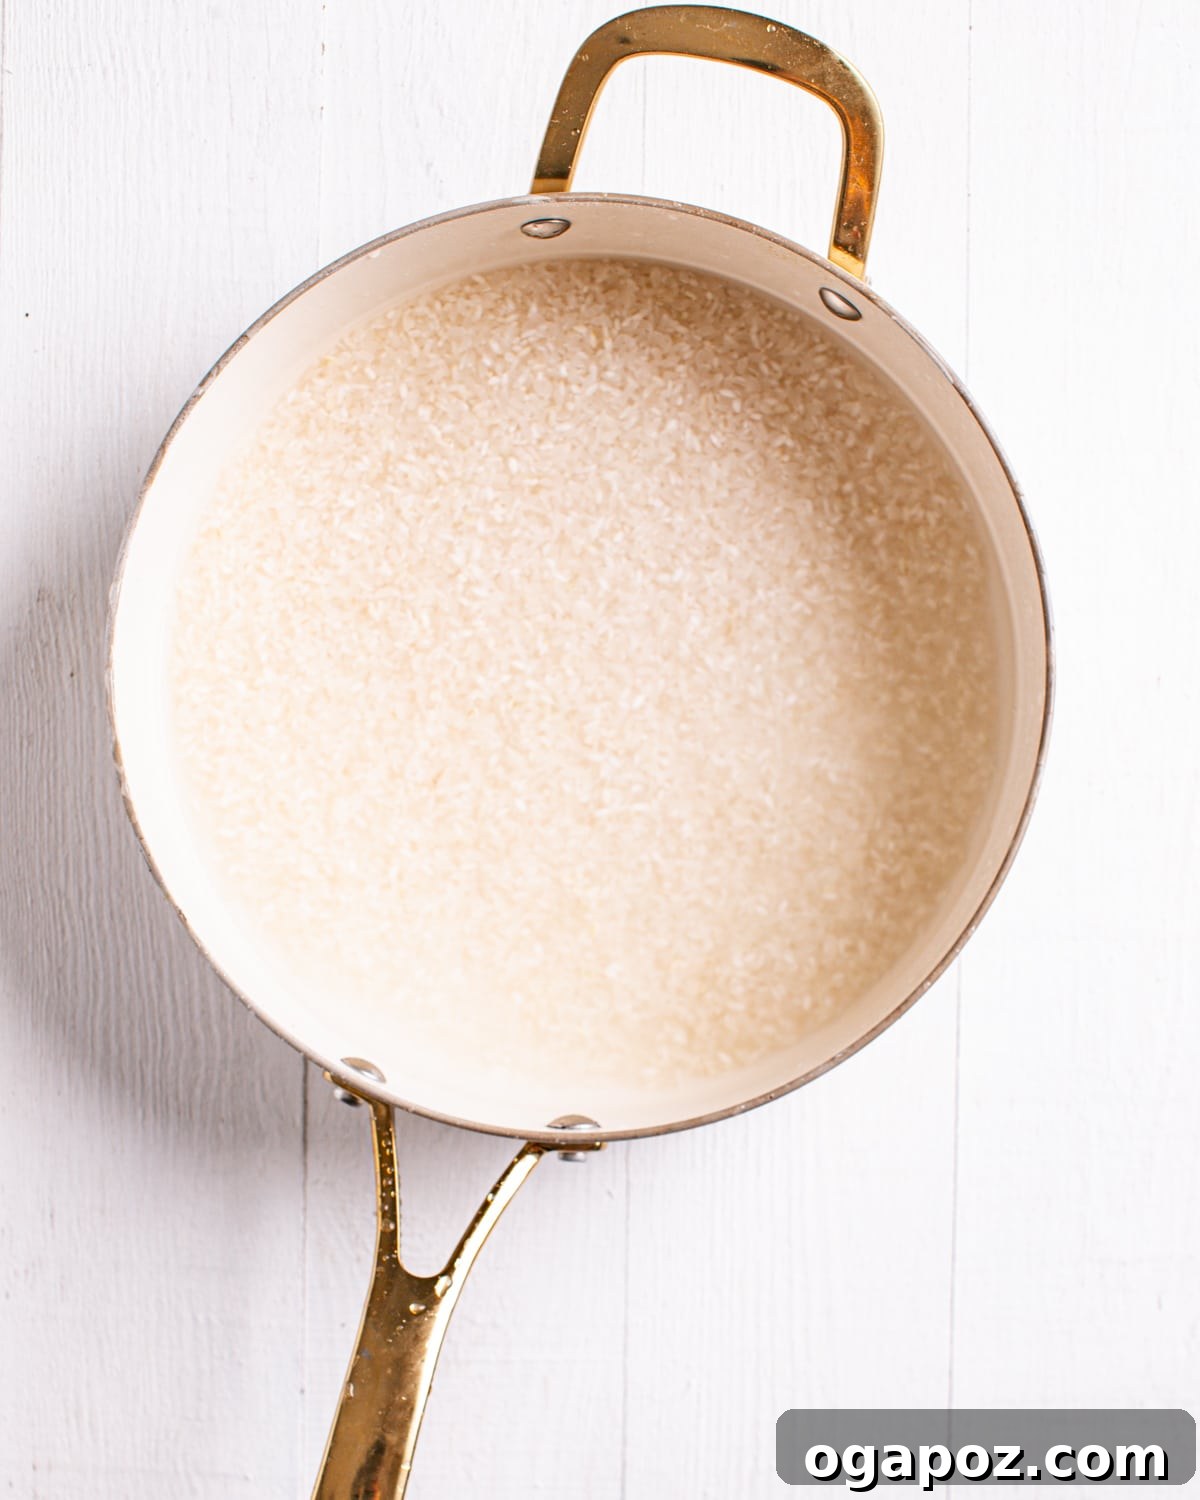
Begin by placing your sushi rice in a fine-mesh sieve or colander. Rinse it thoroughly under cold running water, gently swirling the rice, until the water draining from the bottom runs completely clear. This crucial step removes excess starch, preventing gummy rice.
Next, transfer the rinsed rice into a large pot and add 2 ½ cups of water. Bring the mixture to a rolling boil over medium-high heat. Once it reaches a vigorous boil, immediately reduce the heat to its lowest setting, cover the pot tightly, and let it simmer undisturbed for 18 minutes. After 18 minutes, turn off the heat but keep the pot covered, allowing the rice to steam for an additional 10 minutes. This resting period ensures the rice absorbs all moisture and becomes perfectly tender.
Step 2: Season the Sushi Rice to Perfection
While the rice is still warm (this is key for flavor absorption!), combine the rice vinegar, sugar, and kosher salt in a small bowl. Stir until the sugar and salt are fully dissolved, creating your sushi vinegar mixture. Gently fold this mixture into the warm rice using a spatula. Be careful not to mash the grains; a gentle folding motion preserves the rice’s texture. For best results, fan the rice as you mix to cool it slightly and distribute the seasoning evenly.
Step 3: Craft and Assemble the Sushi Casserole Topping
In a large mixing bowl, combine the shredded imitation crab, chopped cooked shrimp, mayonnaise, sriracha, and soy sauce. Mix these ingredients thoroughly until everything is well combined and coated in the creamy sauce.
Next, prepare your 9×13-inch baking dish. Lightly spray it with cooking oil, or for an added layer of flavor, grease it with about 1 teaspoon of sesame oil, rubbed on with a paper towel. This prevents sticking and adds a subtle nutty aroma.
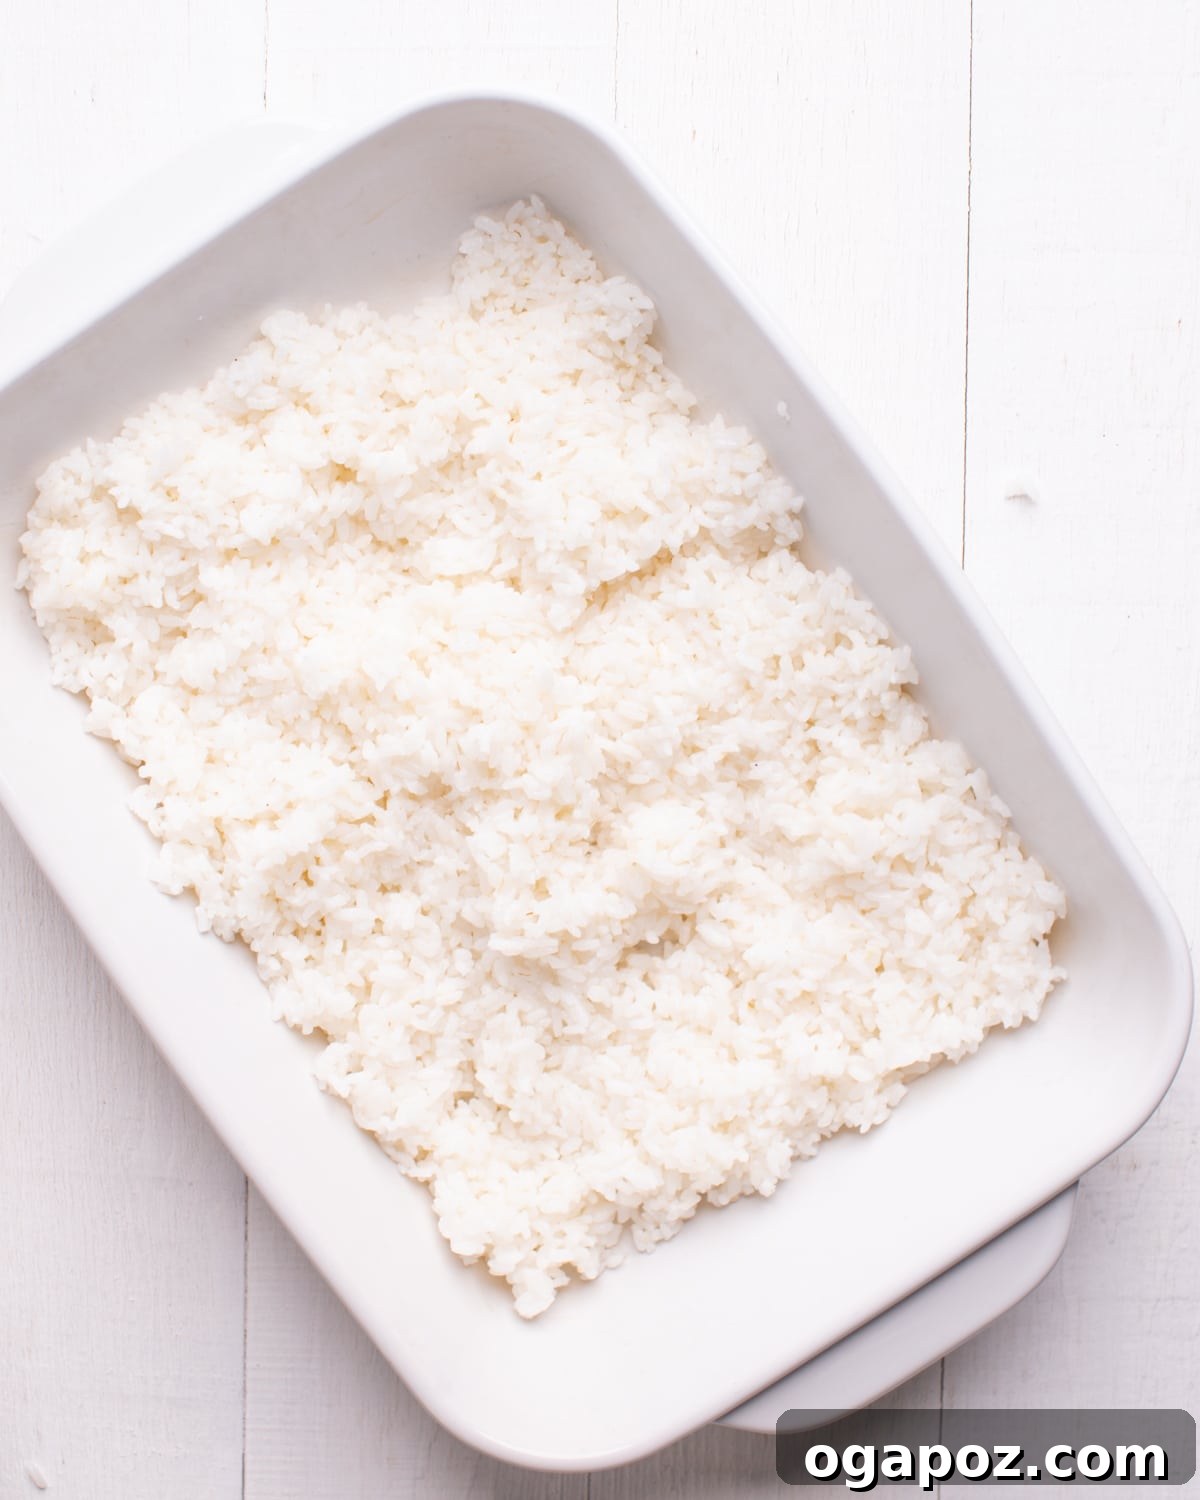
Evenly spread the seasoned sushi rice across the bottom of the greased baking dish, creating a compact base. If you’re using furikake, sprinkle it generously and evenly over the rice layer at this point. This adds an extra layer of umami and visual appeal.
Step 4: Bake Your Sushi Casserole to Golden Perfection
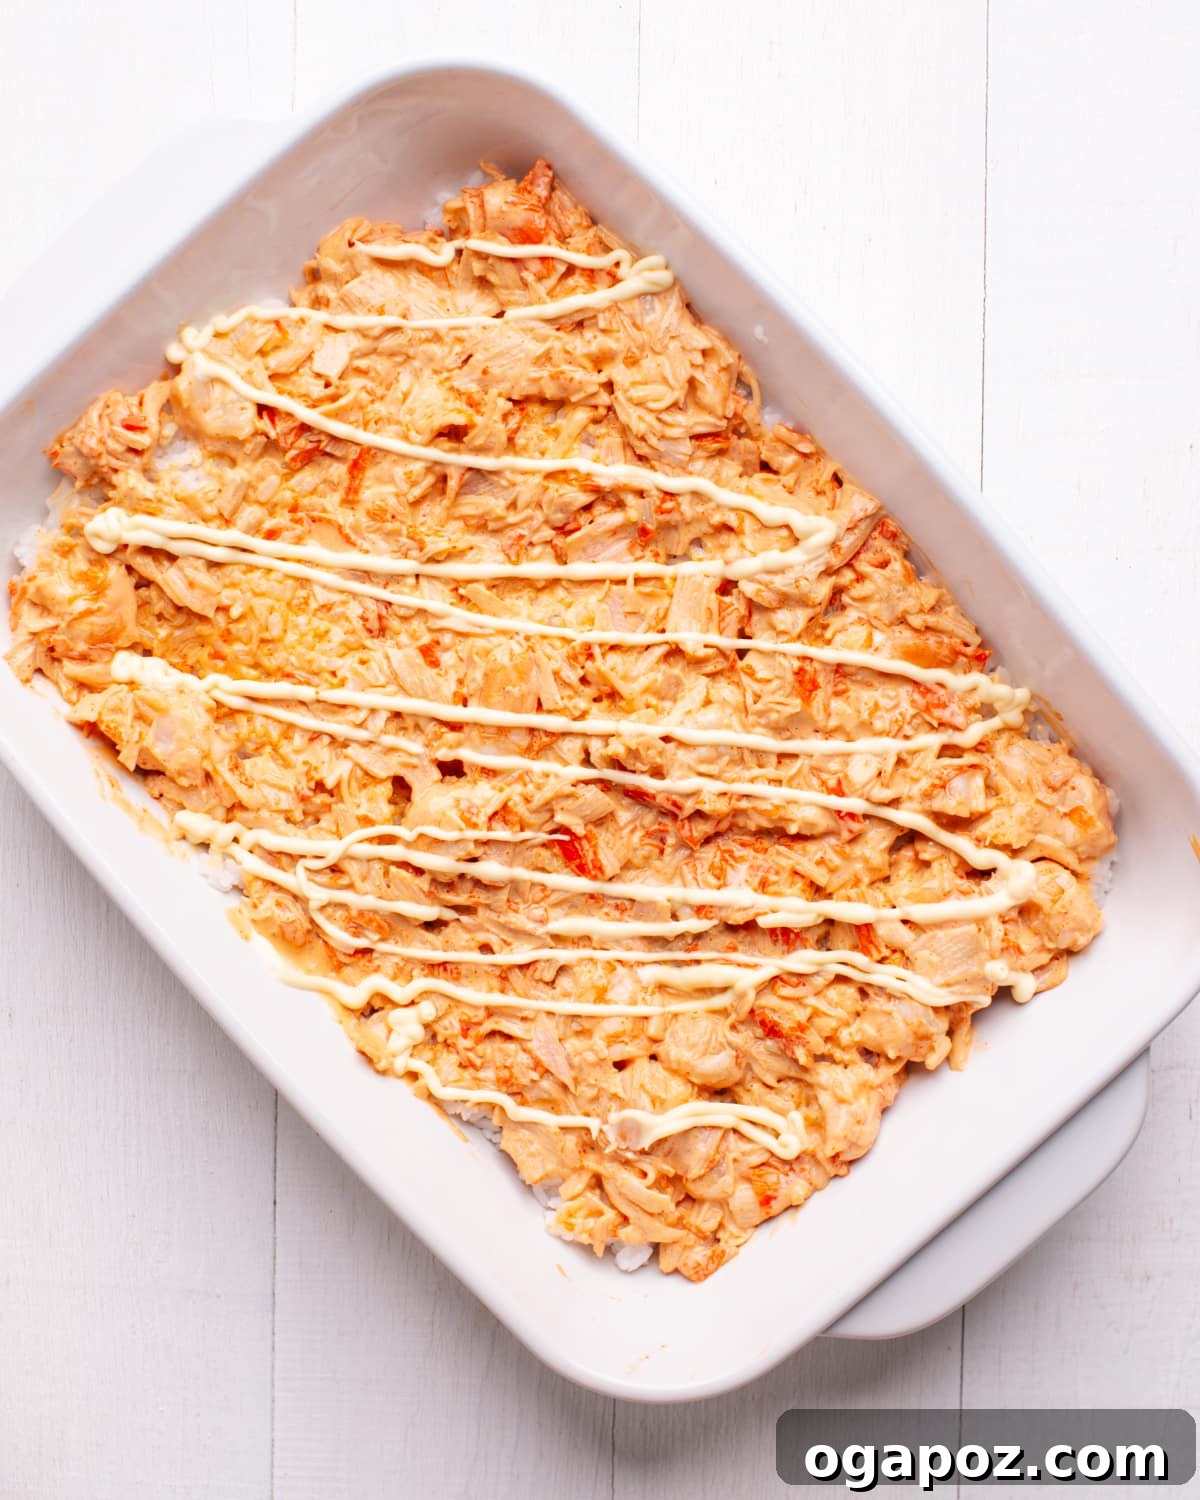
Carefully spread the prepared seafood mixture over the rice layer, ensuring an even distribution. For an extra touch of richness and beautiful caramelization, drizzle a little more mayonnaise over the top of the seafood layer, if desired.
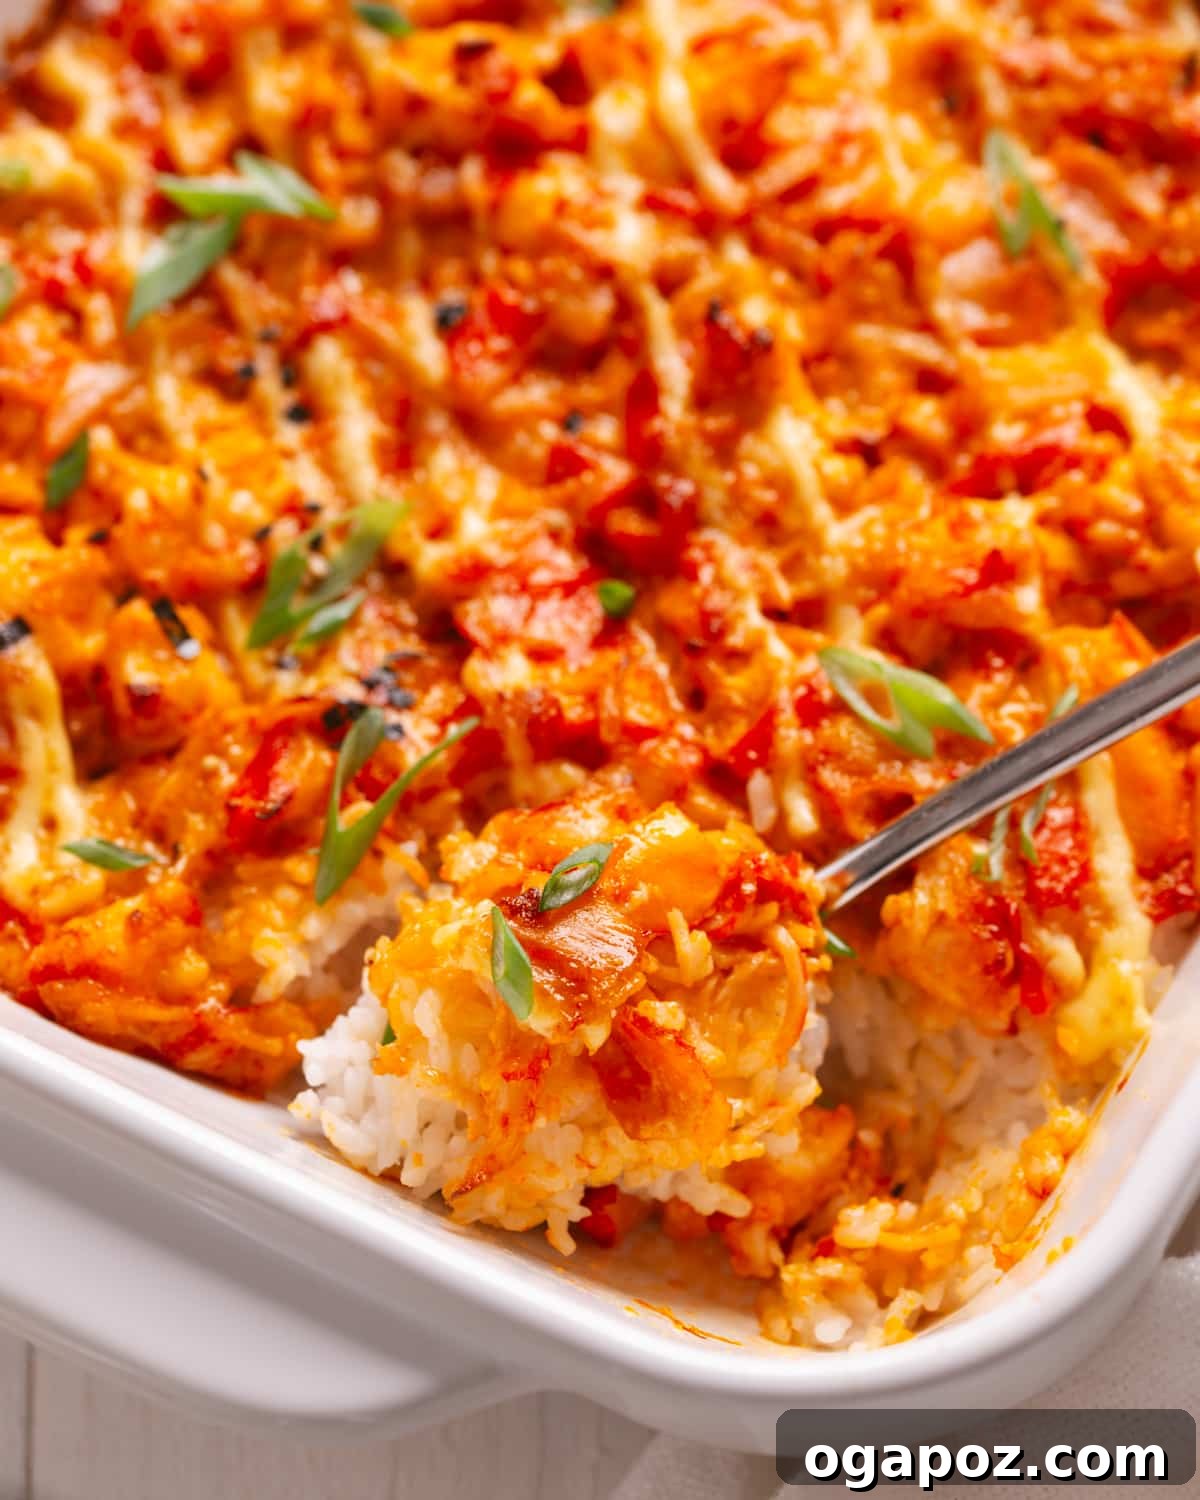
Bake the dish in a preheated oven at 375°F (190°C) for approximately 20 minutes, or until the top is visibly bubbly, slightly golden, and the flavors have melded beautifully. The aroma filling your kitchen will be incredible!
Make-Ahead Options and Storage Tips
This sushi bake is wonderfully accommodating for meal planning and leftovers. You have the flexibility to either prepare it in advance and bake later, or store any delicious remnants for future enjoyment.
To prepare ahead: You can assemble the entire sushi bake (rice layer, furikake, and seafood topping) in your baking dish, cover it tightly with plastic wrap or aluminum foil, and refrigerate it for up to a day. When ready to bake, simply remove it from the fridge and add a few extra minutes to the baking time if it’s still quite chilled.
To store leftovers: Allow any remaining sushi bake to cool completely to room temperature before transferring it to an airtight container or ensuring the baking dish is well-covered. Properly stored, leftover sushi bake will remain fresh and delicious in the refrigerator for 2-3 days.
Reheating leftovers: You can conveniently reheat individual portions in the microwave until warmed through. If using an oven for reheating, cover the dish with foil to prevent the rice and topping from drying out and bake at a moderate temperature (around 325°F/160°C) until heated through.
Serving Your Delicious Sushi Bake
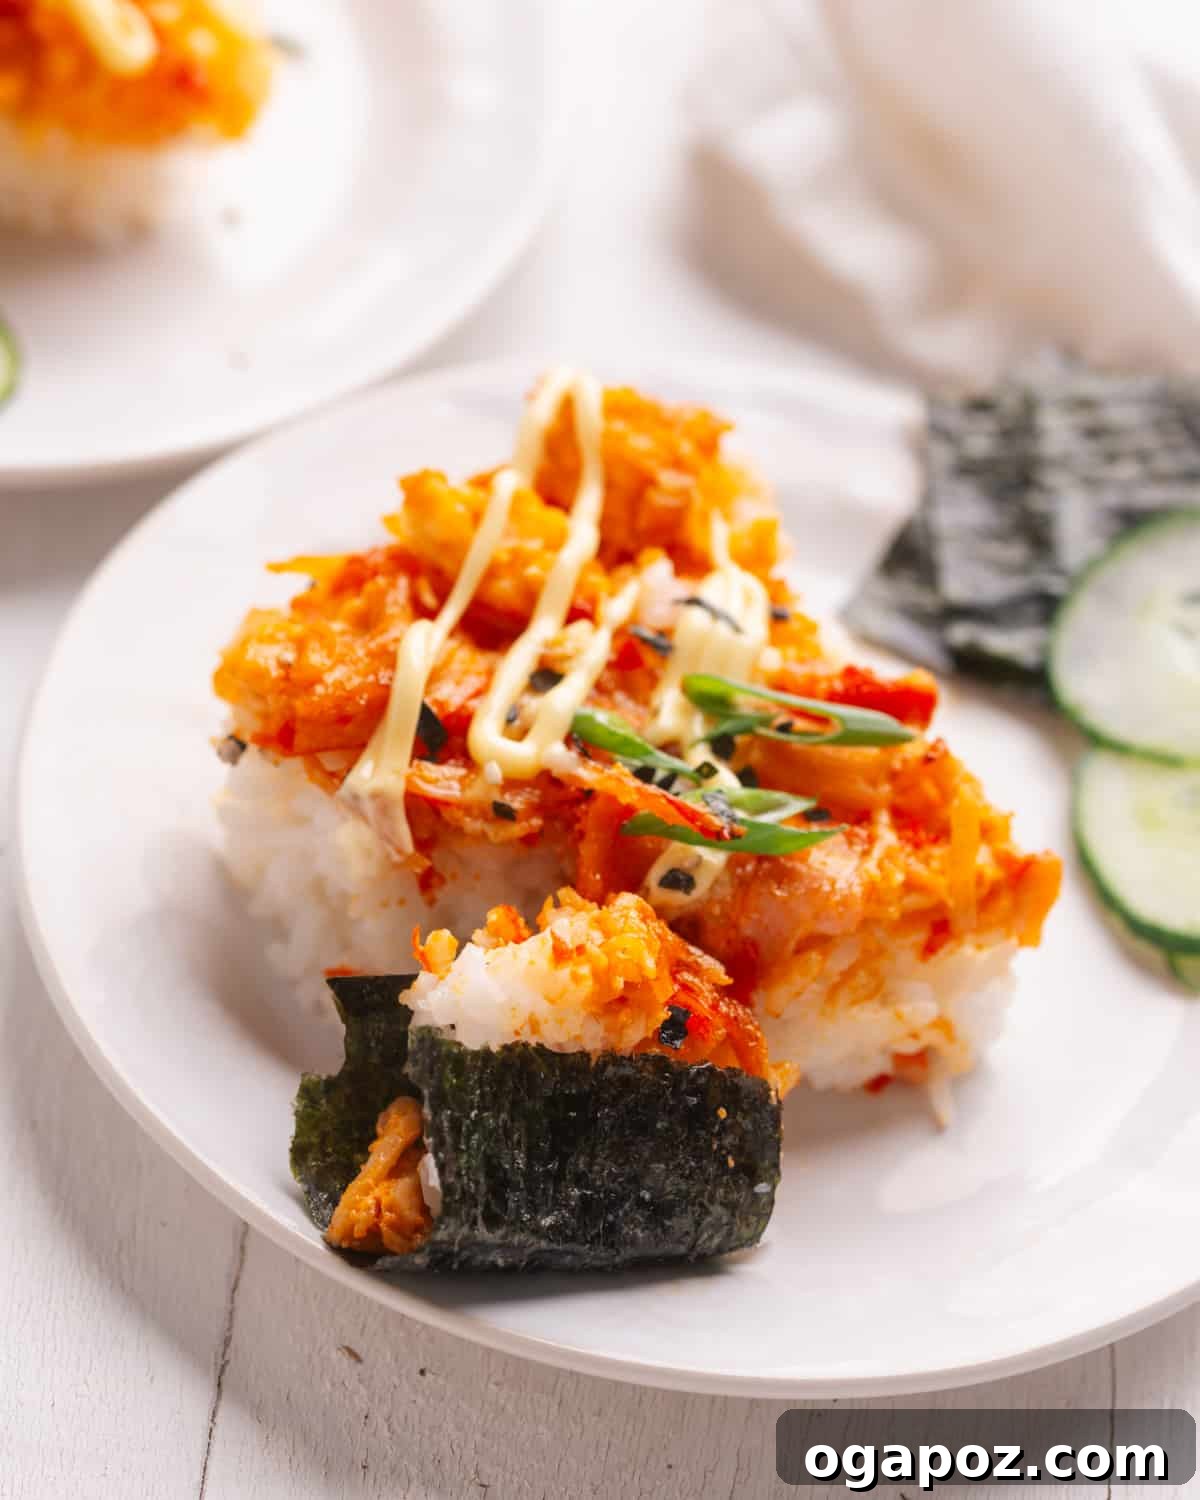
The best way to enjoy this sushi bake is served family-style, much like a warm, deconstructed dip. Place the hot baking dish in the center of your table, surrounded by a generous stack of nori seaweed sheets. Guests can then easily scoop individual portions onto their plates or directly onto a nori square to create their own delightful, handheld sushi wraps. Offering additional toppings like sliced avocado, extra spicy mayo, or a drizzle of eel sauce allows for even more personalized enjoyment.
Expert Tips and Kitchen Secrets for Success
Unlock the full potential of your sushi bake with these professional insights and clever tricks:
- Sushi Rice Secret #1 – Choose Your Pot Wisely: Always use a much larger pot than you think you’ll need for cooking the rice. This isn’t just about preventing boil-overs; it provides ample room to gently stir and season the cooked rice without it clumping or scattering across your kitchen.
- Sushi Rice Secret #2 – Warm Seasoning is Key: For optimal flavor absorption, always season your sushi rice while it is still warm. The warm grains are more porous and will readily soak up the delicious rice vinegar mixture, ensuring every bite is perfectly balanced.
- Sushi Rice Secret #3 – Master the Gentle Fold: When incorporating the seasoning, use a soft, gentle folding motion with a spatula. Avoid mashing or stirring vigorously, which can break the rice grains and result in a gummy texture.
- Sushi Rice Secret #4 – Fan for Perfection: As you mix in the seasoning, use a fan or a piece of cardboard to gently cool the rice. This rapid cooling process helps achieve the ideal glossy finish and prevents the rice from becoming too sticky.
- Sushi Rice Secret #5 – Unseasoned is Best: Always opt for **unseasoned** rice vinegar for your sushi rice mixture. This gives you precise control over the sugar and salt levels, allowing you to tailor the flavor to your preference.
For even more in-depth guidance on achieving perfect sushi rice, consult our comprehensive guide on making sushi rice, which includes additional science-based tips and tricks in the Sushi Rice: Science-Based Secrets and Tips section.
- Handling Nori Sheets: If your nori seaweed sheets feel brittle or crack easily, lightly toast them for a few seconds over an open flame (carefully!) or in a dry pan. This slight heating makes them more pliable and less prone to breaking when handling.
Frequently Asked Questions About Sushi Bake
Here are quick answers to common questions about this delightful dish:
Sushi bake is a popular, viral dish that creatively blends the beloved components of traditional sushi into a convenient casserole format. It typically features a hearty base of seasoned sushi rice, generously topped with a mixture of various ingredients such as savory seafood, fresh vegetables, and creamy sauces. The entire assembly is then baked until warm, bubbly, and wonderfully gooey, offering a comforting and easy-to-eat sushi experience.
Sushi bake is usually served family-style. Portions are scooped directly from the baking dish onto individual plates or bowls. Many people enjoy it by wrapping a spoonful of the baked mixture in small squares of crisp nori seaweed sheets, much like a mini taco or hand roll. It can also be paired with fresh cucumber slices or crispy nori chips for added texture and flavor. Don’t hesitate to drizzle extra sauces or add your favorite toppings to customize each bite.
Absolutely! Sushi bake is an excellent dish for making ahead. You can fully assemble the casserole, covering it tightly with plastic wrap or aluminum foil, and store it in the refrigerator for up to 24 hours before baking. If baking from chilled, simply allow a few extra minutes for the dish to heat through completely in the oven.
Sushi bake can certainly be made gluten-free with a few careful adjustments. The primary consideration is to ensure you use a gluten-free soy sauce (such as tamari) and diligently check the labels of all other ingredients, especially sauces, seasonings, and imitation crab, for any hidden gluten-containing components or cross-contamination. Always verify the gluten-free status of individual products to be safe.
While sushi bake is traditionally enjoyed warm, fresh from the oven, it can also be served at room temperature. If you prefer it cold, ensure all ingredients, especially any seafood, are fully cooked and handled with proper food safety practices. However, the flavors and textures are generally best when served warm, allowing the creamy topping to be bubbly and the rice to be soft.
Leftover sushi bake should be stored in an airtight container in the refrigerator and consumed within 2-3 days for optimal freshness and safety. Beyond this timeframe, the quality, texture, and flavor of the dish may begin to decline. Always allow the dish to cool completely before refrigerating.
While it’s technically possible to freeze sushi bake, it’s generally not recommended. Freezing can significantly alter the delicate texture of the seasoned sushi rice and the creamy seafood topping, often resulting in a mushy or watery consistency upon thawing and reheating. This dish is best enjoyed fresh or stored short-term in the refrigerator.
More Asian-Inspired Takeout Recipes You’ll Adore
If you’re a fan of quick, easy, and delicious takeout-inspired Asian recipes, be sure to try these other fantastic dishes:
- Authentic Chow Mein Noodles
- Savory Chicken and Broccoli Stir-fry
- Flavorful Pad Woon Sen (Thai Glass Noodle Stir-fry)
- Spicy Gochujang Chicken
- Zesty Hunan Shrimp
- Quick Thai Basil Pork with Green Beans
- Comforting Chili Oil Ramen
- Classic Orange Chicken
- Healthier Honey Garlic Chicken
- Our Favorite Ultimate Spicy Ramen Recipe
Other Seafood Recipes You Won’t Want To Miss
- Easy Seafood Pasta with Garlic Cream Sauce
- Really Good Classic Seafood Cioppino
- Perfectly Cooked Air Fryer Frozen Salmon
- Cajun Salmon with Honey Butter
- Delicious Baja Fish Tacos & Spicy Fish Tacos with Cabbage Slaw and Lime Crema
- Crispy Baked Cod in Panko
- Our Favorite Fish Cake Recipe
- Tender Baked Salmon and Mayo
- Sweet and Savory Honey Teriyaki Glazed Salmon
- Luxurious Lobster Ravioli with Lemon Cream Sauce
- Creative Seafood Pizza
Pin
Viral Sushi Bake
Video
Ingredients
For rice:
- 2 cups sushi rice
- 2 ½ cups water
- 1 tbsp sugar
- 2 tbsp rice vinegar
- 2 tsp kosher salt
- 2 tbsp furikake optional
For Sushi Topping:
- 1 cup imitation crab shredded (8 oz by weight)
- 1 cup cooked shrimp chopped if large (8 oz by weight)
- ½ cup mayonnaise plus more, if desired
- 2 tbsp sriracha
- 1 tbsp soy sauce
To serve:
- Nori seaweed sheets cut into smaller squares if desired
- Optional toppings: more sriracha Japanese BBQ sauce (Yakiniku), sliced avocado, green onion, serrano pepper, and/or cucumber
Instructions
For Rice Layer:
-
Start by rinsing the sushi rice under cold water until the water runs clear. Combine the rice and 2 1/2 cups water in pot. Bring the mixture to a boil over medium-high heat. Once it boils, cover the pot and reduce the heat to low, letting it simmer for 18 minutes. After turning off the heat, let it sit covered for 10 minutes.
-
Combine rice vinegar, sugar and salt until dissolved. Gently fold into warm rice.
For Sushi Topping:
-
In a bowl, mix together imitation crab, shrimp, mayonnaise, sriracha and soy sauce.
To Assemble:
-
Spray a 9×13″ baking dish with oil (or grease with 1 tsp sesame oil rubbed on with a paper towel).
-
Spread rice evenly in the bottom of greased dish. Sprinkle furikake evenly over rice (if using).
-
Spread the seafood mixture over the rice. Drizzle with more mayo, if desired.
-
Bake at 375°F for about 20 minutes, or until the top is bubbly and slightly golden.
-
Serve family-style, like a warm dip, with nori sheets on the side for individuals to scoop their own.
Notes
Rice Vinegar: Choose natural (unseasoned) rice vinegar, not the one labeled “Seasoned Rice Vinegar”, as we are adding sugar and salt to the recipe directly.
Imitation Crab: This is a staple in sushi bakes for its convenience and mild flavor, but feel free to substitute with any flaky white fish or additional seafood.
Mayonnaise: I love the special umami flavor of Kewpie Japanese mayo for this, but any mayo will work. An extra drizzle before baking caramelizes deliciously in the oven. Yum.
Toppings: I like to allow my family/guests to add their own desired optional toppings (rather than adding toppings to the whole sushi bake).
Nori Sheets: If nori sheets are too brittle, lightly toast them over an open flame or in a dry pan for a few seconds to make them more pliable.
Furikake: Available in the Asian foods section of many mainstream grocery stores, in any Asian grocery store, or on Amazon.
Leftovers: If you have any leftovers, they can be refrigerated and reheated in a microwave or oven. If oven-baking, cover with foil to prevent drying out.
Nutrition
Carbohydrates: 60g |
Protein: 12g |
Fat: 16g |
Saturated Fat: 3g |
Polyunsaturated Fat: 9g |
Monounsaturated Fat: 4g |
Trans Fat: 0.04g |
Cholesterol: 62mg |
Sodium: 1585mg |
Potassium: 123mg |
Fiber: 2g |
Sugar: 4g |
Vitamin A: 92IU |
Vitamin C: 3mg |
Calcium: 61mg |
Iron: 2mg
Nutrition information is automatically calculated, so should only be used as an approximation.
Tried this recipe? Leave a comment!We’d love to hear your feedback and see your creations!