
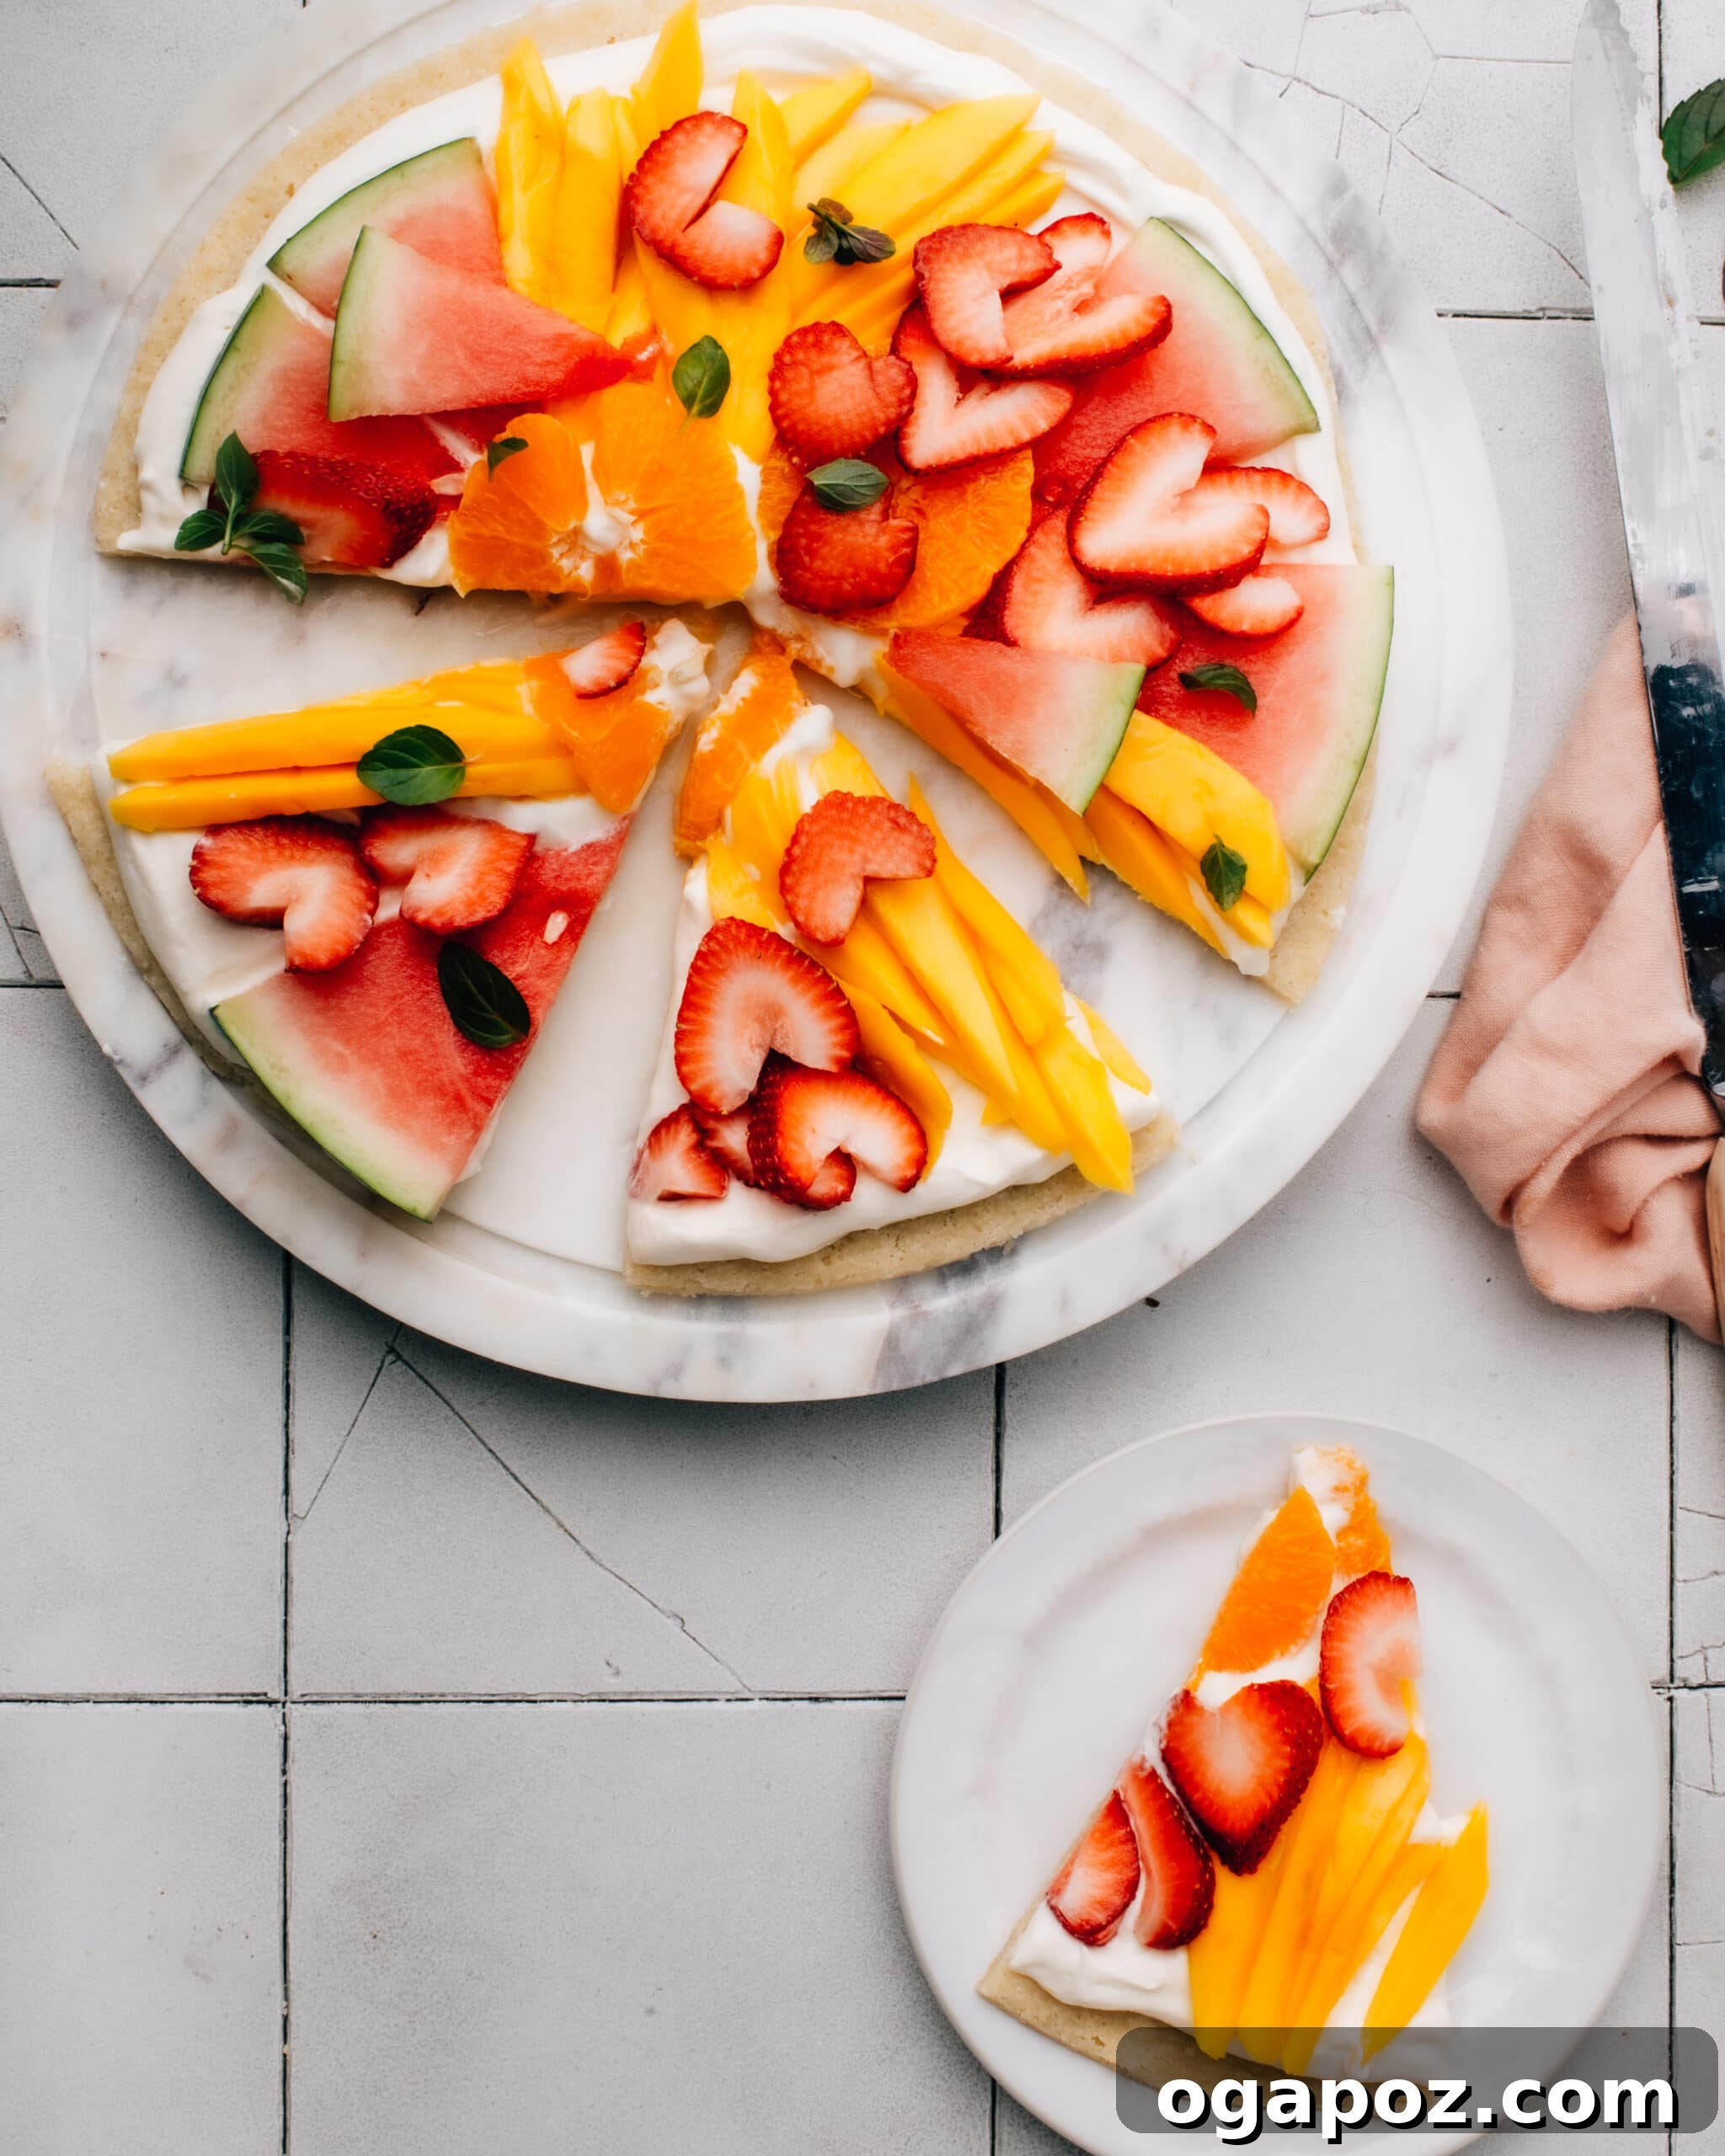
Indulge in the ultimate summer treat with this incredibly Easy Fruit Pizza recipe. It boasts the most delightful, super-fluffy cream cheese frosting atop a perfectly tender, giant sugar cookie base. This versatile dessert allows you to unleash your creativity, arranging vibrant fresh fruits into stunning designs – from festive Easter eggs to a patriotic flag for Memorial Day or Canada Day, or simply a beautiful medley for any gathering. Prepare to impress your guests with minimal effort!
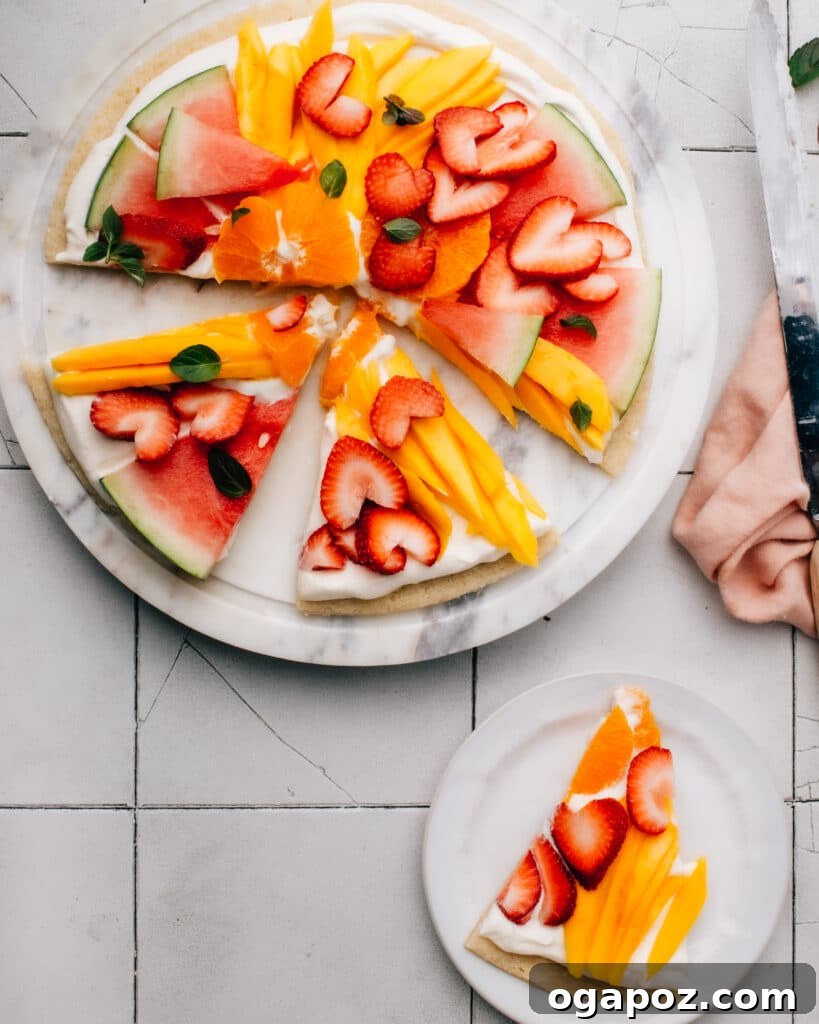
What Exactly Is Fruit Pizza? The Ultimate Dessert Deconstructed
A fruit pizza, despite its intriguing name, is a sweet departure from its savory counterpart. It ingeniously borrows the familiar *crust, sauce, toppings* formula, but here, the resemblance ends. Rest assured, there isn’t a single tomato in sight! Instead, this delightful dessert is a symphony of sweet ingredients designed to tantalize your taste buds.
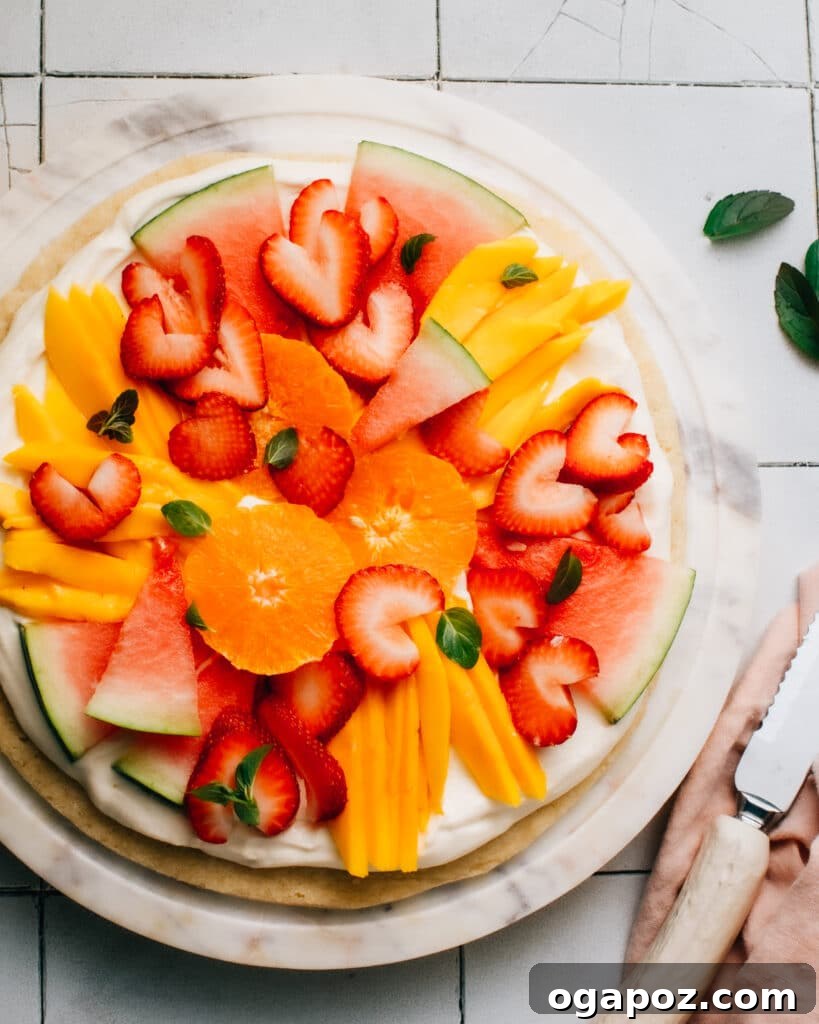
At its heart lies a crisp yet delightfully chewy sugar cookie “crust,” providing a sturdy and delicious foundation. This cookie base is then crowned with a pillowy, ethereal layer of homemade cream cheese frosting – a truly exceptional component that elevates the entire dish. Finally, an array of colorful, freshly cut fruits are artfully arranged on top. The visual appeal alone is enough to make your friends believe you possess extraordinary pastry skills, even though this recipe is surprisingly simple to execute.
This stunning dessert has been rapidly gaining popularity on platforms like Pinterest, and for good reason. It’s not just a feast for the eyes; it’s also incredibly fresh, light, and utterly delicious. It makes a perfect addition to any summer party, picnic, or family gathering, offering a refreshing alternative to heavier desserts.
Crafting Your Own Fruit Pizza: Effortless Steps to Perfection
Making a showstopping fruit pizza is simpler than you might imagine. The process is divided into two main components: the irresistible sugar cookie crust and the dreamy cream cheese topping. Let’s break down each step to ensure your fruit pizza is a resounding success.
Building the Perfect Sugar Cookie Crust
The foundation of any great fruit pizza is its crust, and for this recipe, we opt for a giant, tender sugar cookie. My preferred method for achieving this is the super simple “reverse-creaming” technique, which guarantees an ultra-tender cookie that holds its shape beautifully.
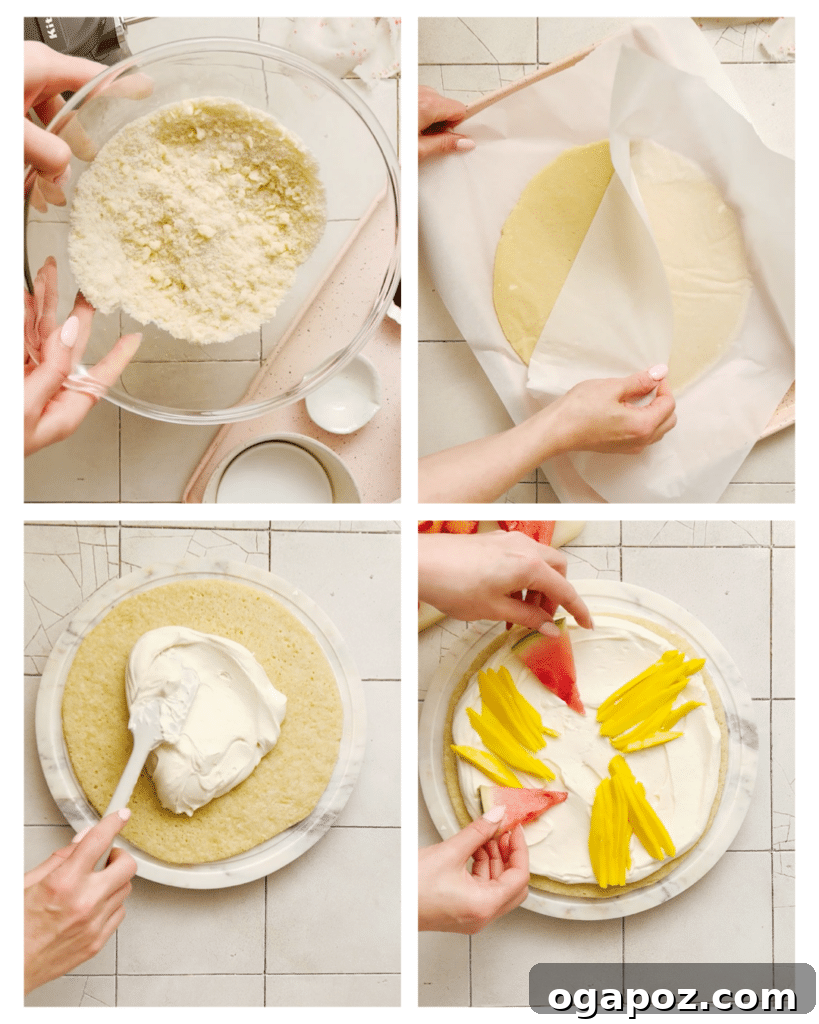
- Combine Dry Ingredients: Begin by measuring all your dry ingredients – flour, sugar, baking powder, and salt – into a large mixing bowl. A stand mixer is ideal here, but an electric hand mixer works perfectly well too.
- Incorporate Butter: Add softened butter directly into this dry flour mixture. The key here is that the butter is incorporated *before* any liquid. Using your electric mixer on low speed, beat the mixture until the butter is fully integrated and the whole concoction resembles damp, coarse crumbs. If you’re using a stand mixer, you might even see it start to come together into a dough at this stage.
- Add Wet Ingredients: Finally, beat in the egg and vanilla extract until a smooth, cohesive dough forms.
This easy reverse-creaming method is a game-changer. By coating the flour in fat before adding any liquids, we effectively prevent the formation of tough gluten strands. The result? An incredibly tender, melt-in-your-mouth cookie base that remains sturdy enough to support your delicious toppings without becoming crumbly. It’s a trick that ensures consistent texture every time.
Once your dough is ready:
- Roll with Ease: The dough will be quite sticky, so roll it out between two sheets of parchment paper. This makes handling a breeze. Aim for a circular shape roughly the size of a “pizza,” but don’t worry about perfection – there’s plenty of room for slight variations. If the dough becomes difficult to work with, a quick 10-15 minute chill in the freezer will firm it up.
- Plate Selection is Key: Before rolling, it’s wise to decide on your serving plate. Roll out your dough base to a size that comfortably fits. Trust me, there’s nothing more frustrating than crafting a beautifully decorated dessert pizza only to discover it won’t fit on any of your serving platters (a lesson learned from personal experience!).
While many recipes suggest a 14-inch pizza pan for baking, it’s not a strict necessity. A large baking sheet works just as effectively for achieving that perfect golden crust.
Whipping Up the Fluffy Cream Cheese Topping
While your sugar cookie crust bakes and cools, it’s time to prepare the star of the show: the ultra-fluffy cream cheese topping. Unlike many fruit pizza recipes that use a denser, true cream cheese *frosting*, ours leans closer to a light and airy cheesecake filling. This lighter texture provides a wonderful contrast to the cookie base and fresh fruit.
- Whip Heavy Cream: In a clean, chilled bowl, whip heavy cream until firm peaks form. Be careful not to over-whip it into butter! Set this aside gently.
- Prepare Cream Cheese Mixture: In a separate bowl, beat softened cream cheese, granulated sugar, vanilla extract, and the optional (but highly recommended) lemon juice. Whip this mixture until it’s light, airy, fluffy, and glossy, resembling a buttercream frosting. This can take several minutes. If your cream cheese is too cold, the mixture might be lumpy; gently warm the bowl with a hot, damp towel for a minute to help it smooth out.
- Gentle Folding: The secret to that incredible fluffiness lies in the folding. Gently fold the whipped cream into the cream cheese mixture. Use a large spatula to scoop under the cream cheese mixture, lifting and folding it over the whipped cream, cutting through the middle of the bowl between strokes. This method helps preserve the air bubbles in the whipped cream, ensuring a light and airy topping. It’s a much gentler technique than aggressively stirring with a wooden spoon, preventing deflation and maintaining that desirable cloud-like texture.
Preventing a Soggy Fruit Pizza: Expert Tips for a Crisp Crust
One of the most common concerns with fruit pizza is preventing the crust from becoming soggy. The moisture from the cream cheese filling and especially the fresh fruit can seep into the cookie base if left assembled for too long. But don’t despair! With a few clever tricks, you can ensure your fruit pizza remains crisp and delicious.
The primary strategy is timing: for the best results, assemble your fruit pizza as close to serving time as possible. However, if you need to prepare it in advance, there’s a fantastic trick used by professional pastry chefs to combat sogginess:
The White Chocolate Barrier: Melt about 1/2 cup of white chocolate chips. You can do this in a microwave on medium power for 1-2 minutes, stirring every 30 seconds until smooth. Once your cookie base has cooled completely, spread this melted white chocolate evenly over the entire surface. Allow it to harden completely before adding the cream cheese frosting and fruit. The hardened white chocolate creates an impermeable barrier, effectively sealing the cookie crust and protecting it from moisture. This ingenious method is commonly employed in tarts with creamy fillings to maintain a perfectly crisp crust.
Making Ahead: How Early Can You Prepare Fruit Pizza and How Long Will it Last?
While a fully-assembled fruit pizza is undeniably at its peak when served within 4 hours of topping, careful preparation allows you to enjoy this delightful dessert without last-minute stress. For optimal freshness, cover it tightly with plastic wrap and keep it chilled until just before serving.
Regarding leftovers, a fruit pizza will generally keep *fine* for up to 3 days in the refrigerator. However, be aware that the crust will soften over time, the fruit may become slightly soggy, and the cream cheese filling might show minor separation. It will still be tasty, but it might not present at its best for guests.
The Best Make-Ahead Strategy: Components, Not Assembly
To truly get ahead while preserving quality, prepare the individual components in advance and assemble just before serving. Here’s how:
- Cookie Base: The sugar cookie crust can be baked up to 3 days in advance. Once completely cooled, wrap it tightly in plastic wrap and store it at room temperature. The refrigerator tends to dry out cookies faster, so avoid chilling the bare crust.
- Cream Cheese Filling: The fluffy cream cheese topping can be prepared a day in advance. Store it in a covered medium bowl in the refrigerator. Before spreading, you might need to give it a gentle whisk to restore its light texture.
- Fruit Prep: Prepare any fruits that won’t brown quickly (like berries, kiwi, grapes) a day ahead. Wash, dry, and slice them, then store them in airtight containers in the refrigerator. However, hold off on prepping fruits that aggressively brown, such as banana slices or apples, until the very last minute before assembly to ensure they look fresh and appealing.
By preparing your components separately, you can enjoy a stress-free assembly process and serve a fruit pizza that looks and tastes its absolute best.
Choosing the Best Fruits for Your Fruit Pizza
The beauty of a fruit pizza lies in its vibrant, colorful toppings. When selecting fruits, aim for a variety of hues and textures that are small or can be easily cut into small pieces. I generally steer clear of fruits that brown quickly, such as apples and pears, or anything excessively hard that might make slicing the finished pizza difficult.
Here are some excellent fruit choices that work wonderfully:
- Berries: Blueberries, raspberries, blackberries, and strawberries are classic choices. Their bright colors and slight tartness complement the sweet frosting perfectly. For a special touch, you can even cut strawberries into heart shapes!
- Tropical Delights: Ripe mangoes (diced), kiwi (sliced into rounds), and thinly-sliced pineapple add a wonderful tropical flair.
- Stone Fruits: Sliced peaches, when in season, are incredibly juicy and flavorful.
- Citrus: Mandarin oranges (fresh or well-drained canned) provide a lovely pop of citrusy brightness.
- Grapes: Halved grapes, especially red or green seedless varieties, offer a pleasant crunch.
- Bananas: While they brown quickly, thinly sliced bananas can be added just before serving for a creamy texture and sweet flavor. A trick to slow browning is to lightly brush them with lemon juice.
Fruits to Avoid (or Use with Caution):
- Thawed Frozen Fruits: These are generally not a good choice as they tend to lose their texture and release too much juice, making the pizza soggy.
- Fruits that Brown Quickly: As mentioned, apples and pears are best avoided unless you plan to add them immediately before serving and consume the pizza quickly.
Remember to choose a diverse range of colors to create an eye-catching design. The more slices or servings you plan to make, the smaller you should cut your fruit. This makes it easier to slice through the pizza without disturbing your beautiful fruit arrangement.
Explore More Creamy Fresh Fruit Dessert Recipes
If you love the combination of creamy textures and fresh fruit, you’ll adore these other delightful recipes:
- Strawberry Buttermilk Pie
- Strawberry White Chocolate Mousse Tart
- Giant Blueberry Pop Tart (or Mini Blueberry Pie)
- Pavlova with Whipped Cream and Fresh Fruit

Rated 5 out of 5 stars by 3 users
Fruit Pizza
Jennifer Pallian BSc, RD
20 minutes
12 minutes
8
Video
Video content available on the original blog post.
Ingredients
For cookie base:
- 1 ¼ cup flour
- ¾ cup granulated sugar
- ¼ tsp baking powder
- ¼ tsp kosher salt
- 3.5 oz unsalted butter, room temperature, cut in 1” chunks (7 tbsp)
- 1 large egg
- 1 tsp vanilla extract
For cream topping:
- ⅓ cup whipping cream
- 1 8-oz brick cream cheese, room temperature
- ⅓ cup granulated sugar
- ½ tsp vanilla extract
- 1 tsp lemon juice (optional, but nice)
To assemble
- 2 cups mixed fresh fruit, sliced, chopped or left whole if small
Instructions
- In a stand mixer, combine flour, sugar, baking powder, and salt. Beat on low speed to combine thoroughly.
- Add softened butter directly to the dry ingredients and continue beating on low speed until fully incorporated, about 2 minutes. The mixture will resemble coarse crumbs. Beat in the egg and vanilla extract until a smooth dough forms. Transfer dough to parchment paper and form into a disc. *See notes below for tips.
- Chill the dough for 30 minutes. Roll out into a 10” circle between two sheets of parchment paper and transfer to a large baking sheet. Chill again while you preheat the oven to 350ºF (175ºC), then bake for about 12 minutes or until the edges are golden and the surface appears dry.
- Let the cookie crust cool completely on the baking sheet. While the crust cools, prepare the cream topping.
- In a separate bowl, whip the heavy cream to firm peaks and set aside.
- In another bowl, beat the cream cheese, sugar, and vanilla until light, fluffy, and shiny. It should have an airy texture like buttercream frosting. If your cream cheese is too cold to whip smoothly, gently warm the bowl with a hot, damp towel for a minute or two. This step may take several minutes to achieve the desired fluffiness.
- Gently fold in the whipped cream into the cream cheese mixture to preserve the air bubbles. Spread this fluffy topping evenly over the cooled crust. *See notes below on how to fold.
- At this point, you may spread the topping and then chill the pizza base with the cream. Arrange the fresh fruit over the filling just before serving for the best results and to prevent sogginess.
Notes
NOTES ON THE DOUGH:
- The dough will be quite sticky initially. Use the parchment paper to help form it into a rough disk shape.
- Place a second sheet of parchment on top and roll out the dough while it’s soft.
- Don’t worry about rolling it into a perfect circle; you can tidy it up before baking with a pizza cutter or a paring knife, or even trim it to perfection after baking.
- Pop the rolled-out dough into the freezer for a few minutes while you preheat the oven. This helps it hold its shape during baking.
HOW TO FOLD: To gently fold ingredients together, add the whipped cream to the cream cheese mixture. Use a large spatula to scoop under the mixture and gently fold it back on top. Repeat this motion, cutting through the middle of the bowl between strokes, until the two mixtures are just combined. This technique is a gentler way of combining compared to vigorous stirring, helping to maintain the airiness of the whipped cream.
Nutrition
Calories: 346kcal | Carbohydrates: 52g | Protein: 3g | Fat: 15g | Saturated Fat: 9g | Polyunsaturated Fat: 1g | Monounsaturated Fat: 4g | Trans Fat: 0.4g | Cholesterol: 59mg | Sodium: 102mg | Potassium: 97mg | Fiber: 1g | Sugar: 35g | Vitamin A: 671IU | Vitamin C: 2mg | Calcium: 27mg | Iron: 1mg
Nutrition information is automatically calculated, so should only be used as an approximation.
Tried this recipe? Share your thoughts and leave a comment below!