
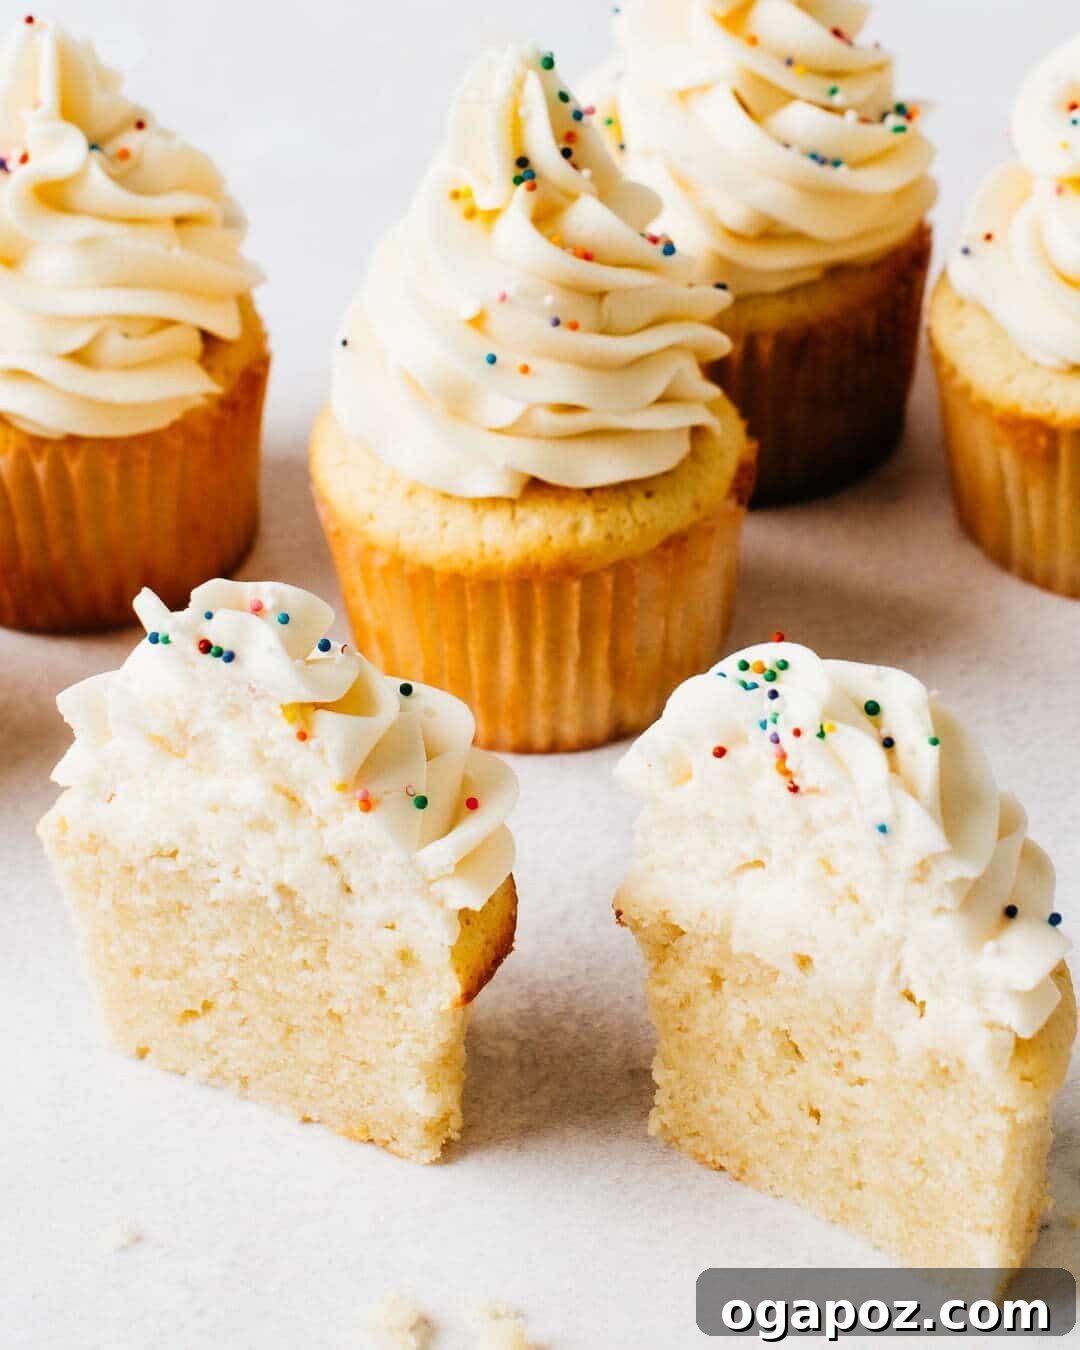
Welcome to the ultimate guide for crafting the best Moist Vanilla Cupcakes you’ll ever bake. This perfected recipe, backed by five foolproof science tips, guarantees a consistently fluffy, tender, and melt-in-your-mouth texture that will impress every time.
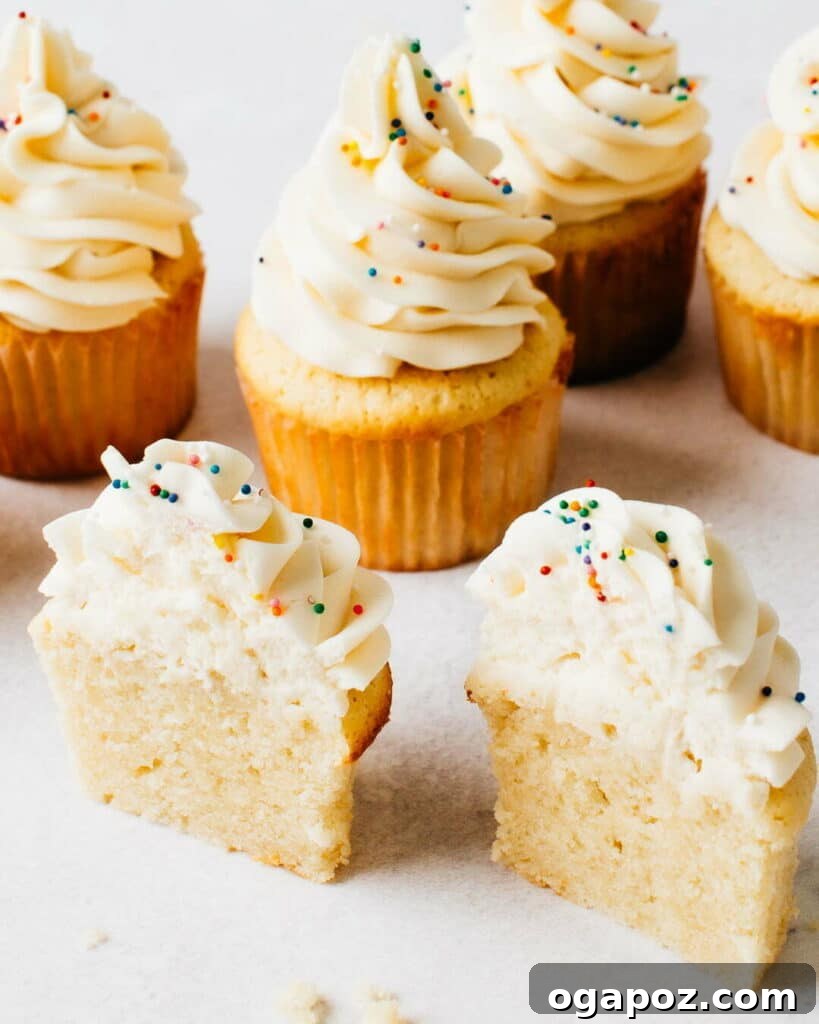
Mastering the Art of Vanilla Cupcakes: A Scientific Approach
Vanilla cupcakes, in their apparent simplicity, are notoriously difficult to master. Many home bakers find themselves navigating a minefield of potential pitfalls, often resulting in cupcakes that are heavy, dry, or possess an unappealing coarse crumb. The pure, unadulterated flavor of vanilla offers no place to hide imperfections; the texture and structure are paramount. Achieving that coveted fluffy texture and soft crumb is the epitome of baking as a precise science, where every detail matters.
From the exact measurements to the specific temperatures of your ingredients, and from the chosen technique to the timing of each step – precision is non-negotiable. But don’t let this intimidate you! I’ve dedicated countless hours, refining and testing, to assemble a no-fail recipe and comprehensive guide. My goal is to empower you to bake the most foolproof and exquisitely delicious vanilla cupcakes you’ve ever experienced. This recipe isn’t just easy; it’s a guaranteed path to baking perfection.
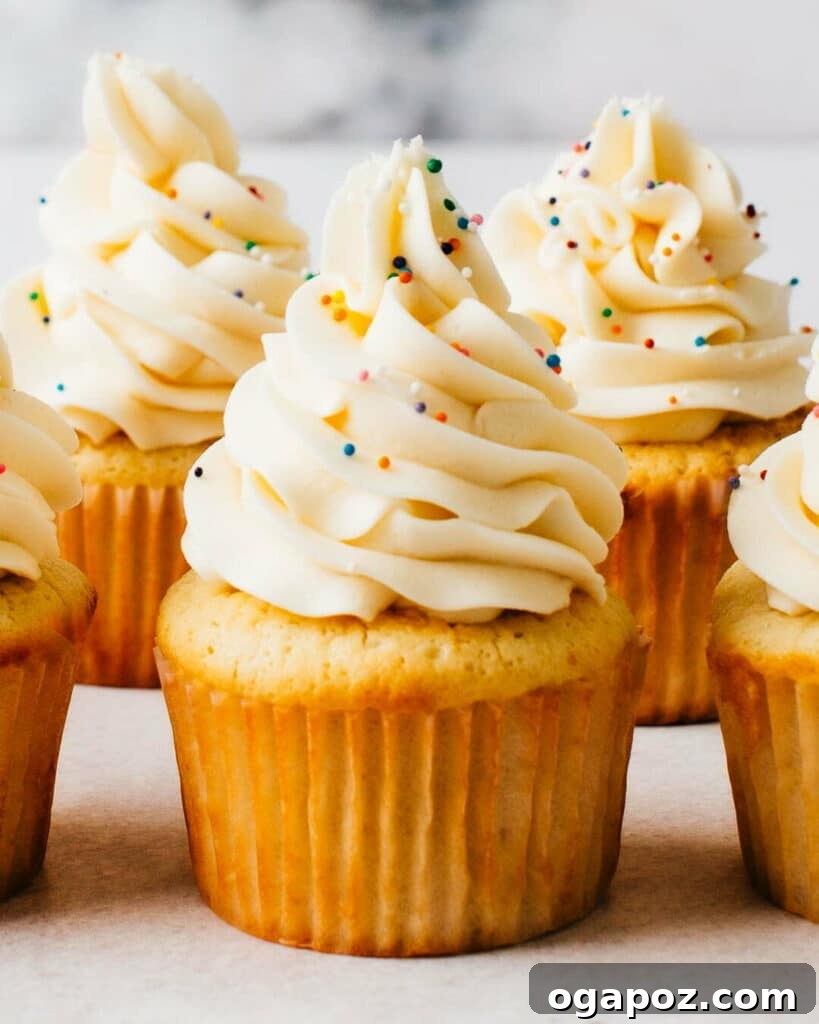
The Cornerstone Ingredients for Superior Vanilla Cupcakes
Success in baking begins with understanding your ingredients. For these exceptional vanilla cupcakes, specific choices and preparations are vital:
- Bleached Cake Flour: Often sold as “Cake & Pastry flour” in some regions, this flour is indispensable. It boasts a lower protein content than all-purpose flour, which means less gluten will form during mixing. Gluten, while desirable in bread, can lead to a tough, chewy cupcake. Furthermore, the specialized bleaching process unique to cake flour (distinct from all-purpose flour’s bleaching) increases its absorptive capacity. This allows the flour to hold more moisture and contributes significantly to a higher, fluffier final cake structure.
- Soft Unsalted Butter: While unsalted is ideal for precise salt control, salted butter works fine – just remember to halve the amount of salt specified in the recipe. Crucially, the butter must be truly soft, but not melted. Soft butter creams more efficiently, incorporating air and creating a fine, tender crumb.
- Large Eggs, Warmed to Room Temperature: This might seem like a small detail, but it’s critical. We will be whipping the egg whites separately, and warm egg whites whip to a greater volume and more stable peaks. Additionally, introducing cold eggs to soft butter would cause the butter to harden, leading to a lumpy batter and hindering proper emulsification. Egg yolks are rich in emulsifiers, which help the butterfat integrate smoothly with liquid ingredients, ensuring a uniform and velvety crumb. Maintaining consistent ingredient temperatures harnesses this superpower effectively.
- Whole Milk, Warmed to Room Temperature: Just like with the eggs, cold milk can shock and firm up the beautifully softened butter, compromising the delicate air bubbles you’ve worked to create. Bringing the milk to room temperature ensures a smooth, uniform batter. This consistency in temperature also contributes to more predictable baking times and a perfectly even rise. See our quick warming tips below to avoid waiting around.
The 5 Science-Based Keys to Unrivaled Moist and Fluffy Vanilla Cupcakes
Achieving vanilla cupcake perfection isn’t magic; it’s about applying proven scientific principles. Here are the five fundamental keys that will transform your baking:
1. Precise Measuring: The Weight Advantage
Given its incredibly silky-fine texture, cake flour compacts more easily in a bag and within a measuring cup compared to all-purpose flour. This inherent characteristic makes super-precise measurement by volume (using cups) exceptionally difficult and prone to inconsistency. An extra half-ounce of flour, easily added by a slightly different scooping technique, can transform a delightfully tender cupcake into a disappointingly dry one. For this reason, I strongly recommend weighing your flour. You don’t need an expensive professional scale; a simple digital kitchen scale for under $20 is perfectly adequate and will be your best friend in consistent baking.
2. Temperature Control: The Unsung Hero
The temperature of your ingredients impacts everything from how well they emulsify to the final texture of your cupcakes. Many recipes simply state “room temperature” without explaining why, or offering practical advice. Cold ingredients can cause butter to seize and fats to clump, leading to a curdled or inconsistent batter. By ensuring eggs, milk, and butter are all at a consistent room temperature, you promote a smooth, homogeneous mixture that traps air more efficiently, resulting in a finer crumb and a more even bake. Don’t worry about planning hours ahead; check out our Pro Tips: How to Quickly Bring Ingredients to Room Temperature for clever hacks that save time and ensure success.
3. Reverse Creaming: The Toughening Safeguard
This innovative mixing technique acts as an insurance policy against over-mixing, which is a primary culprit behind tough, chewy cupcakes. Traditional creaming starts with butter and sugar, then alternates with dry and wet ingredients. Reverse creaming flips this, beginning by coating the flour with fat before any liquid is introduced. This method significantly reduces gluten development by physically coating the flour proteins, preventing them from forming long, tough strands when hydrated. The result is the most absolutely melt-in-your-mouth, velvety tender crumb imaginable, setting these cupcakes apart from all others.
4. Beating Egg Whites Separately: The Secret to Lightness
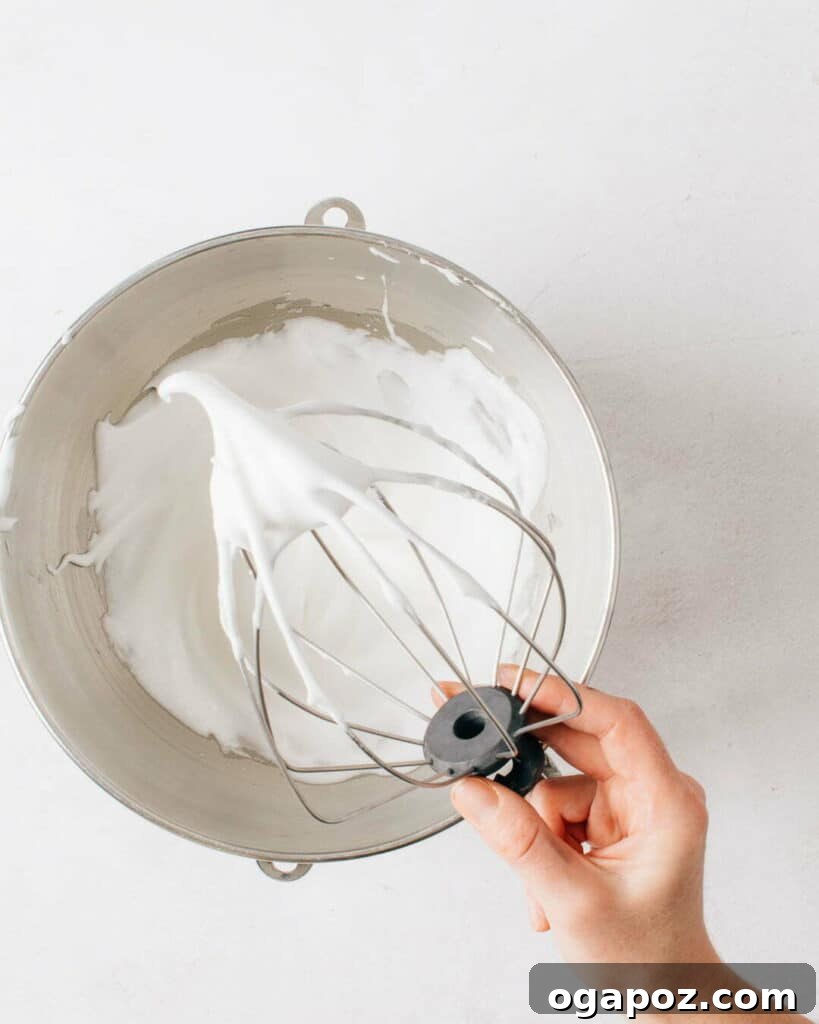
I understand; any recipe that calls for separately beaten egg whites can feel like an extra, annoying step. But PLEASE, bear with me on this one. This technique is the absolute SECRET to transforming these already moist and tender cupcakes into ALSO beautifully light and fluffy delights. Beating the egg whites to medium-stiff peaks and then gently folding them into the finished batter incorporates a significant amount of air, creating a delicate structure that contributes to an airy, cloud-like texture without compromising the richness and moisture from the other ingredients. This step is a game-changer for cupcake elevation.
5. Minimize the Final Beating: Preventing Gluten Overdevelopment
In this recipe, you can do very little harm until the liquids are introduced. This is because gluten – the protein complex responsible for toughening batters – only truly forms once water interacts with the individual proteins in the flour. Therefore, once you add the liquid ingredients (milk and vanilla), the goal is to incorporate them with minimal agitation. While our reverse creaming method (Key #3) is an AWESOME safeguard against over-mixing, it’s still wise to proceed with caution during this final stage. Beat just until the batter is combined and uniform, avoiding prolonged mixing. Don’t sweat it too much, but be mindful of efficiency.
What Is Reverse Creaming, and Why Is It So Effective?
Reverse creaming is a fundamental technique in professional baking that is now accessible to home bakers for achieving superior cake and cupcake textures. It’s distinct from the traditional creaming method, where butter and sugar are beaten together first to incorporate air, followed by alternating additions of dry and liquid ingredients.
In reverse creaming, you begin by mixing your dry ingredients (flour, sugar, baking powder, salt) together, then you incorporate the softened butter directly into this dry mixture. Why is this so revolutionary? It’s all about controlling gluten development. Gluten is a protein matrix that forms when the proteins in flour are hydrated with water and then agitated (mixed or kneaded). The more gluten formed, the tougher and more rubbery your baked goods become.
The genius of reverse creaming lies in its ability to coat the individual flour particles with fat (from the butter) before any liquid is added. This protective layer of fat creates a barrier, preventing the flour proteins from fully hydrating and forming long, strong gluten strands when the milk and egg yolks are finally mixed in. The result? An absolutely meltingly soft, impossibly tender, and velvety crumb that is the hallmark of a truly exceptional cupcake.
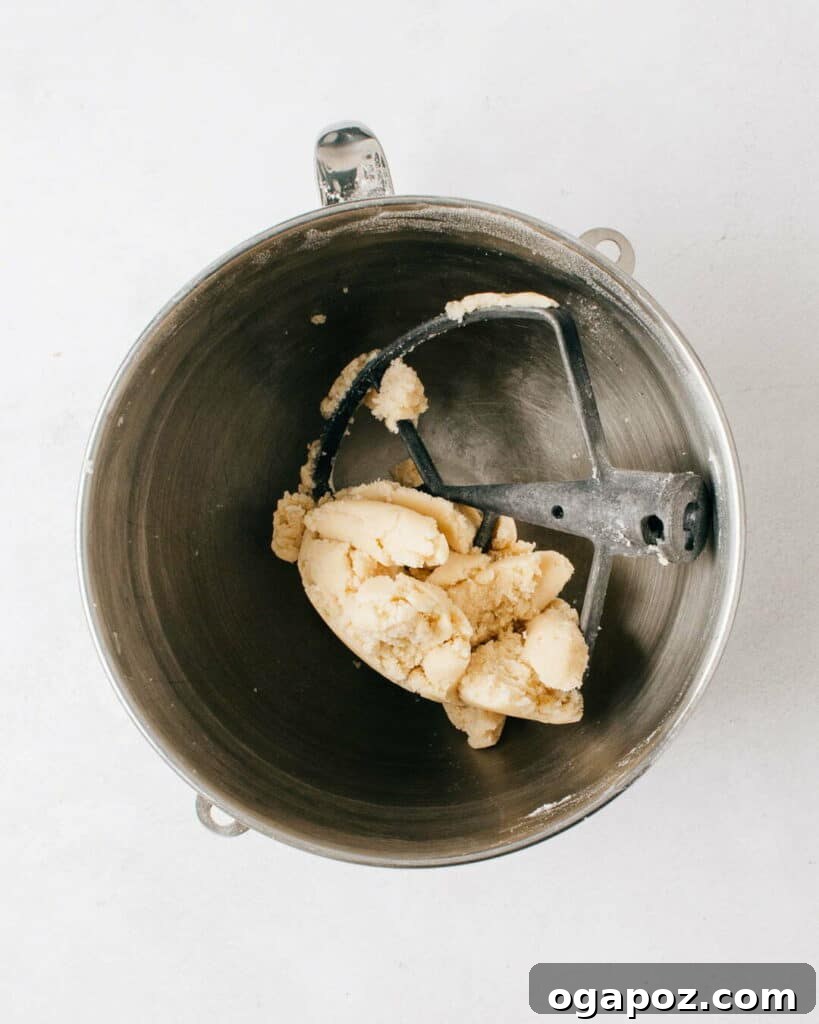
Many recipes claiming to use reverse creaming often miss the mark. Some instruct adding butter to flour until “coarse crumbs” form, which is merely incorporating butter, not truly creaming. True creaming involves incorporating air, which is difficult with just crumbs. Others suggest adding some liquid along with the butter to make it “creamable,” but this unfortunately defeats the primary purpose: by introducing liquid and then beating, you inevitably start developing gluten.
My solution is elegant and simple: precise temperature control for the butter. When the butter is sufficiently soft (but not melted), it will come together with the dry ingredients to form a cohesive dough. If your mixture remains sandy, it simply means your butter isn’t warm enough. A quick trick is to apply a hot-water-soaked dishtowel to the bottom of your mixer bowl as it beats. The gentle warmth will quickly help the mixture transition from coarse crumbs to a unified dough, allowing you to truly reverse cream it effectively and achieve that magnificent tender texture.
Once your perfect vanilla cupcakes are baked, they deserve an equally exquisite topping. Here’s my favorite recipe for a luscious and airy Easy 5-Minute Fluffy Vanilla Frosting to complete your masterpiece.
Get this recipe link sent straight to your inbox to make it later!
Print Recipe
Rating: 5 out of 5 stars (based on 12 votes)
The Ultimate Moist and Fluffy Vanilla Cupcakes
By: Jennifer Pallian BSc, RD
This ultimate recipe creates the best Moist Vanilla Cupcakes imaginable. Utilizing a simple yet effective reverse creaming method, it ensures a truly fluffy, melt-in-your-mouth texture that is consistently perfect.
Prep Time: 20 minutes
Cook Time: 20 minutes
Servings: 15 cupcakes
Ingredients
(Yields 15 cupcakes)
- 3 large eggs, room temperature (whites separated from yolks)
- 198 g bleached cake flour (also known as cake & pastry flour, not self-raising) (approx. 1 2/3 cups sifted, spooned in, and levelled off)
- 1 ¼ cup granulated sugar (248 grams), divided use
- 1 ½ tsp baking powder
- ¾ tsp fine sea salt
- ¾ cup unsalted butter (170 g or 12 tbsp), very soft
- ¾ cup whole milk, room temperature (about 22ºC/71.6ºF)
- 1 tbsp pure vanilla extract
Instructions
- Preheat your oven to 350ºF (175ºC). Line 15 standard muffin cups with paper liners.
- In a stand mixer fitted with a whisk attachment, beat the egg whites on medium speed until they become white and foamy. While the mixer is running, slowly pour in ¼ cup (50 g) of the granulated sugar. Continue beating on medium-high speed until medium-stiff peaks form. Carefully scrape the beaten whites into a clean bowl and set aside. Wipe out the mixer bowl and dry it thoroughly.
- Into the now clean mixer bowl, add the cake flour, remaining granulated sugar, baking powder, and salt. Switch to the paddle attachment and beat these dry ingredients on medium speed for 1 minute. This step efficiently replaces sifting and ensures all dry components are thoroughly combined.
- Add the chunks of very soft butter to the dry mixture. Beat on medium speed. The mixture will gradually transform from individual butter lumps to coarse crumbs, and finally coalesce into one cohesive lump of dough. Once it forms a single lump, set a timer for 4 minutes and continue beating on medium speed until the mixture becomes light and fluffy.
**Troubleshooting Tip: If the mixture remains sandy and doesn’t come together into a cohesive dough, it indicates your butter isn’t soft or warm enough. Simply soak a dishtowel in hot water, wring it out, and hold it against the bottom of the mixer bowl as it beats. Repeat this process as the towel cools until the dough comes together. This should only take a short time.
- Add the egg yolks to the creamed butter mixture. Beat on medium speed, pausing to scrape down the sides of the bowl and the paddle, until the yolks are fully combined and the mixture is uniform.
- Reduce the mixer speed to low. Gradually drizzle in the room temperature milk and vanilla extract. Immediately after adding, scrape down the sides of the bowl and the paddle. Then, beat on medium-low speed, scraping down the sides and paddle once or twice more, until the batter is free of any large lumps – this should take a total of 40-60 seconds. The batter will appear fluffier but may have a slightly curdled appearance with tiny, uniformly distributed lumps. This is normal.
- Remove the bowl from the stand mixer. Using a large spatula, gently fold about one-third of the beaten egg whites into the batter. This initial incorporation helps to lighten the batter, making it easier to gently fold in the remaining whites without deflating them. Continue to gently fold in the rest of the egg whites until no white streaks are visible, being careful not to overmix.
- Portion the batter evenly into the prepared muffin cups, filling each approximately one-third full (about 1/3 cup of batter per cupcake). Bake for 18-22 minutes, rotating the pans once around the 14-minute mark to ensure even baking. The cupcakes should register around 190ºF (88ºC) internal temperature when done. Note that they will not necessarily turn golden brown on top, maintaining a pale finish.
- Once baked, remove the cupcakes from the oven and transfer them to a wire rack to cool completely before frosting.
Notes
For the perfect pairing, here’s my favorite recipe for Easy 5-Minute Fluffy Vanilla Frosting.
This recipe was rigorously tested using flour measured by weight. I highly recommend you weigh your ingredients as well for the most consistently perfect results. Detailed explanations are available in the blog post above.
In a pinch, you can create an adequate cake flour substitute by replacing 2 tablespoons of all-purpose flour per cup with 2 tablespoons of cornstarch. Cornstarch is gluten-free and possesses double the absorptive capacity of flour. For this recipe, that would mean using approximately 173 grams of all-purpose flour combined with 23 grams of cornstarch. While the resulting cupcakes will still be delicious and moist, they may collapse slightly after baking and might not achieve quite the same velvety crumb as those made with true cake flour.
It is strongly recommended to use a kitchen thermometer to check for doneness. Vanilla cupcakes, especially those made with cake flour, often remain pale on top even when fully baked. When gently pressed, their texture will feel quite soft and spongy, not as firm and springy as, for instance, muffins. Aim for an internal temperature of 190ºF (88ºC) and begin checking around the 18-minute mark.
Tried this recipe? Share your thoughts! We’d love to hear about your baking experience and see your beautiful creations in the comments below!