
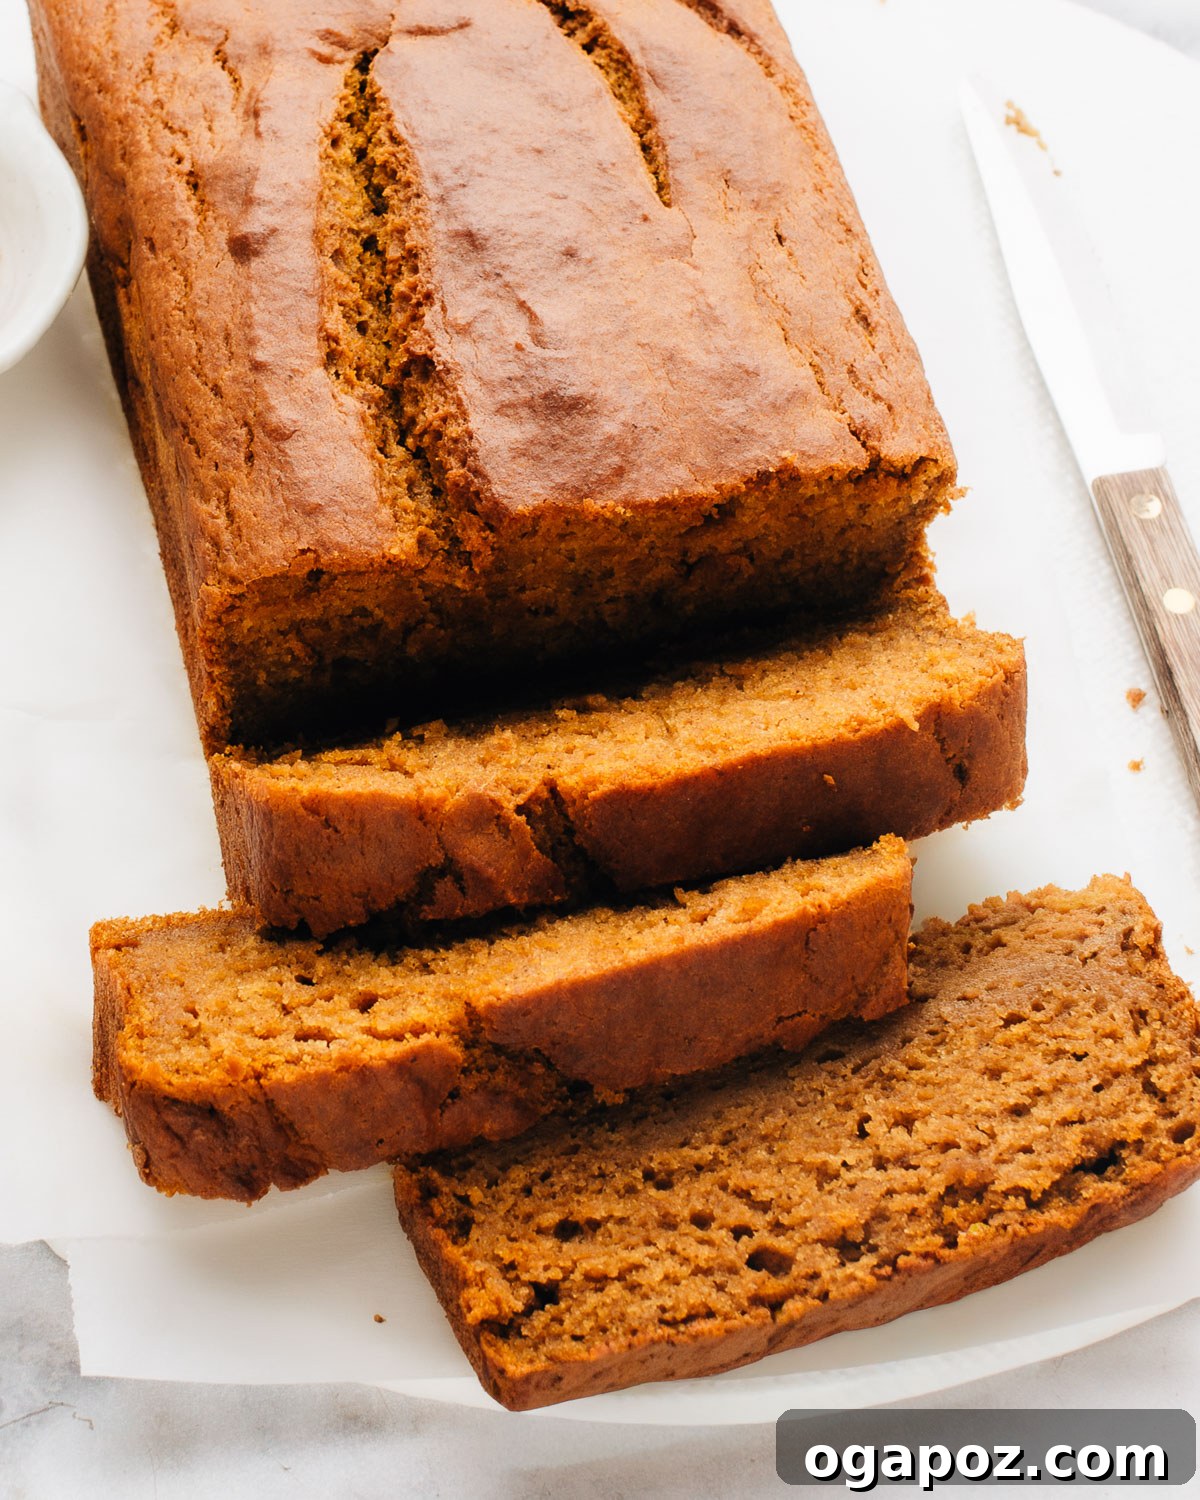
Welcome to the ultimate guide for baking the most incredibly moist and flavorful Pumpkin Banana Bread! This recipe effortlessly combines the comforting essence of pumpkin spice with the natural sweetness of ripe bananas, resulting in a bakery-style loaf that’s truly a delight. Whether you’re a seasoned baker or just starting, our easy-to-follow steps ensure a soft crumb and big flavor that stays fresh and delectable for days. Prepare to transform simple pantry staples into a fall favorite that will have everyone asking for more.
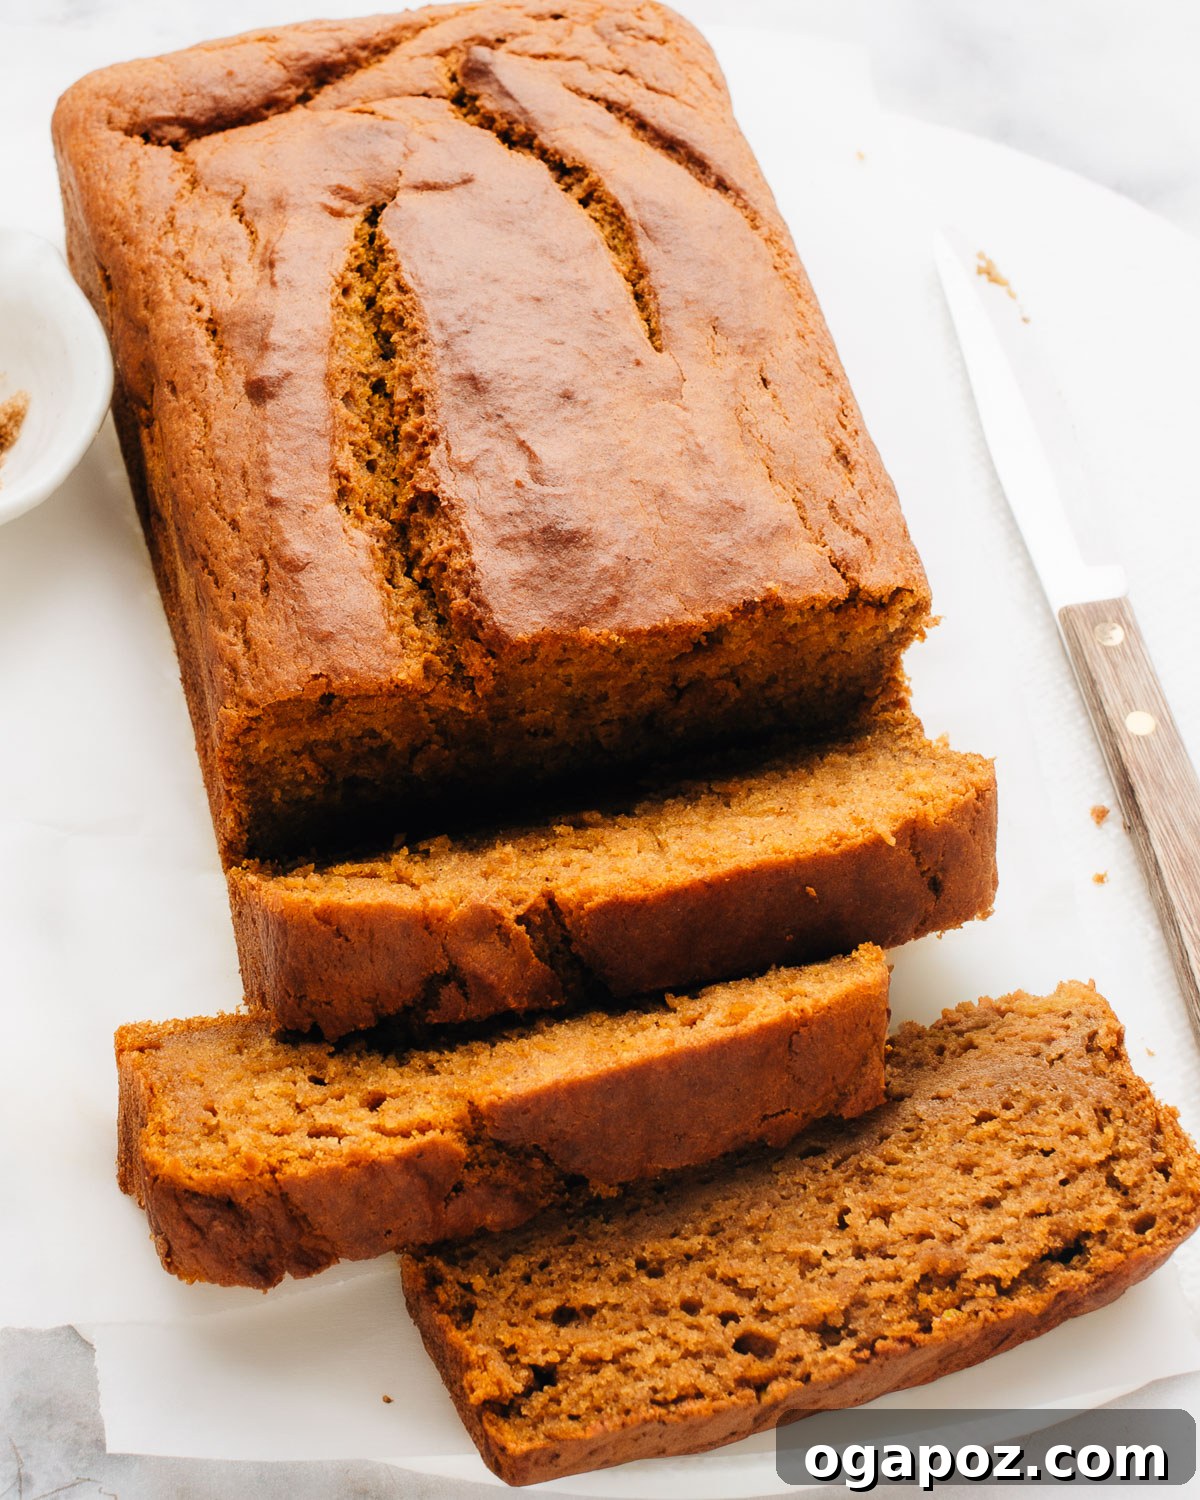
Essential Ingredients for Your Pumpkin Banana Bread
Crafting the perfect pumpkin banana bread begins with selecting the right ingredients. Each component plays a vital role in achieving that coveted moist texture and rich, comforting flavor. Here’s a detailed look at what you’ll need to create this soft, delightful loaf, along with tips for optimal results:
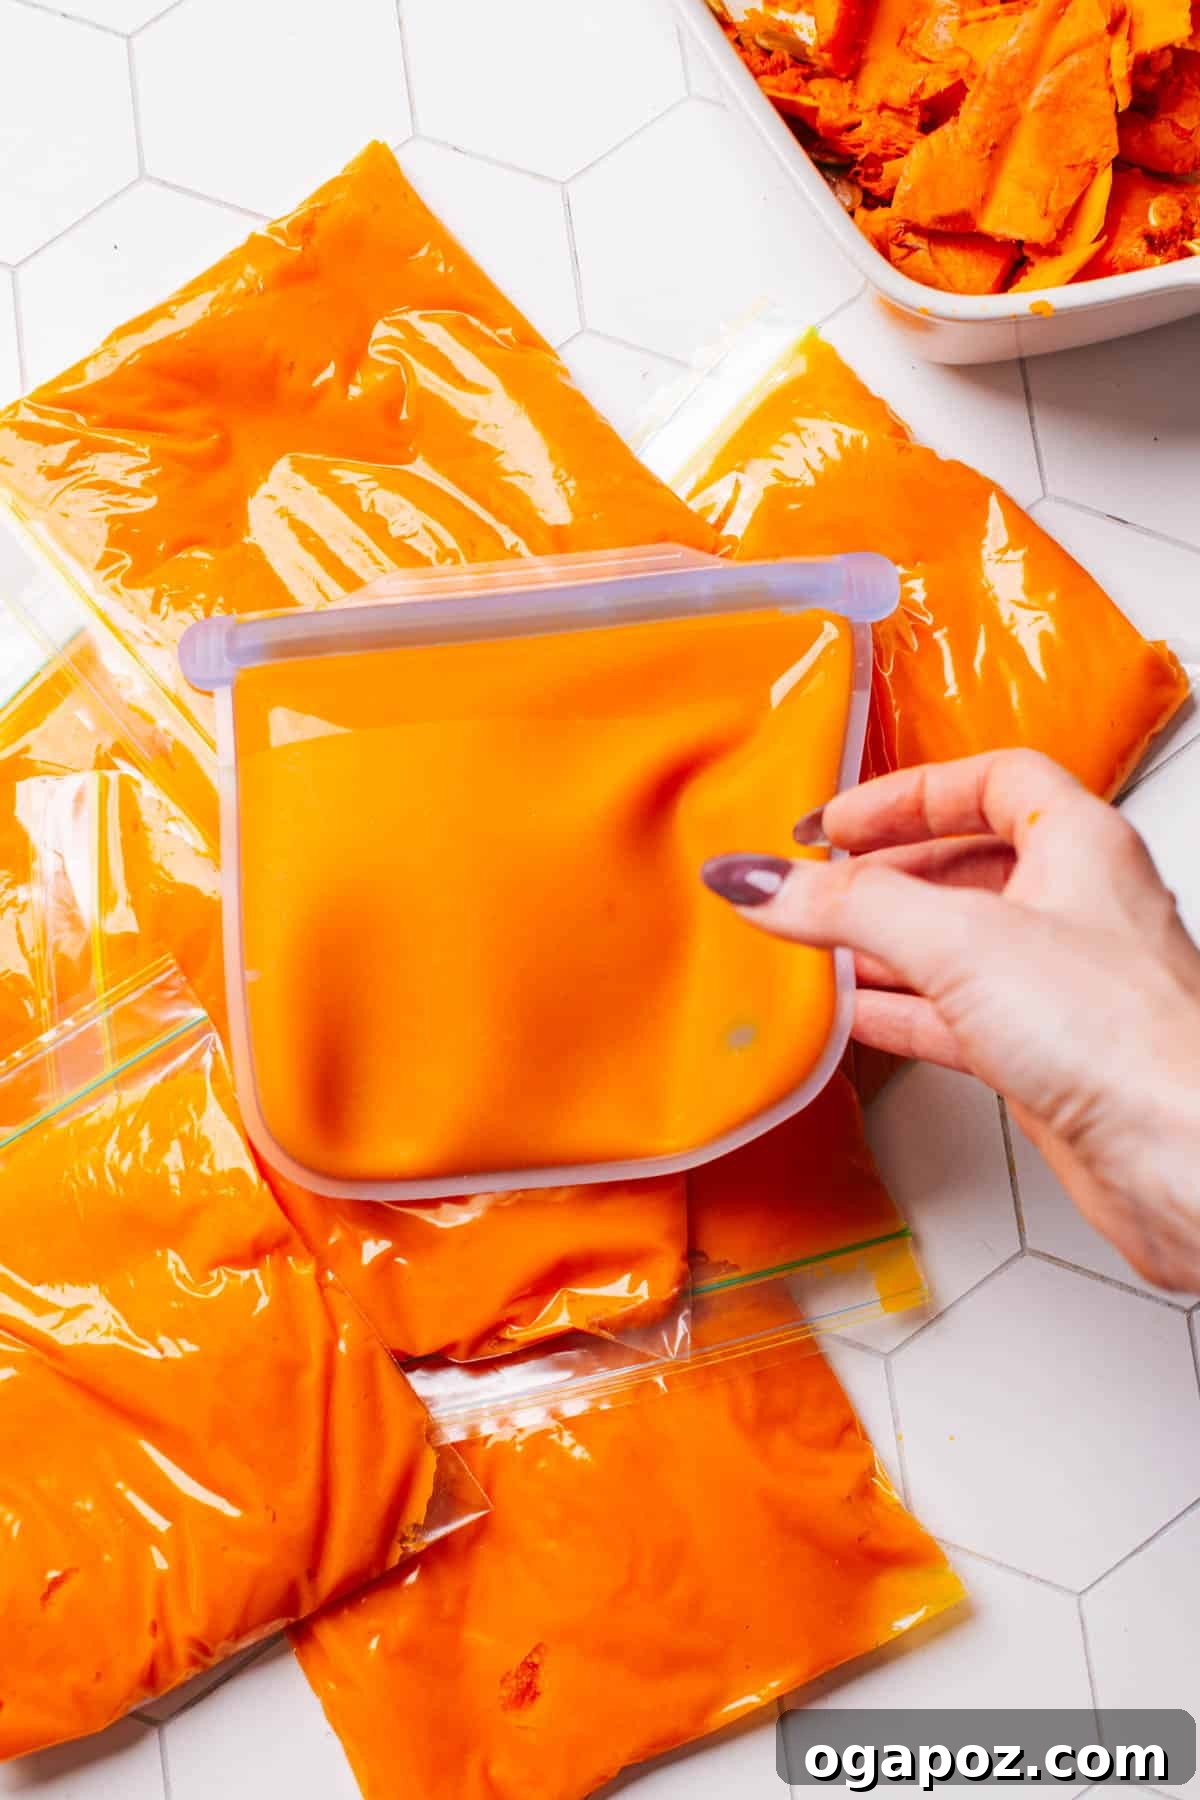
- Pumpkin Puree: The star of the show! This recipe is specifically designed to utilize a full 15-ounce can of pumpkin puree (approximately 1 ¾ cups), making it super convenient and ensuring you don’t have leftover pumpkin sitting in the fridge. Pumpkin not only imparts a beautiful color and distinctive fall flavor but also contributes significantly to the bread’s incredible moisture.
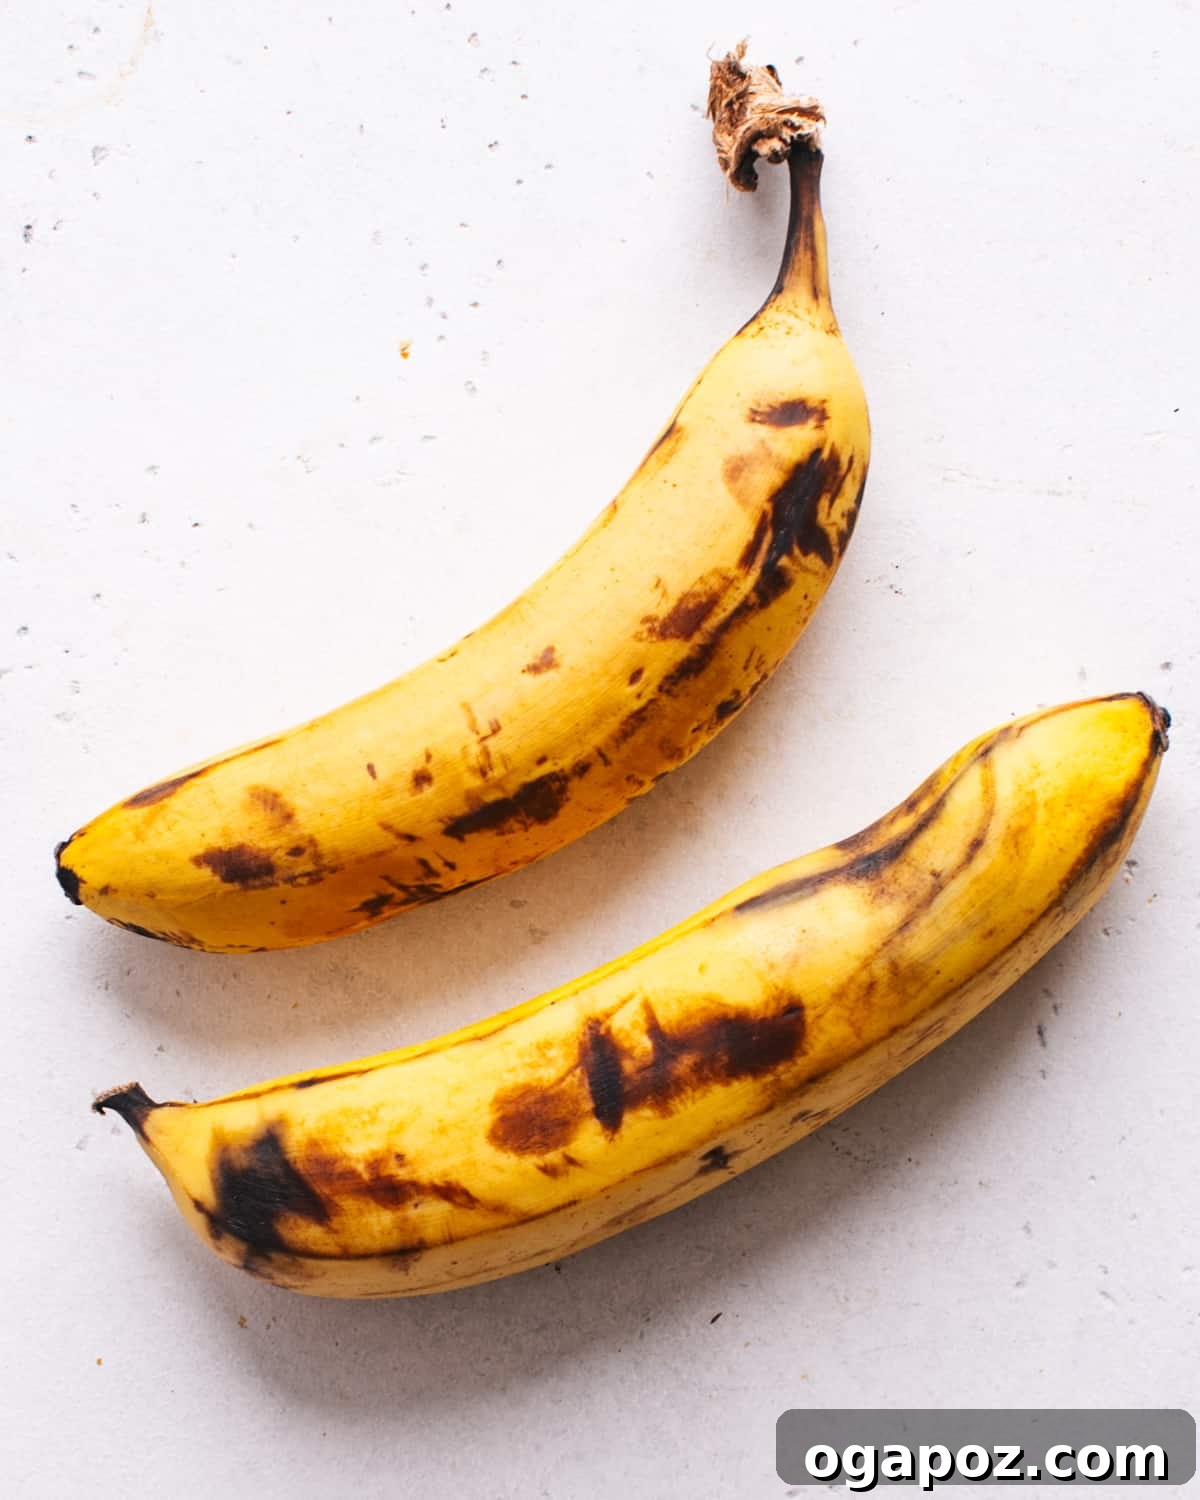
- Ripe Bananas: For the best sweetness, moisture, and flavor, choose bananas that are very ripe with plenty of brown spots on their peels. These are sweeter and mash more easily, integrating seamlessly into the batter.
- A note on ripeness: While spotty is good, we generally recommend avoiding fully black bananas. While still sweet, they can sometimes release too much liquid, leading to a slightly gummier layer at the bottom of the loaf. Use them if that’s all you have, but slightly less dark bananas are ideal.
- Using frozen bananas: If you’re using previously frozen bananas, make sure to thaw them completely and discard any accumulated liquid before mashing. This prevents excess moisture from altering the batter consistency.
- Milk: A touch of milk helps to tenderize the crumb and add to the overall richness of the bread. Any type of milk (dairy or non-dairy) will work well.
- Vegetable Oil: Unlike butter, oil contributes to a consistently moist texture that lasts longer, as it remains liquid at room temperature. It also creates a fine, even crumb.
- Eggs: Eggs act as a binder, provide structure, and add richness to the bread. If you need a substitute, explore various egg substitutes for baking to ensure similar results.
- Pure Vanilla Extract: A dash of good quality vanilla extract enhances all the other flavors, adding warmth and depth to both the pumpkin and banana notes.
- All-Purpose Flour: The foundational dry ingredient, providing structure to the loaf. Ensure it’s spooned and leveled for accurate measurement, preventing a dense bread.
- Sugar (Granulated and Brown): A combination of granulated sugar for sweetness and brown sugar for its molasses notes and additional moisture creates a perfectly balanced flavor profile.
- Warm Spices: A carefully selected blend of cinnamon, ginger, and cloves brings out the classic autumnal flavors of pumpkin. These spices are essential for that cozy, inviting aroma and taste.
- Baking Powder: This leavening agent ensures your bread rises beautifully, giving it a light and airy texture.
- Kosher Salt: A pinch of salt balances the sweetness and enhances all the flavors, making them pop.
You’ll find the precise quantities for each ingredient detailed in the comprehensive recipe card located at the bottom of this article.
Exciting Variations and Smart Substitutions
This pumpkin banana bread recipe is incredibly versatile, allowing for delicious customizations to suit your taste or dietary needs. Feel free to experiment with these ideas:
- Chocolate Chips or Chunks: For a delightful sweet twist, fold in 1 to 1 ½ cups of your favorite chocolate chips or chunks into the batter. Dark chocolate complements the pumpkin and banana beautifully, but milk or white chocolate chips are also fantastic.
- Elevate the Spices: If you prefer a more robust spice profile, you can substitute the individual spices with 1 ½ tablespoons of pre-mixed pumpkin pie spice. For an extra kick, consider adding ½ teaspoon of ground nutmeg. This is particularly popular for those who love their pumpkin recipes to truly sing with fall flavor.
- Crunchy Add-ins: Introduce a pleasant textural contrast by sprinkling about ½ cup of chopped walnuts, pecans, or pepita (pumpkin) seeds over the top of the loaves before baking. If they start to brown too quickly, loosely tent the loaves with aluminum foil during the last 10-15 minutes of baking.
- Gluten-Free Alternative: To make this recipe gluten-free, simply swap the all-purpose flour for a good quality 1:1 gluten-free baking blend. For best results, allow the batter to rest for about 10 minutes after mixing to allow the gluten-free flours to hydrate properly.
Craving even more cozy fall treats? Don’t miss out on my other beloved recipes like moist pumpkin muffins, pumpkin zucchini muffins, and delightful pumpkin cookies (made without butter). Each offers a unique way to enjoy the flavors of the season!
Essential Baking Tools You’ll Need
Having the right tools on hand makes the baking process smoother and more enjoyable. Here’s what you’ll want to gather before you start mixing:
- Loaf Pans: You’ll need two 8×4-inch loaf pans to bake this recipe as written. Alternatively, you can use one 9×5-inch loaf pan and bake any extra batter in a few muffin cups. If you prefer, you can even adapt the entire recipe to make delicious pumpkin banana muffins.
- Parchment Paper: Lining your loaf pans with parchment paper (leaving an overhang on the sides) is a game-changer. It allows you to lift the baked loaves out cleanly and easily, making for neat slices and effortless cleanup.
- Two Mixing Bowls: Essential for keeping your wet and dry ingredients separate until it’s time to combine them. This ensures proper mixing and prevents overworking the batter.
- Whisk and Spatula: A whisk is perfect for blending wet ingredients and aerating dry ingredients, while a sturdy spatula is ideal for gently folding the two mixtures together without overmixing.
- Kitchen Scale (Optional but Recommended): For unparalleled accuracy, especially with flour, a kitchen scale is a fantastic tool. It eliminates discrepancies that can arise from inconsistent scooping and leveling.
- Instant-Read Thermometer (Optional but Recommended): Take the guesswork out of determining doneness. An instant-read thermometer ensures your bread is perfectly baked, reaching 200°F (93°C) in the center, guaranteeing optimal texture every time.
- Wire Rack: Crucial for cooling your loaves completely. Placing them on a wire rack allows air to circulate around all sides, preventing the bottoms from becoming soggy due to trapped steam.
Step-by-Step Guide: How to Make the BEST Pumpkin Banana Bread
Creating this irresistible pumpkin banana bread is surprisingly simple, following a straightforward method that delivers consistently delicious results. The key is in preparing your ingredients, combining them gently, and baking until golden brown and perfectly cooked through. The batter is wonderfully thick and forgiving, making this a joy to bake.
1. Prepare Your Pans and Preheat the Oven
Begin by preheating your oven to 350°F (175°C). This ensures the oven is at the correct temperature when your batter is ready to bake, promoting an even rise. Lightly grease two 8×4-inch loaf pans, then line them with parchment paper. Leave a generous overhang of parchment on the longer sides; this creates convenient “handles” to easily lift the finished loaves out of the pans once baked. Proper pan preparation ensures a clean release and beautiful, intact slices.
2. Whisk Together the Wet Ingredients
In a large mixing bowl, combine the pumpkin puree, mashed ripe bananas, milk, brown sugar, vegetable oil, eggs, and vanilla extract. Use a whisk to blend these ingredients thoroughly until the mixture is smooth and well-incorporated. While a few tiny banana lumps are fine, aim for a consistent liquid base. A smooth wet mixture contributes to an even crumb texture in the final bread.
3. Combine the Dry Ingredients in a Separate Bowl
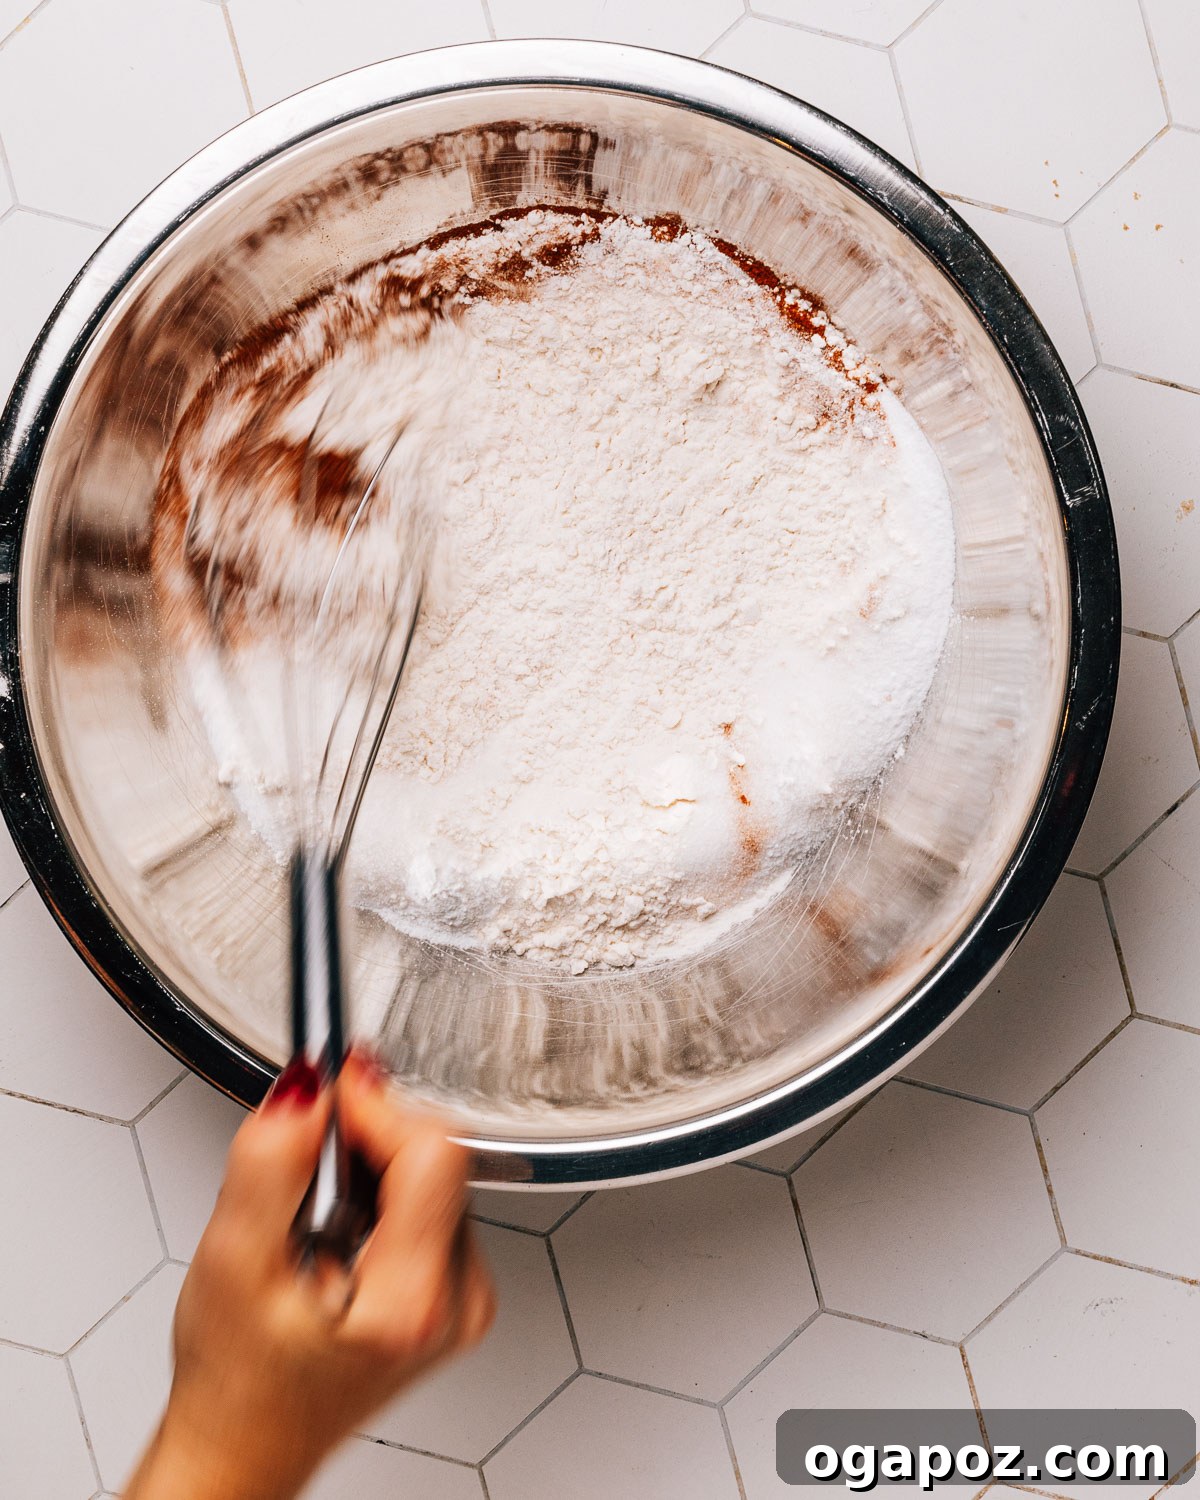
In a second large mixing bowl, add the all-purpose flour, granulated sugar, cinnamon, ginger, cloves, baking powder, and kosher salt. Use your whisk to thoroughly combine these dry ingredients. This step is crucial for distributing the leavening agents (baking powder) and spices evenly throughout the flour, preventing pockets of unmixed ingredients and ensuring a uniform rise and flavor in every bite.
4. Gently Combine Wet and Dry Mixtures
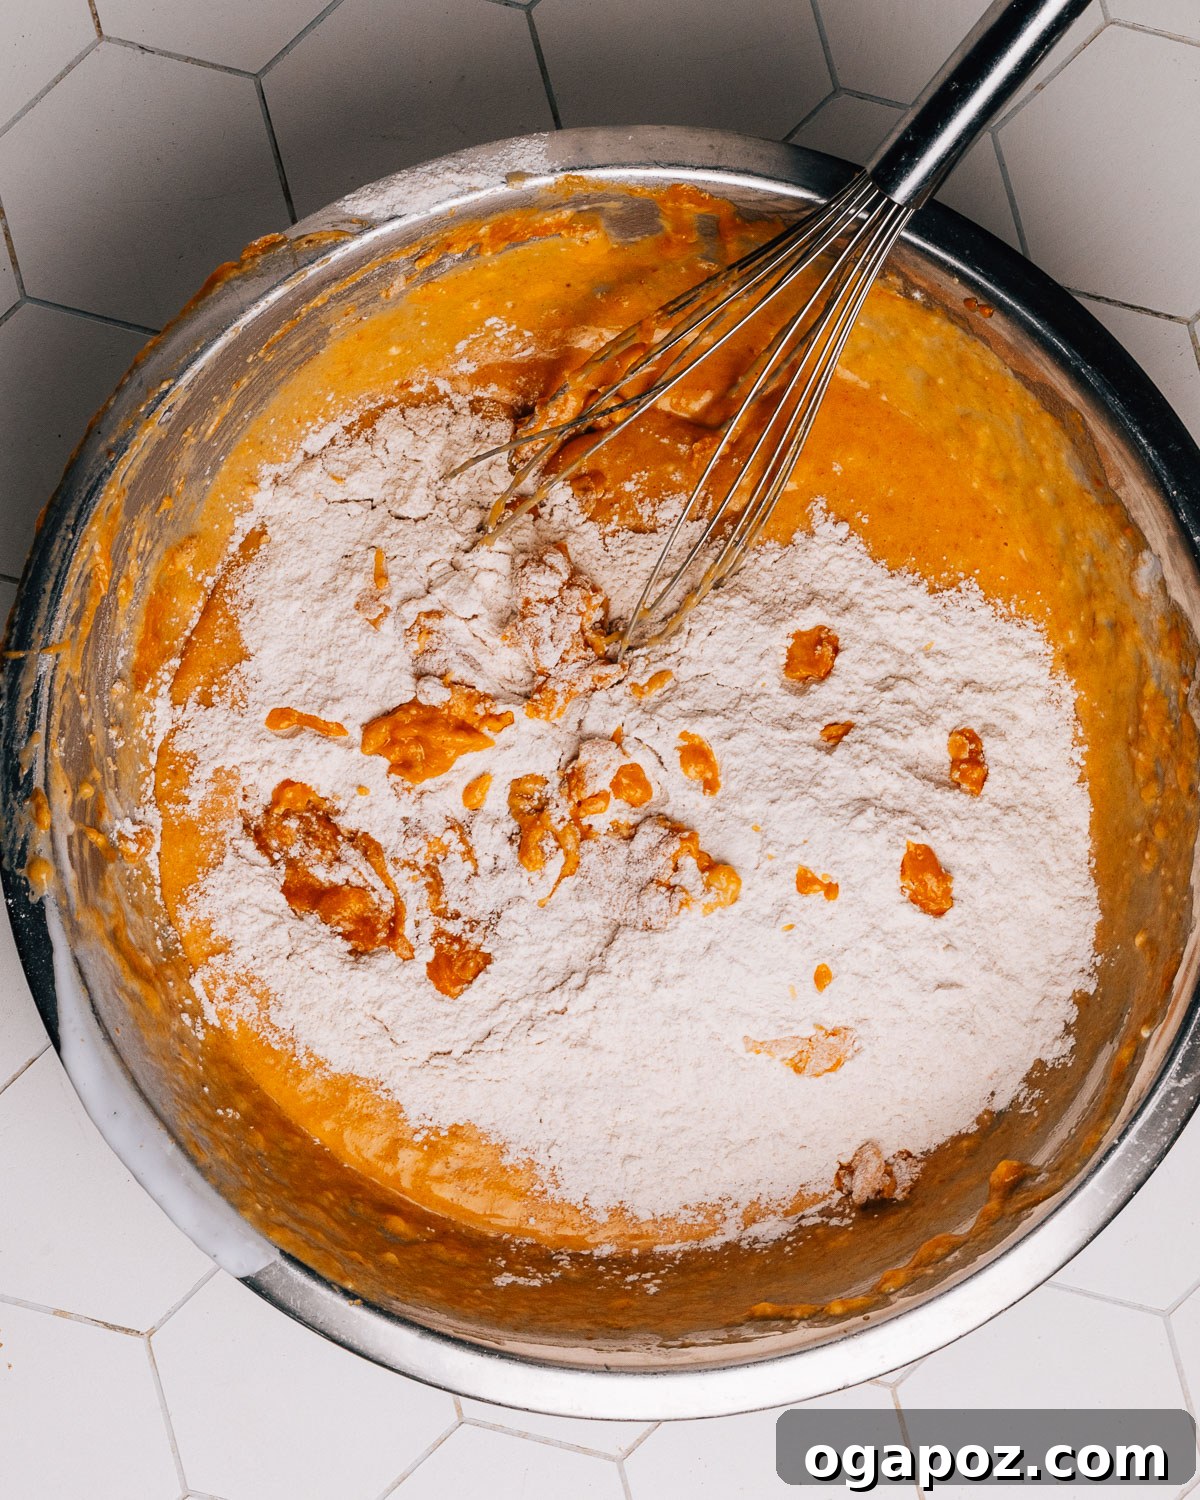
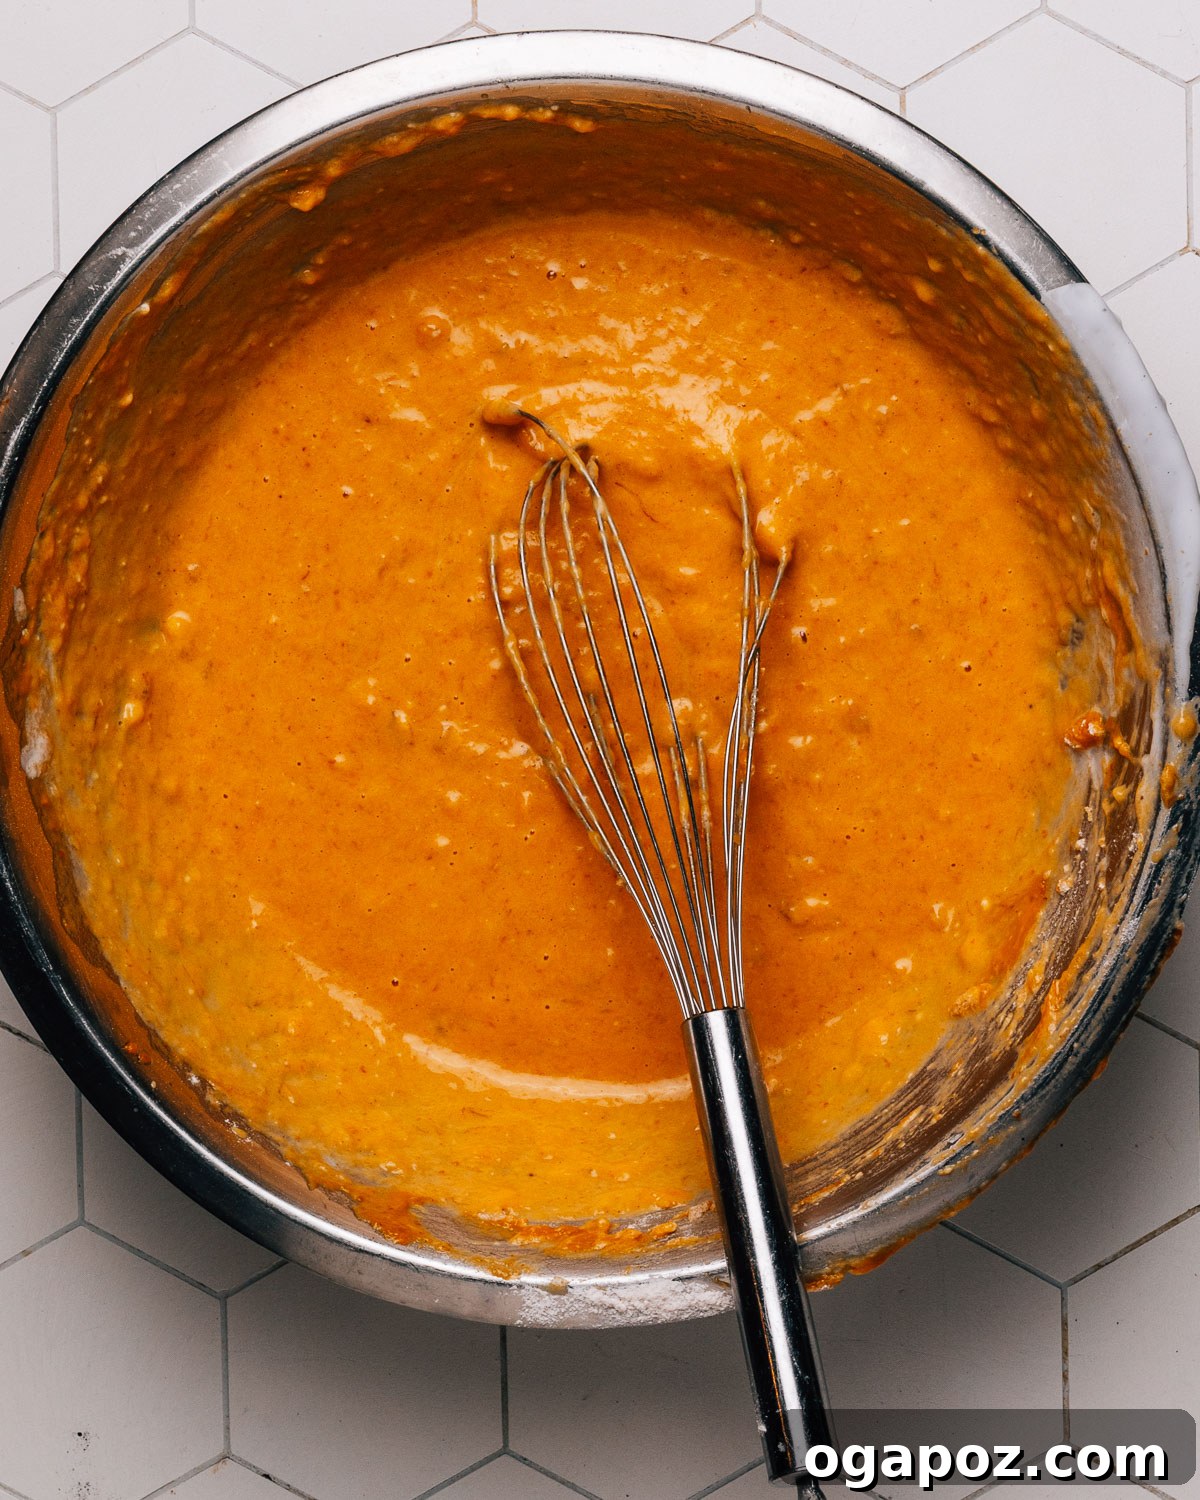
Create a small well in the center of your dry ingredients mixture. Pour the whisked wet ingredients into this well. Using a spatula, gently stir the ingredients together. Mix just until a few streaks of flour still remain visible in the batter. The batter should look thick and slightly lumpy, which is perfectly normal. It’s essential not to overmix, as this can develop the gluten in the flour too much, leading to a tough, dry bread. Stop mixing as soon as the flour is mostly incorporated.
5. Fill Pans, Bake, and Check for Doneness
Divide the thick batter evenly between your two prepared loaf pans and gently smooth the tops with your spatula. Place the pans in the preheated oven and bake for approximately 60-70 minutes. Begin checking for doneness around the 45-minute mark. The bread is perfectly baked when an instant-read thermometer inserted into the center of the loaf registers 200°F (93°C), or when a wooden skewer or toothpick inserted into the center comes out with just a few moist crumbs attached (not wet batter). If the tops are browning too quickly, loosely tent the loaves with aluminum foil for the final 10–15 minutes of baking to prevent over-browning while the interior finishes cooking.
6. Cool and Enjoy
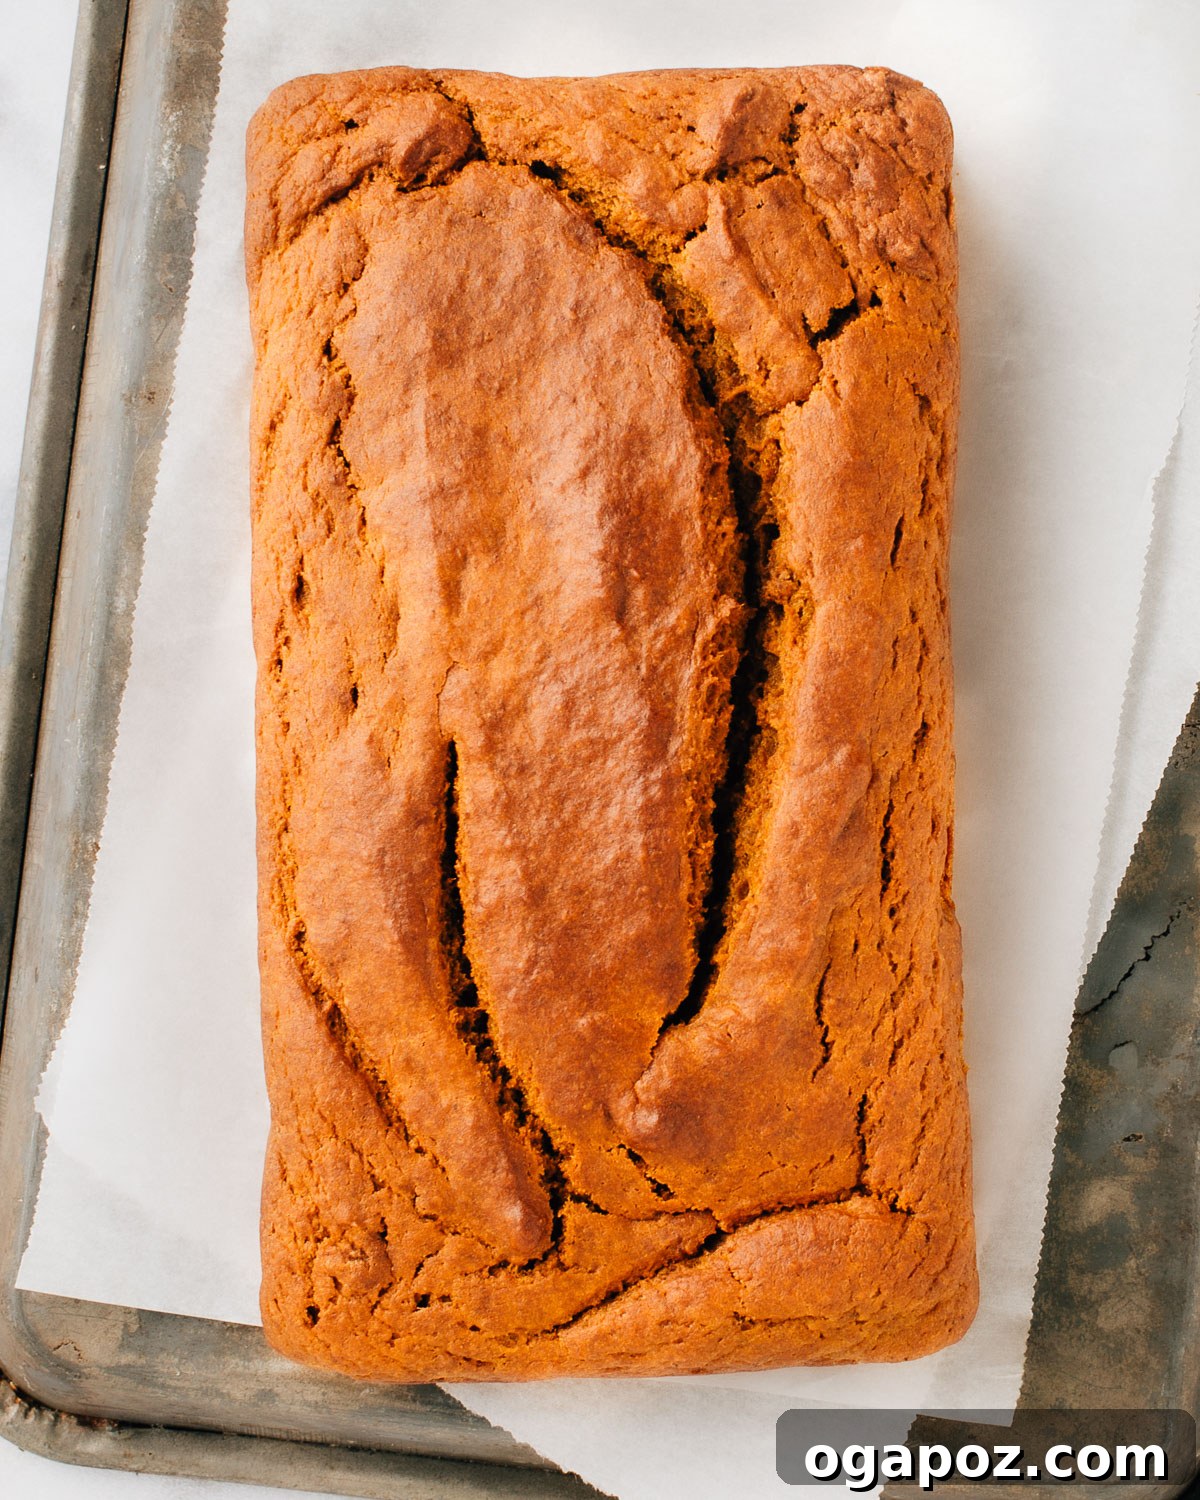
Once baked, remove the loaves from the oven and let them cool in their pans for about 10 minutes. This allows the bread to set and firm up slightly. After 10 minutes, use the parchment paper overhangs to carefully lift the loaves out of the pans and transfer them to a wire rack. Allow them to cool completely on the rack before slicing. Cooling completely ensures the interior finishes cooking and sets properly, resulting in the best texture for slicing and enjoying.
Avoid These 4 Common Mistakes for Perfect Pumpkin Banana Bread
Even with a simple recipe, minor errors can impact the final outcome. Being aware of these common pitfalls will help you achieve consistently perfect, moist, and tender pumpkin banana bread every single time:
- Overmixing the Batter: This is perhaps the most frequent mistake in quick bread baking. When you overmix, you develop the gluten in the flour excessively, which leads to a tough, dense, and chewy crumb rather than the desired soft and tender texture. The solution? Stop mixing as soon as you see just a few faint streaks of flour remaining in the batter. Lumps are perfectly fine, even desirable!
- Underbaking the Loaf: Pulling the bread out of the oven too soon can result in a gooey, unappetizing center. While the edges may look golden, the interior might still be raw. The best way to avoid this guesswork is to use an instant-read thermometer. Aim for an internal temperature of 200°F (93°C) in the very center of the loaf. Alternatively, a toothpick inserted into the center should come out with moist crumbs, but no wet batter.
- Using the Wrong Pan Size: The size of your loaf pan significantly affects baking time and the shape of your bread. If you use a pan larger than recommended (e.g., a 9×5-inch pan instead of two 8×4-inch pans without adjusting bake time or batter quantity), your bread will bake faster and likely turn out flatter and drier. Conversely, a smaller pan might cause overflow or require a longer bake time. Always stick to the specified pan sizes or adjust baking time accordingly.
- Packing the Flour (Incorrect Measurement): Scooping flour directly from the bag with your measuring cup can compact it, leading to significantly more flour than the recipe calls for. This excess flour will make your bread dry and dense. The correct method is to “spoon and level”: gently spoon the flour into your measuring cup until it’s overflowing, then use the back of a knife or straight edge to level it off. For ultimate accuracy, use a kitchen scale and measure flour by weight (refer to the metric conversion in the recipe card if available).
Make Ahead and Storage Tips for Longevity
One of the best qualities of this pumpkin banana bread is how beautifully it stores, allowing you to enjoy its fresh flavors for days. Bake a batch once and savor it throughout the week, or prepare it in advance for future enjoyment.
Storing Leftovers
- Room Temperature is Best: For optimal freshness and texture, wrap your pumpkin banana bread tightly in plastic wrap or aluminum foil. Store it at room temperature for up to 3 days. Wrapping it well prevents it from drying out.
- Slice as You Go: To maintain maximum moisture, it’s often best to slice the bread only as you intend to eat it. A whole, uncut loaf retains moisture more effectively than pre-sliced pieces, which have more surface area exposed to air.
- Avoid the Refrigerator: While it might seem counterintuitive for preserving food, refrigerating quick breads like this can actually cause them to stale faster and become dry. The cool, dry air of the fridge accelerates the starch retrogradation process, making the bread firm and crumbly.
Freezing for Future Enjoyment
This pumpkin banana bread freezes exceptionally well, making it perfect for meal prep or having a treat on hand whenever a craving strikes.
- Freezing Whole Loaves: Ensure the loaf is completely cooled before freezing. Wrap it tightly in a layer of plastic wrap, then an additional layer of aluminum foil (or place it in a freezer-safe container or bag). This double layer protects against freezer burn. It can be frozen for up to 3 months.
- Freezing Slices for Convenience: For easy grab-and-go portions, slice the cooled bread and place parchment paper between each slice. Stack the slices and wrap the stack tightly in plastic wrap and foil, or store in a freezer bag. This allows you to thaw individual slices as needed.
- Thawing Instructions: To thaw, simply remove the wrapped loaf or slices from the freezer and let them come to room temperature on your counter. This usually takes a few hours for a whole loaf and less for individual slices. For a warm treat, you can gently reheat thawed slices in the microwave or toaster oven.
Delicious Ways to Serve Your Pumpkin Banana Bread
This incredible pumpkin banana bread is delightful on its own, but it also pairs beautifully with a variety of toppings and beverages. I personally love any pumpkin or banana bread recipe served warm with a generous smear of butter, alongside a comforting cup of chai coffee or a soothing mug of chai tea. Here are a few more creative ideas to elevate your serving experience:
- Maple Butter: Transform plain butter into a gourmet topping by whipping it with a swirl of pure maple syrup. The rich sweetness of maple perfectly complements the autumnal flavors of the bread.
- Cream Cheese Frosting or Drizzle: For a truly decadent treat, spread a luscious layer of cream cheese frosting over a cooled slice. Alternatively, a simple drizzle of this quick easy vanilla frosting recipe turns the bread into something akin to a pumpkin spice cake – perfect for dessert!
- Cinnamon Sugar Dusting: For a simpler, yet equally satisfying touch, dust warm slices of bread with a mixture of cinnamon and granulated sugar. The warmth of the bread melts the sugar slightly, creating a delightful glaze.
- Toasted Pepitas: Add another layer of texture and a nutty flavor by sprinkling toasted pepita (pumpkin) seeds over your slices. Their subtle crunch is a wonderful contrast to the soft bread.
- Fresh Fruit: Serve alongside a medley of fresh berries or sliced apples for a lighter, refreshing accompaniment that balances the richness of the bread.
- Coffee or Tea Pairing: Beyond chai, this bread is excellent with a strong cup of coffee, a classic black tea, or even a soothing herbal infusion.
More Irresistible Fall Recipes You’ll Adore
If you’ve fallen in love with the cozy flavors of this pumpkin banana bread, you’re in for a treat! Explore more seasonal delights that capture the essence of autumn baking:
- Pumpkin Chocolate Chip Cookies: Soft, chewy cookies packed with pumpkin flavor and melty chocolate chips – a match made in heaven.
- Moist Banana Bread Recipe: Our classic, go-to recipe for perfectly moist and flavorful banana bread, a staple for any time of year.
- Pumpkin Zucchini Bread: A delightful combination of sweet pumpkin and tender zucchini, creating an extra moist and nutritious quick bread.
- Soft Apple Cinnamon Muffins: Fluffy muffins bursting with diced apples and warm cinnamon, perfect for breakfast or a snack.
- Pumpkin Dinner Rolls: Add a touch of fall elegance to your dinner table with these soft, subtly sweet pumpkin-infused dinner rolls.
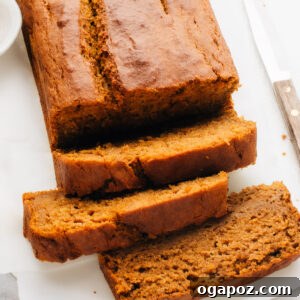
Pumpkin Banana Bread (Moist for Days!)
Pumpkin Banana Bread that stays moist for days. Turn ripe bananas and canned pumpkin into the best bakery-style loaf with quick prep, soft crumb, and big flavor.
Ingredients
- 1 15-oz can pumpkin puree (1 ¾ cups)
- 2 cups mashed ripe banana (from approx. 4 large, spotty bananas)
- ½ cup milk
- ¾ cup vegetable oil
- ⅓ cup packed brown sugar
- 2 large eggs
- 2 tsp pure vanilla extract
- 3 ½ cups all-purpose flour
- 1 cup granulated sugar
- 4 tsp baking powder
- 1 ½ tbsp ground cinnamon
- 2 tsp ground ginger
- ¼ tsp ground cloves
- 1 tsp kosher salt
Instructions
- Heat oven to 350°F (175°C). Grease two 8×4-inch loaf pans and line them with parchment paper, leaving overhangs at the edges for easy lifting.
-
Bowl 1: Mix Wet Ingredients
Whisk together pumpkin puree, mashed banana, milk, vegetable oil, brown sugar, eggs, and vanilla extract in a large bowl until smooth.
-
Bowl 2: Mix Dry Ingredients
In another large bowl, whisk together all-purpose flour, granulated sugar, baking powder, ground cinnamon, ground ginger, ground cloves, and kosher salt until well combined.
-
Combine
Make a well in the center of the dry ingredients. Pour the wet ingredients into the well. Stir gently with a spatula until just a few streaks of flour remain. Do not overmix; the batter should be thick and slightly lumpy.
-
Fill Pans and Bake
Divide the batter evenly between the two prepared loaf pans and smooth the tops. Bake for approximately 60-70 minutes. If the tops begin to brown too quickly, loosely tent the loaves with aluminum foil for the last 10–15 minutes of baking. The bread is done when an instant-read thermometer inserted into the center reads 200°F (93°C), or when a wooden skewer comes out with just a few moist crumbs attached.
-
Protect and Cool
Cool the loaves in their pans for 10 minutes. Then, using the parchment paper overhangs, carefully lift them out and transfer to a wire rack to cool completely before slicing and serving.
Notes
The Best Bananas: For optimal sweetness, moisture, and flavor, use ripe bananas with plenty of brown spots on their peels. You’ll need about 4 large bananas to yield 2 cups of mashed banana.
- Fully black bananas contain more free water and may cause a slightly gummier layer at the bottom of the loaf. They are still usable, but very spotty (not fully black) bananas are ideal.
- If using frozen bananas, thaw them completely and discard any accumulated liquid before mashing to avoid excess moisture in the batter.
Mixing Tip: Avoid overmixing the batter. Stop stirring as soon as the flour is mostly incorporated and a few streaks of flour still remain. This ensures a tender crumb.
Single Pan Baking: To bake in a single 9×5-inch pan instead, use one pan and bake any extra batter in muffin cups. The baking time for a 9×5-inch loaf will likely be longer (around 70-85 minutes) – check for doneness at 200°F (93°C). Muffins will bake for 18–22 minutes.
Optional Mix-ins: For added flavor and texture, fold in 1 to 1 ½ cups of chocolate chips, toasted pecans, or pepitas (pumpkin seeds) into the batter when it’s about 80% combined.
Storage: Store the pumpkin banana bread tightly wrapped in plastic wrap or aluminum foil at room temperature for up to 3 days. Do not refrigerate, as it can cause the bread to stale faster. For longer storage, freeze whole loaves or individual slices for up to 3 months (see freezing instructions above).
Nutrition
(Based on 2 loaves, 12 servings per loaf, approximately 24 servings total)
- Calories: 243kcal
- Carbohydrates: 37g
- Protein: 4g
- Fat: 10g
- Saturated Fat: 2g
- Polyunsaturated Fat: 5g
- Monounsaturated Fat: 2g
- Trans Fat: 0.1g
- Cholesterol: 18mg
- Sodium: 260mg
- Potassium: 157mg
- Fiber: 3g
- Sugar: 19g
- Vitamin A: 3588IU
- Vitamin C: 3mg
- Calcium: 76mg
- Iron: 1mg
Nutrition information is automatically calculated and should only be used as an approximation.
Tried This Amazing Pumpkin Banana Bread?
We absolutely love hearing from you! If you’ve baked this delightful pumpkin banana bread, please consider leaving a comment and rating the recipe below. Your feedback helps us and other home bakers create perfect, delicious treats. Don’t forget to share your baking journey with us!