
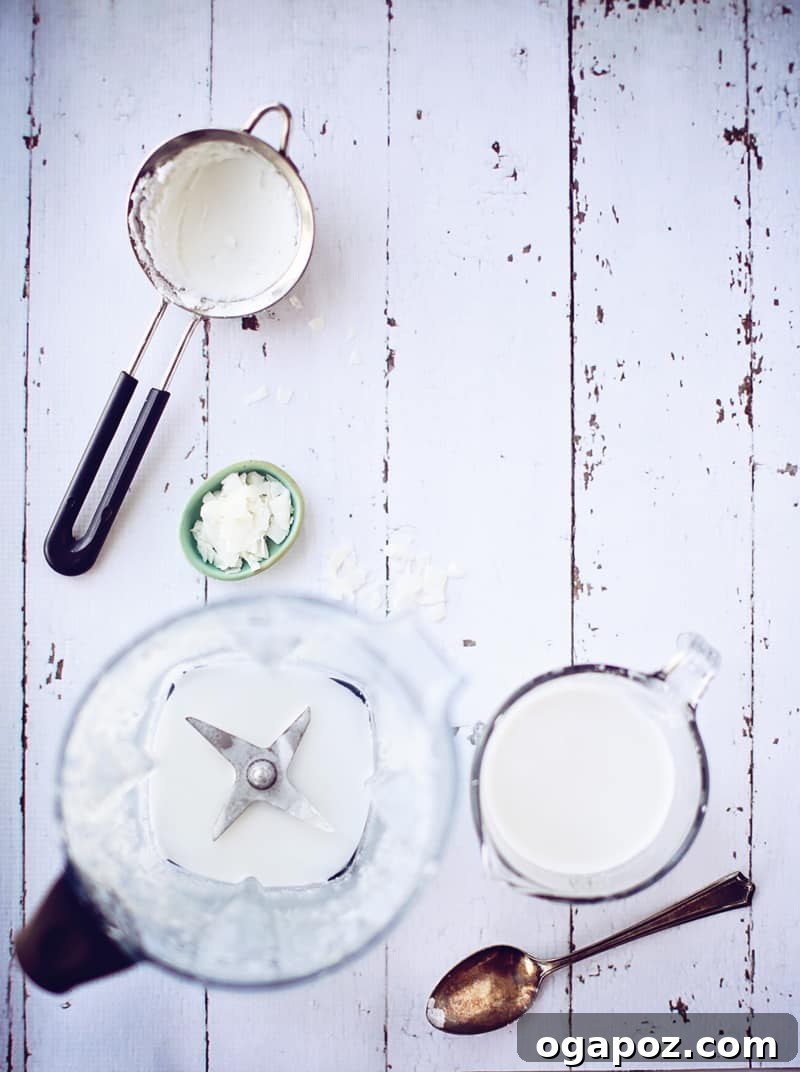
Unlock the secret to the freshest, most flavorful dishes by making your own coconut milk at home. This simple, three-ingredient process — dried coconut, boiling water, and a blender — transforms everyday cooking. In just minutes of active preparation, you’ll have fragrant, rich, and creamy homemade coconut milk that far surpasses any store-bought alternative. Say goodbye to canned coconut milk forever and embrace the superior taste and texture that only fresh, homemade can offer.
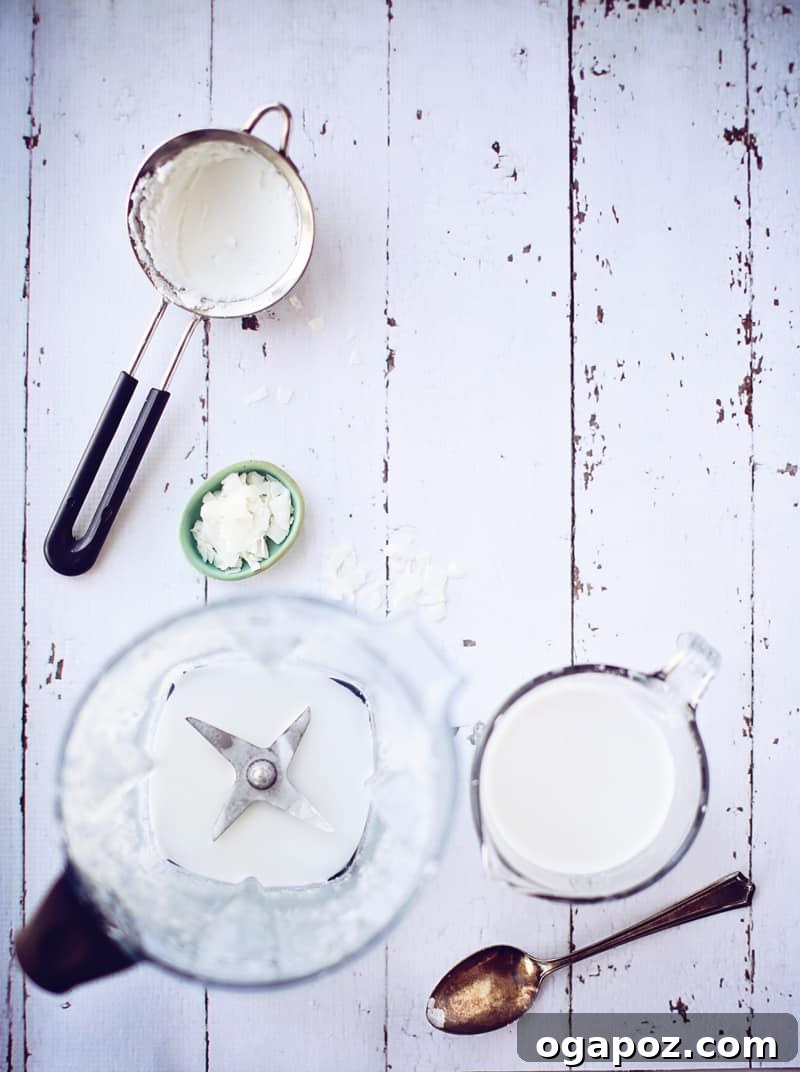
The Undeniable Benefits of Homemade Coconut Milk
Coconut milk is an indispensable ingredient, lending its tropical richness to countless recipes, from savory curries and nourishing soups to delightful desserts and invigorating beverages. While the convenience of canned coconut milk is appealing, the benefits of making it from scratch are truly transformative for your culinary creations. Once you experience the difference, you’ll likely echo the sentiment: “I will never buy it again.”
The most significant advantage of DIY coconut milk is its unparalleled freshness and purity. Store-bought versions often contain thickeners, emulsifiers, and preservatives designed for shelf stability, which can subtly alter the taste and consistency. By crafting your own, you maintain complete control over the ingredients, ensuring a product free from unnecessary additives. This results in a cleaner, more vibrant coconut flavor that allows the natural essence of the coconut to truly shine in your dishes.
Beyond taste, homemade coconut milk offers economic and environmental advantages. Dried coconut is generally more budget-friendly than consistently purchasing multiple cans of organic coconut milk. Opting for homemade also contributes to a reduction in packaging waste, supporting a more sustainable kitchen. Moreover, the process itself is remarkably straightforward and deeply satisfying, empowering you with a new kitchen skill.
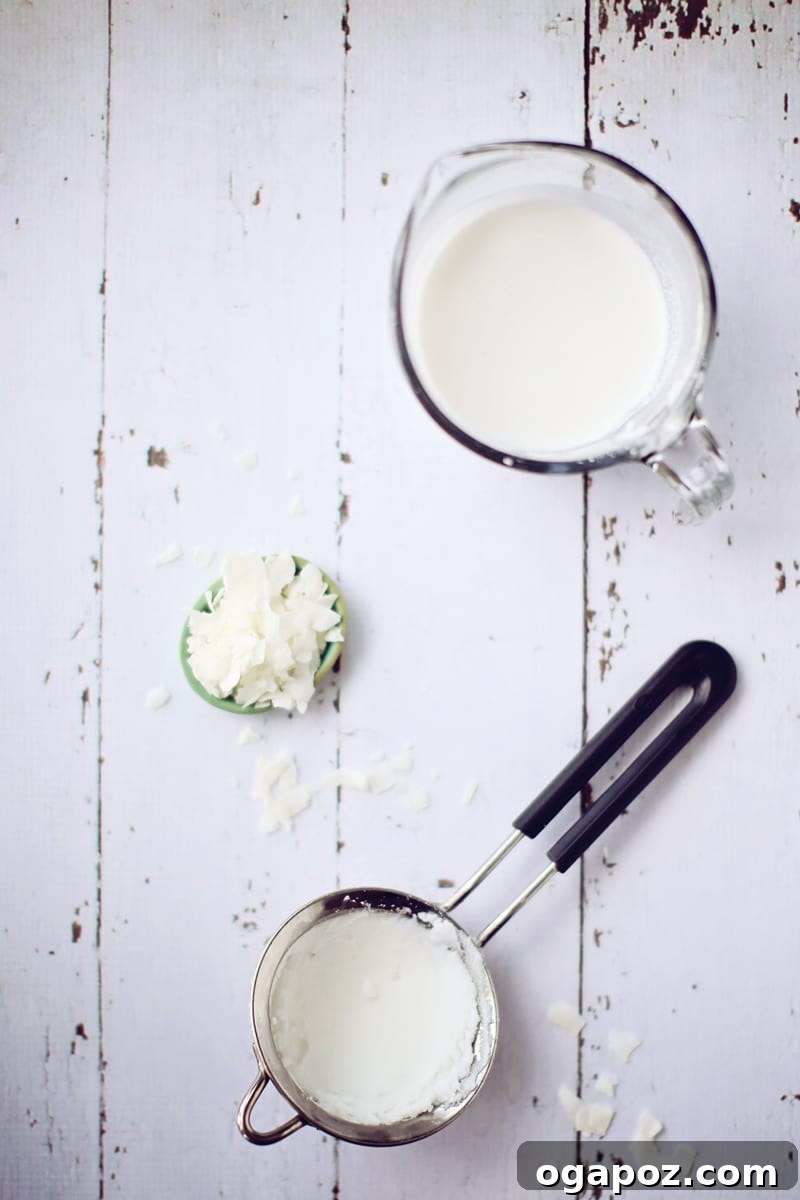
Choosing the Best Coconut for Your Milk
The secret to truly outstanding homemade coconut milk lies in selecting the right dried coconut. Not all dried coconuts are created equal, and your choice will significantly influence the flavor and richness of your final product.
- Shredded or Ribboned Coconut: These are generally the ideal choices. I’ve found that ribboned coconut, often available in organic varieties, can impart a slightly more pronounced and authentic coconut flavor. Always opt for unsweetened versions to control the sweetness of your milk, making it versatile for both savory and sweet applications.
- Avoid Desiccated Coconut: While readily available, desiccated coconut — which is super finely grated — tends to be excessively dry. Using it often results in a thinner, less flavorful milk compared to its shredded or ribboned counterparts.
- Prioritize Freshness: Regardless of the type, always ensure your dried coconut is fresh. An old, opened bag that has been lingering in the pantry will produce stale-tasting milk. A newly opened package of high-quality, unsweetened dried coconut is essential for a wonderfully aromatic and creamy result.
Your Simple Guide to Crafting Homemade Coconut Milk
Making coconut milk is surprisingly easy, requiring minimal effort for maximum reward. Follow these steps to achieve perfect creamy consistency every time.
1. The Crucial Soak for Enhanced Flavor (Highly Recommended)
While homemade coconut milk can be made with cold water, I highly recommend a strategic soak for the best possible flavor. Pour boiling water directly over your chosen dried coconut in a blender. Allow this mixture to steep for at least one hour, or until it has cooled to room temperature. This soaking period is key: it fully rehydrates the coconut, enabling it to release a greater amount of its natural oils and rich essence into the water, resulting in a significantly creamier and more aromatic milk. If you’re pressed for time, a quicker blend with warm (not boiling) or cold water will still yield good milk, but for truly exceptional results, the soak is a game-changer.
2. Blending to Creamy Perfection
Once the coconut has soaked (or if you’re skipping the soak), transfer the entire coconut and water mixture into a high-speed blender. Blend thoroughly on high speed for approximately one minute. The objective here is to finely pulverize the coconut fibers, ensuring maximum extraction of the milky liquid.
- Blender Power Matters: A powerful blender, such as a Vitamix, excels at breaking down the coconut, producing an exceptionally smooth and creamy milk. If you’re using a less robust blender, you might need to extend the blending time by an extra minute or two, or process the mixture in smaller batches, to achieve a similarly fine consistency. The more efficiently the coconut is blended, the richer and smoother your milk will be.
3. Straining for Optimal Texture (Optional)
After blending, the next step involves separating the luscious coconut milk from the fibrous pulp.
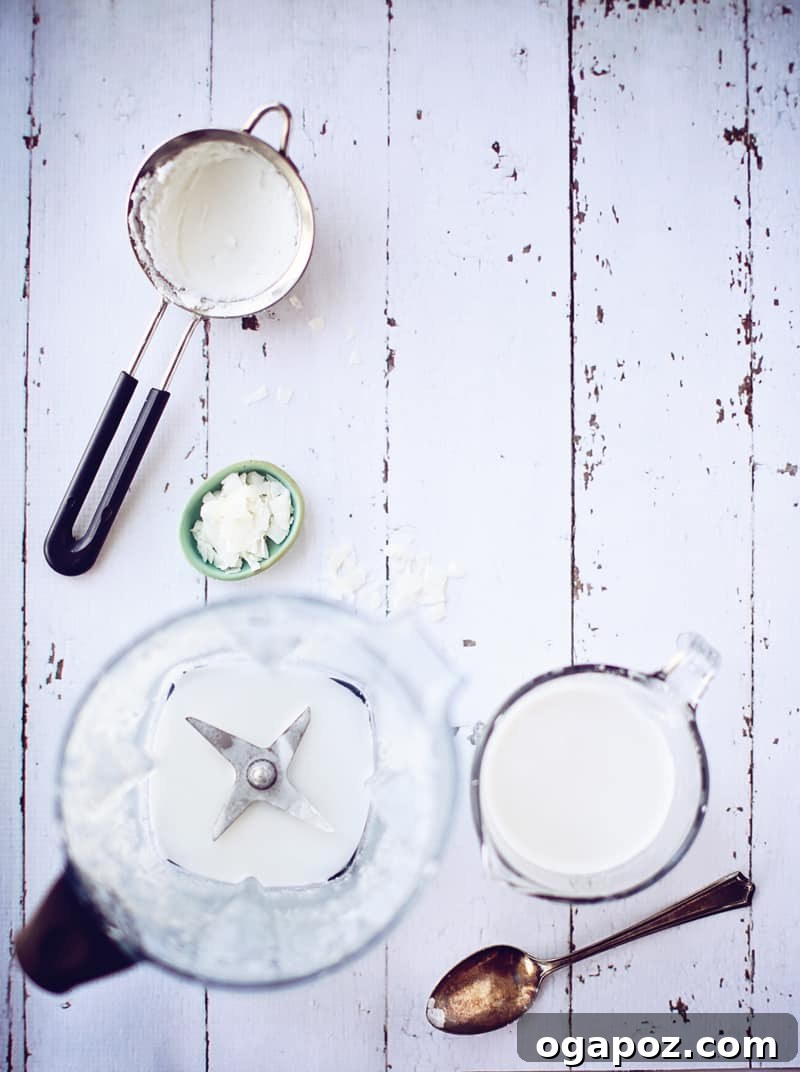
Place a fine mesh strainer over a large mixing bowl. Gradually pour the blended coconut mixture through the strainer. Once the bulk of the liquid has drained, use a sturdy spoon or a spatula to firmly press down on the coconut solids accumulated in the strainer. This action is crucial for extracting every last drop of the rich coconut milk.
For an even smoother, pulp-free milk and maximum yield, consider using a nut milk bag or several layers of cheesecloth. Simply place the bag or cloth over a bowl, pour in the blended mixture, gather the edges, and firmly squeeze with your hands until no more liquid comes out.
To Strain or Not to Strain? Consider Your Use:
- For Smooth Beverages: If you intend to use your homemade coconut milk in beverages like smoothies, traditional Masala Chai, or frothy Chai coffee, straining is highly recommended for a perfectly silky and smooth texture.
- For Savory Dishes: For hearty dishes such as curries or soups, straining is often unnecessary. When blended in a high-speed blender, the coconut pulp becomes so fine that its presence is virtually undetectable. Leaving the pulp in these types of dishes offers the added benefit of boosting the fiber content of your meal.
Expert Tips for the Best Homemade Coconut Milk
- Adjusting Consistency: The ratio of 1 cup dried coconut to 2 cups water creates a versatile, medium-consistency milk. For a thicker, creamier milk (ideal for desserts or richer curries), slightly reduce the water or increase the coconut. For a thinner milk (perfect for beverages), add a little more water.
- Utilizing Leftover Pulp: Do not discard the nutrient-rich coconut pulp! It can be dehydrated in a low oven (around 200°F / 95°C) to make homemade coconut flour, excellent for gluten-free baking. Alternatively, add the fresh pulp to smoothies, oatmeal, granola, or energy balls for an extra boost of fiber and flavor.
- Sweetening Your Milk: This recipe yields unsweetened coconut milk. If you prefer a touch of sweetness, incorporate a natural sweetener like a pitted date, a teaspoon of maple syrup, or a dash of vanilla extract during the blending phase.
Storing Your Fresh, Homemade Coconut Milk
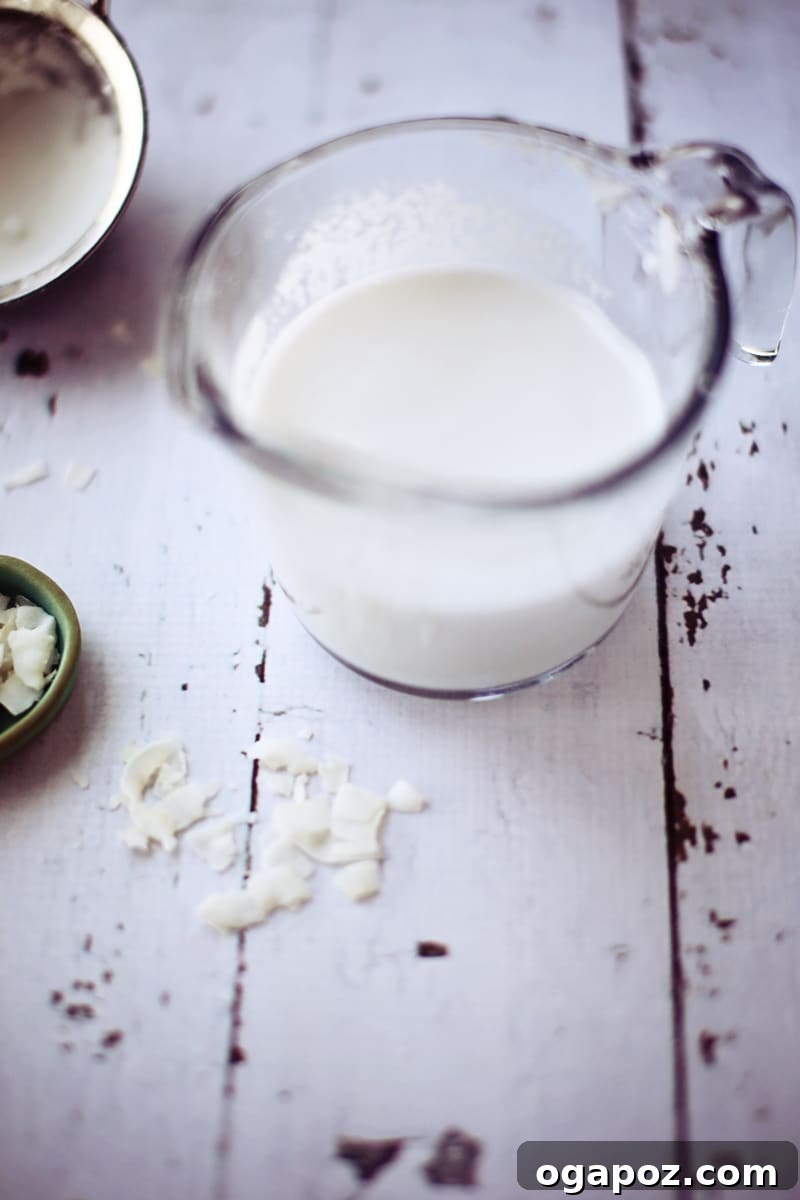
As a natural product without stabilizers, homemade coconut milk will naturally separate into a thick cream layer on top and a thinner liquid layer below when refrigerated. This is a normal phenomenon and a clear indicator of its purity. Simply stir or shake it vigorously before each use to recombine the layers perfectly.
- Refrigeration: Store your freshly made coconut milk in an airtight container or a sealed jar in the refrigerator for up to 3 to 4 days.
- Freezing: For extended storage, coconut milk freezes exceptionally well. Pour it into ice cube trays for convenient, pre-portioned servings, or into larger freezer-safe containers. Once frozen solid, transfer the cubes to a freezer bag. Frozen coconut milk can be stored for up to 2-3 months. Thaw it in the refrigerator overnight or add the frozen cubes directly to hot dishes as needed.
Delicious Ways to Use Your Homemade Coconut Milk
The versatility of fresh homemade coconut milk knows no bounds. Its creamy texture and delicate flavor enhance an impressive range of dishes, both sweet and savory.
- Savory Creations:
- Elevate your cooking with hearty Coconut Curried Lentils.
- Craft rich Coconut Curry Chicken or vibrant Red Curry Chicken.
- Simmer comforting soups like Thai Sweet Potato Soup or Coconut Curried Yam & Chickpea Soup.
- Use it as a luscious base for creamy vegetable curries, stews, or even a dairy-free alfredo sauce.
- Sweet Treats & Drinks:
- Blend into your morning smoothies for added creaminess and healthy fats.
- Create delectable chia puddings, overnight oats, or dairy-free ice creams and panna cottas.
- Enhance your hot beverages, from creamy Masala Chai to comforting Chai coffee.
- Whip the separated coconut cream into a delightful vegan whipped topping for desserts.
- Quick & Easy Meals:
- Prepare a flavorful One Pot Creamy Pasta and Greens for a simple yet satisfying meal.
Frequently Asked Questions About Homemade Coconut Milk
- Can I use fresh coconut instead of dried?
- Absolutely! If you have access to fresh coconut, you can certainly use it. Simply crack the coconut, scoop out the flesh, chop it into smaller pieces, and blend it with hot water using the same 1:2 ratio. The resulting milk will have an even more vibrant and intense fresh coconut flavor.
- What’s the best way to utilize the leftover coconut pulp?
- Don’t waste the leftover pulp! Spread it thinly on a baking sheet and dehydrate it in a low oven (around 200°F / 95°C) until completely dry to create your own homemade coconut flour. Store this in an airtight container at room temperature. Alternatively, the fresh pulp can be directly added to smoothies, mixed into oatmeal, or incorporated into energy bites for an extra fiber boost and subtle coconut flavor. You can also freeze it for later use.
- Will my homemade coconut milk separate or curdle?
- Yes, separation is a completely natural occurrence for homemade coconut milk, especially when it’s refrigerated. The rich coconut fat (cream) will rise to the top and solidify, while the water content settles below. This is normal and a sign of a pure, natural product free from emulsifiers. Simply whisk or shake it vigorously before use to easily recombine the layers.
- Can I adjust the batch size?
- Yes, the recipe is easily scalable. The key is to maintain the 1 cup dried coconut to 2 cups water ratio. You can scale this up or down to make as much or as little as you need, ensuring your blender can accommodate the volume.
- Is homemade coconut milk healthier than store-bought varieties?
- Generally, homemade coconut milk is considered healthier because it’s free from the various gums, emulsifiers, and preservatives that are often found in commercial canned versions. You get a pure, wholesome source of healthy fats and nutrients without any unnecessary additives.
More DIY Kitchen Staples You’ll Love
Discover the joy and benefits of preparing more of your kitchen essentials from scratch. Gaining control over your ingredients and saving money has never been easier.
- How to Can Tomatoes at Home
- Crunchy Pickled Carrots Recipe
- Easy Pickled Onions
- Simple Chia Seed Jam
- Mastering Homemade Mango Chutney
- Homemade Chili Seasoning Blend
- DIY Chicken Taco Seasoning
- Your Guide to Making Coconut Milk from Dried Coconut
Homemade Coconut Milk Recipe
Experience the ease and superior taste of making your own fragrant, creamy, and natural coconut milk with just three simple ingredients and minimal effort. Perfect for any recipe!
By: Jennifer Pallian BSc, RD
Prep Time: 2 minutes
Cook Time: 2 minutes
Yields: Approximately 2 cups (4 servings)
Ingredients:
- 1 cup unsweetened dried coconut (shredded or in ribbons)
- 2 cups boiling water
Instructions:
- Soak for Flavor: Pour the boiling water over the dried coconut in your blender container. Let it stand for at least 1 hour, or until the water has cooled to room temperature. This soaking step greatly enhances flavor extraction. (If time is short, you can blend directly with warm or cold water, though the flavor may be slightly less intense).
- Blend Thoroughly: Transfer the coconut and water mixture into a high-speed blender. Blend on high speed for approximately 1 minute, or until the mixture is creamy and the coconut is finely pulverized.
- Strain (Optional): Position a fine mesh strainer over a large bowl. Gradually pour the blended mixture through, using a spoon to press firmly on the solids to extract all the liquid. For extra smoothness, use a nut milk bag or cheesecloth.
- Store & Enjoy: Pour your fresh homemade coconut milk into an airtight container or jar. Store in the refrigerator for up to 3-4 days. Remember to shake or whisk before each use, as natural separation will occur.
Nutrition Information:
(Approximation per serving, based on 4 servings)
- Calories: 142 kcal
- Carbohydrates: 5 g
- Protein: 1 g
- Fat: 14 g
- Saturated Fat: 12 g
- Polyunsaturated Fat: 0.2 g
- Monounsaturated Fat: 1 g
- Sodium: 14 mg
- Potassium: 117 mg
- Fiber: 4 g
- Sugar: 2 g
- Vitamin C: 0.3 mg
- Calcium: 9 mg
- Iron: 1 mg
Nutrition information is automatically calculated and should only be used as an approximation.
Embrace the simplicity and rich rewards of crafting your own homemade coconut milk. This easy process delivers unparalleled freshness and flavor, revolutionizing your culinary endeavors. Happy blending!