
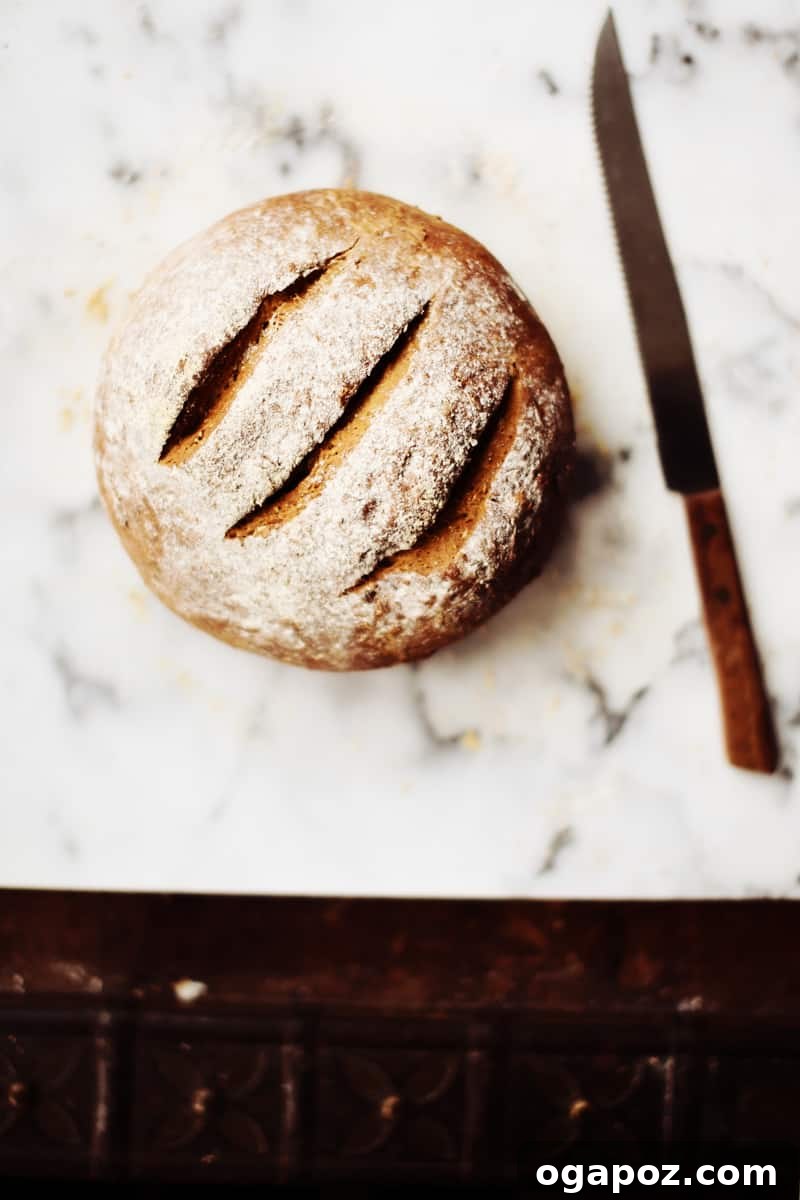
The Ultimate Homemade Oatmeal Brown Bread: A Recipe from the Heart
There’s something uniquely comforting about the aroma of freshly baked bread wafting through your home. It’s a scent that promises warmth, sustenance, and a touch of nostalgia. Today, we’re not just baking any bread; we’re sharing a cherished recipe for Oatmeal Brown Bread, a truly special creation born from the hands and heart of someone dear. This isn’t just a recipe; it’s an invitation to connect with your food, to slow down, and to experience the simple joy of transforming humble ingredients into something extraordinary. This particular bread stands out with its rich, deep flavor, its satisfying chew, and a subtle sweetness that makes it irresistible. Perfect for any meal, from a hearty breakfast to a delightful dinner accompaniment, this loaf promises to become a beloved staple in your kitchen and a source of countless delicious memories.
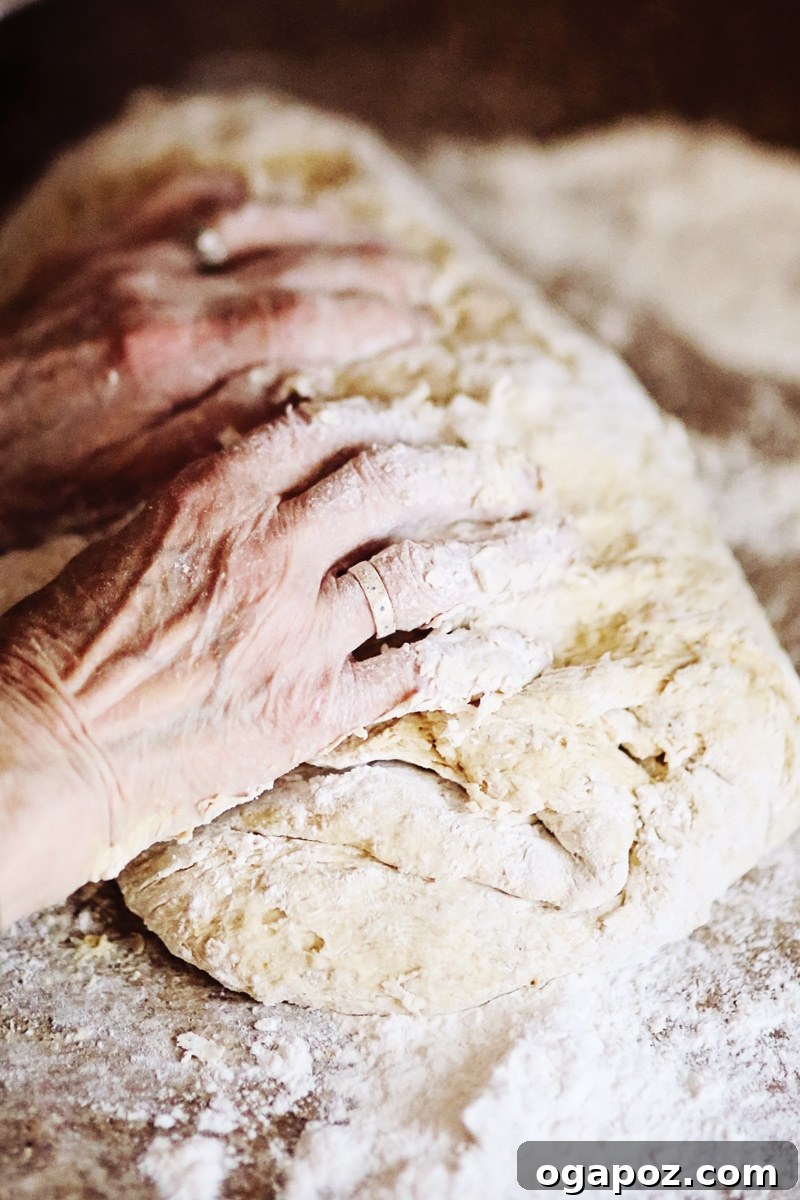
The Secret Ingredient: Kneading with Love and Intention
While many factors contribute to a perfect loaf, we believe the true secret to this Oatmeal Brown Bread lies in the act of kneading by hand—with love. In an age of stand mixers and bread machines, there’s an unparalleled satisfaction and quality that comes from using your hands. This isn’t merely about mixing ingredients; it’s about feeling the dough transform under your touch, developing its strength and elasticity. The gentle, rhythmic motion of kneading becomes a meditative practice, a mindful engagement that infuses the bread with an energy and personal touch that no machine can replicate. As you work the dough, you’re not just activating gluten; you’re pouring intention and care into every fiber, creating a loaf that’s not only delicious but also imbued with a unique homemade charm. This hands-on approach allows you to truly understand the dough, adjusting flour as needed, and sensing precisely when it’s perfectly smooth and pliable. It’s a connection to the ancient art of bread-making, a timeless tradition that brings immense reward and a superior final product.
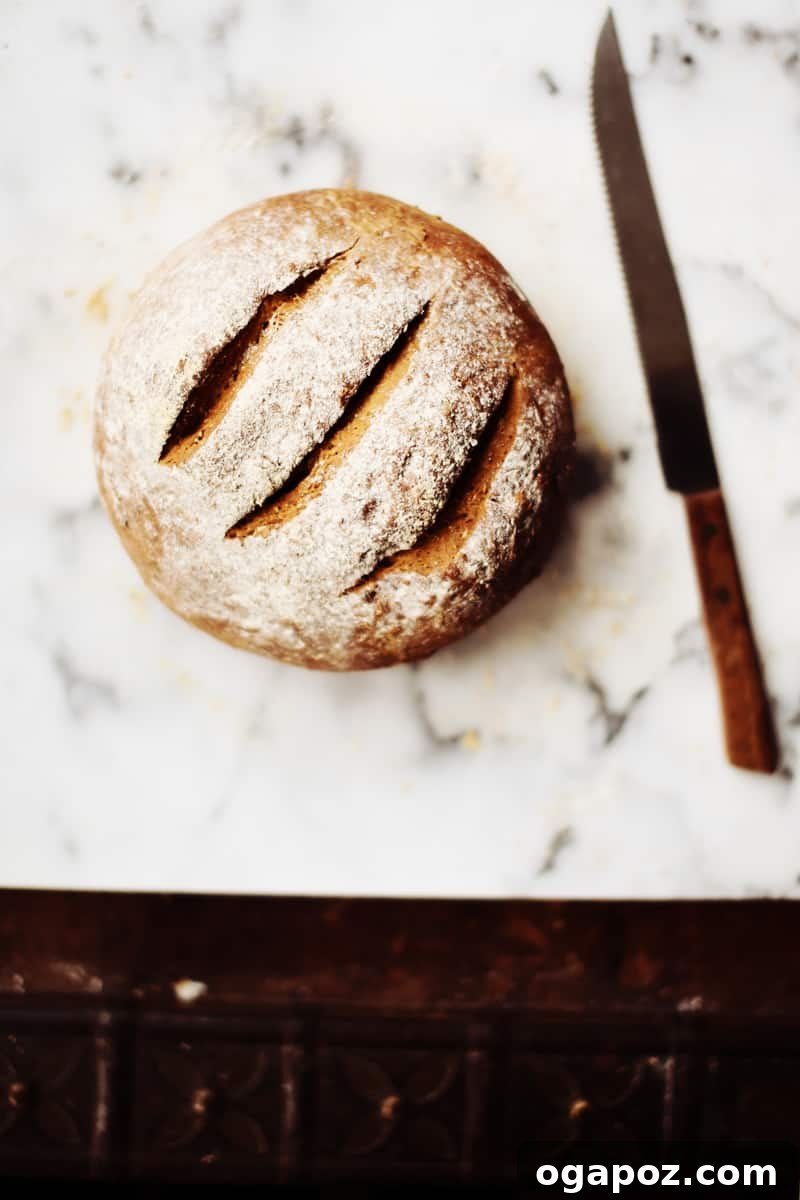
Unveiling the “Brown”: The Magic of Molasses and Wholesome Oats
Despite its evocative name, “Oatmeal Brown Bread” doesn’t get its rich, inviting hue from whole wheat flour. Instead, its distinctive “brown” color, along with a significant part of its deep, complex flavor profile, comes from the generous inclusion of dark, luscious molasses. This key ingredient does more than just color the bread; it infuses it with a characteristic sweetness and a moist, tender crumb that sets it apart from typical white bread. Molasses also provides a subtle depth of flavor, reminiscent of caramel and spice, which pairs beautifully with the earthy, hearty notes of rolled oats. We purposely opt for classic white all-purpose flour as the primary base, allowing the molasses and oats to truly shine without competing flavors. The rolled oats, specifically old-fashioned varieties, are crucial. They contribute a wonderful texture, adding a delicate chewiness and a wholesome heartiness that distinguishes this bread from plainer loaves. It’s a masterful combination that creates a balanced, flavorful, and incredibly satisfying loaf that will quickly become a favorite.
The Magnificent First Rise: Watching Your Dough Flourish
Once you’ve lovingly kneaded your dough, you’ll be amazed by the sheer volume it creates. This recipe yields a truly impressive, generously sized ball of dough, a testament to the power of active yeast and your careful preparation. Place it in a large, lightly oiled bowl, turning it once to coat, then cover it with a clean tea towel or plastic wrap. Position the bowl in a warm, draft-free spot, ideally around 75-80°F (24-27°C), and watch the magic unfold. Over the next hour to an hour and a half, this “dough baby” will visibly transform, slowly expanding and doubling (or even more!) in size. It puffs up beautifully, becoming light, airy, and wonderfully supple, an undeniable sign that the yeast is active and working its wonders. This first rise, often called bulk fermentation, is crucial for developing the bread’s texture and flavor. It allows the gluten structure to relax and strengthen, while the yeast actively produces carbon dioxide, which creates those lovely air pockets and the characteristic open crumb of good bread. The anticipation as you wait for it to grow is an integral and joyful part of the bread-making experience. And yes, as the accompanying image playfully suggests, it becomes so wonderfully voluminous that it might even tempt you to snuggle into its soft contours for a brief, dough-induced nap!
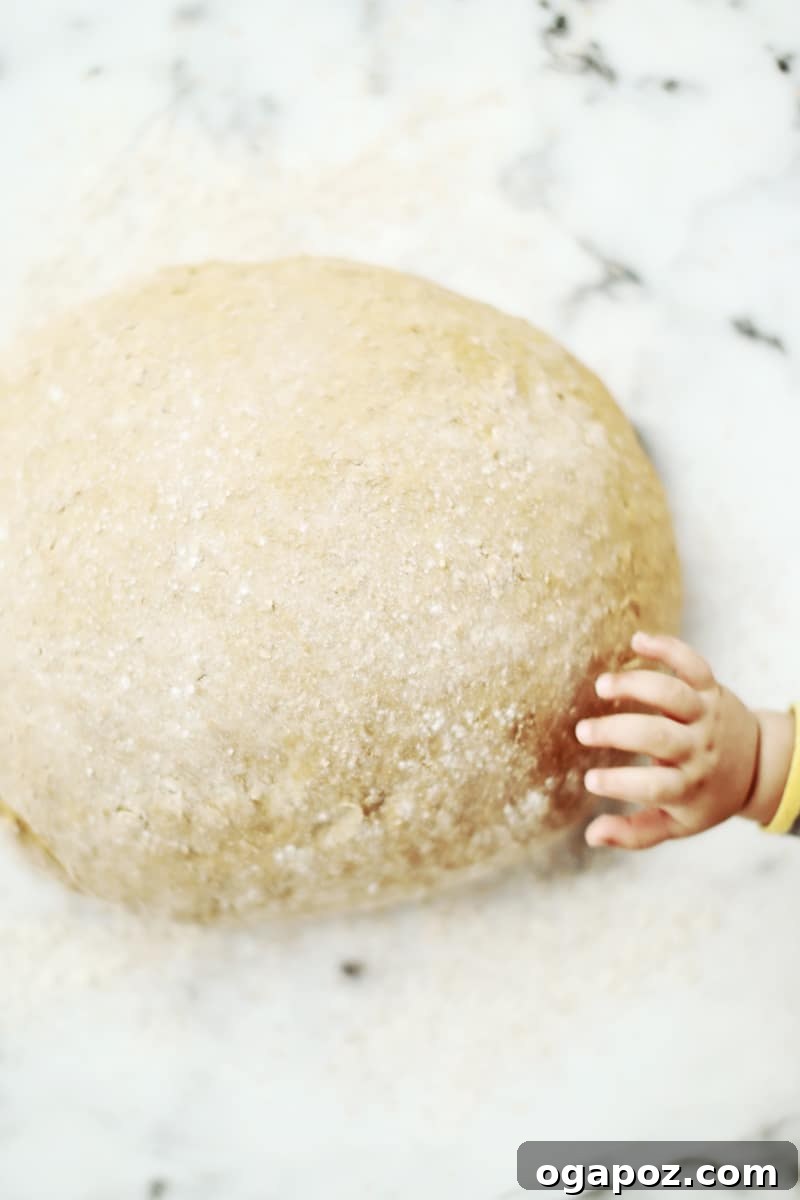
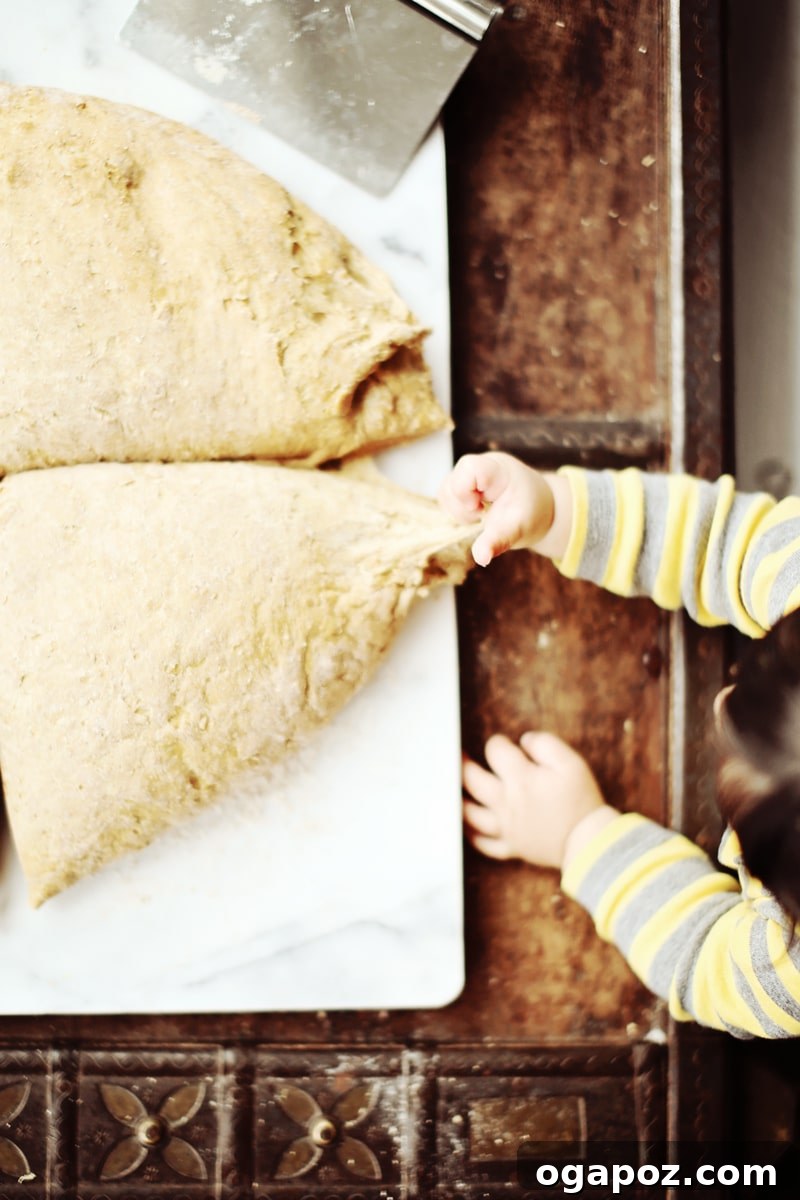
Indeed, as you prepare this marvelous dough, you might find a curious young helper nearby, much like our little Theo. His chubby fingers, undoubtedly drawn by the irresistible aroma and soft texture, are eager to claim a tiny piece for a taste test. It’s a sweet reminder of the simple pleasures this homemade bread brings to everyone, young and old alike, connecting generations through the timeless act of baking. And yes, just like the dough, little ones have a charming way of doubling in size, too, don’t they, making every moment of baking a family affair?
Shaping the Loaves: From Dough Pillow to Perfect Form
After its impressive first rise, your dough will feel like a soft, yielding pillow, full of air and vitality, ready for the next stage of its transformation. Gently “punch down” the dough to release the accumulated gases. This step is important as it redistributes the yeast and evens out the dough’s temperature, preparing it for shaping. Turn the dough out onto a clean, lightly floured counter or a large kneading surface. Using a bench scraper or a sharp chef’s knife, carefully divide this glorious dough into four equal pieces. Precision here ensures consistent loaf sizes and even baking. Each piece is then carefully shaped into a neat, oblong loaf. There are many techniques for shaping bread, but the primary goal is to create a taut surface on the outside of the loaf while maintaining a soft, airy interior. This surface tension helps the bread hold its shape and rise uniformly in the oven, contributing to a beautiful crust and crumb. Once shaped, these nascent loaves are placed on a prepared baking sheet, leaving ample space between them, ready for their second, equally important rise.
And what about our young assistant, Theo? Perhaps he’s demonstrating a baker’s technique, like the windowpane test, which experienced bakers use to check gluten development! This test involves stretching a small piece of dough until it’s thin enough to see light through it without tearing. It’s a playful moment that highlights the highly sensory and tactile experience of bread baking, engaging all your senses in the process.
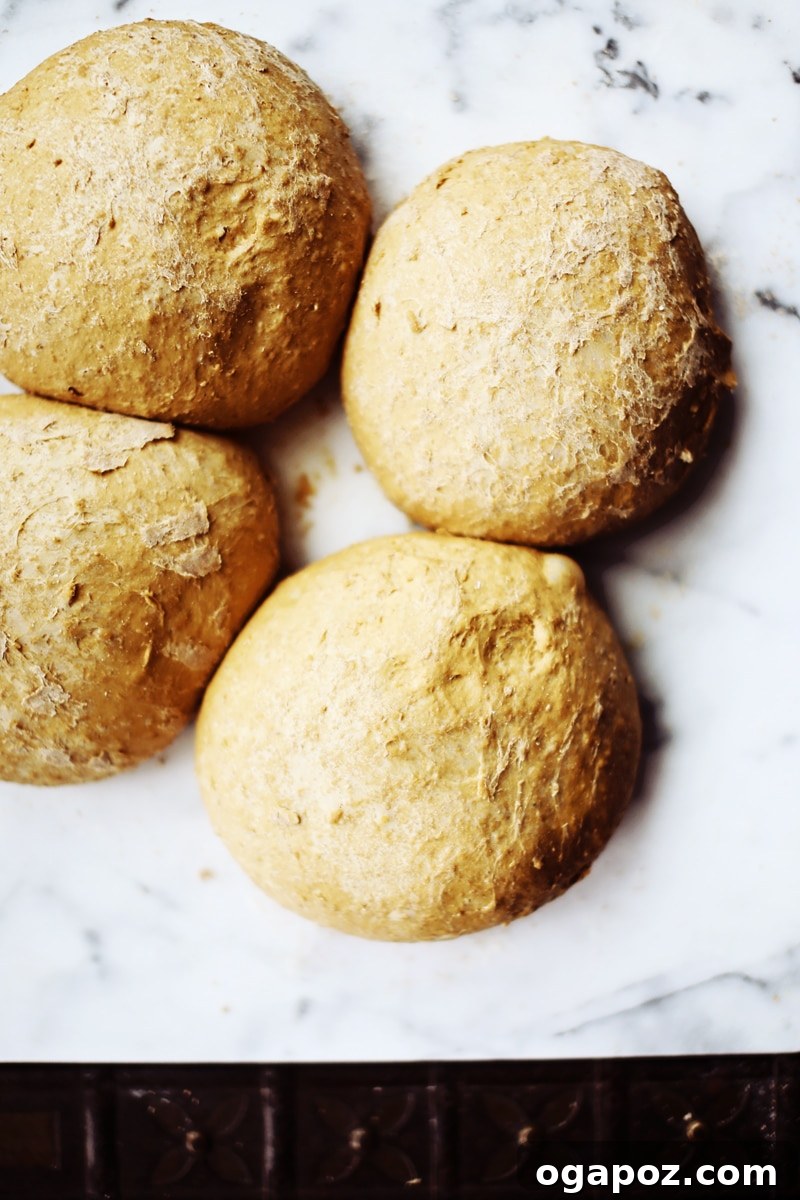
The Crucial Second Rise and the Gentle Touch Test
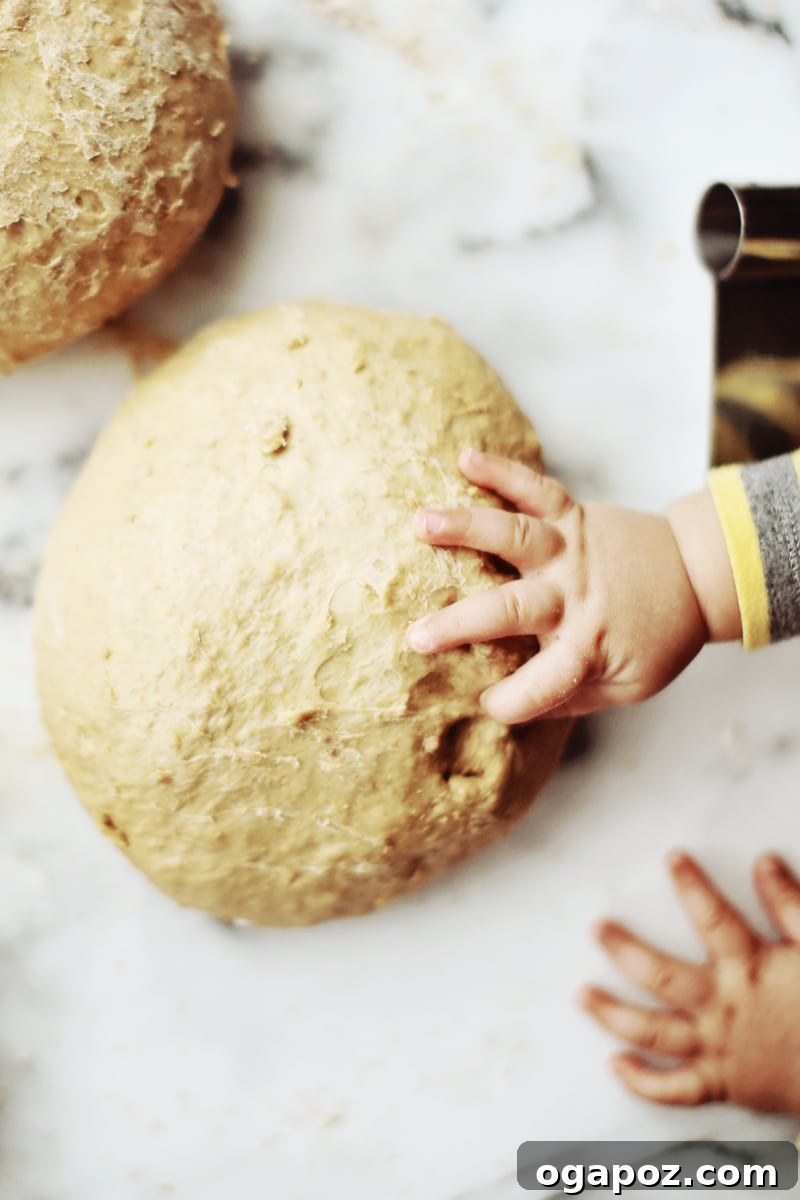
Just like the first, the second rise (often referred to as proofing or final fermentation) is absolutely vital for achieving a light, airy texture and a tender crumb in your finished bread. Allow your meticulously shaped loaves to rise again, undisturbed, in a warm, draft-free environment until they have nearly doubled in size once more. This final proofing phase further develops the bread’s flavor profile, enhances its aroma, and ensures a tender interior. Knowing precisely when they are perfectly proofed is a crucial skill for any baker, requiring a keen eye and a gentle touch. Little Theo, our adorable and enthusiastic assistant, demonstrates a classic test—though perhaps with a bit more vigor than necessary! To perform the “gentle touch test,” very lightly press a finger into the side of the dough. If the indent remains and springs back slowly and partially, the bread is perfectly proofed and ready for the oven. If it springs back too quickly, it needs more time to rise. If it collapses completely, it’s unfortunately over-proofed. Theo’s method might be a touch too firm, but the underlying principle is sound! It’s all about finding that delicate sweet spot before baking to ensure the perfect loaf with an ideal texture and volume.
Baking to Perfection and the Art of Patient Cooling
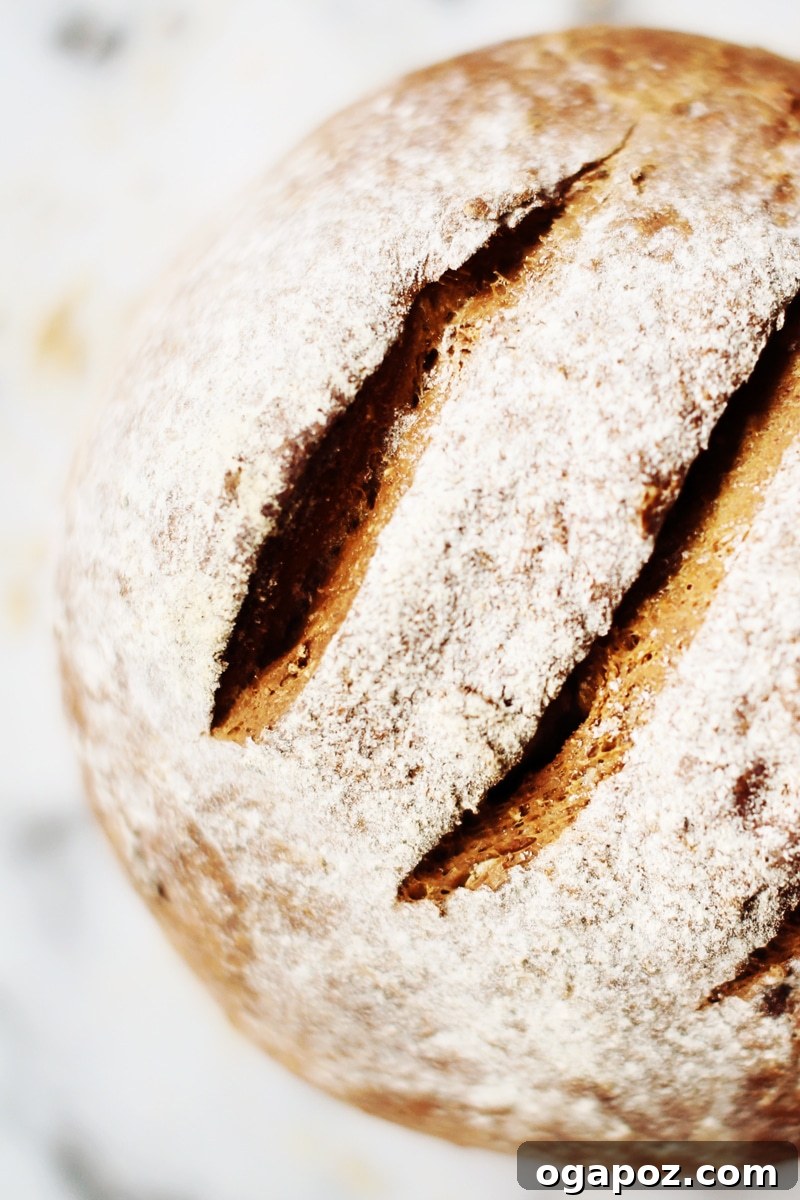
Once your loaves have successfully passed the “gentle touch test,” they’re ready for their final, glorious transformation in the heat of the oven. Preheat your oven to a consistent 350°F (175°C) to ensure even baking and a beautiful crust. For a beautiful rustic, artisanal look, you may choose to lightly dust the dough balls with a little extra flour before baking. Then, using a sharp serrated knife or a baker’s lame, make a few strategic 1/2-inch-deep slashes across the top of each dough ball. These slashes, known as “scoring,” serve a dual purpose: they allow the steam to escape in a controlled manner during baking, preventing uncontrolled cracks and tears, and they also add an aesthetic appeal, helping the loaves achieve that classic bakery-quality appearance. Bake 1-2 loaves at a time on the lowest rack, ensuring there’s ample space around each loaf for optimal air circulation and even heat distribution. If you’re baking in batches, simply refrigerate the remaining dough balls in the meantime to slow down their proofing and prevent them from over-rising while they wait. Bake for approximately 45 minutes, or until the crust is deeply golden brown and, when tapped on the bottom, the loaf produces a satisfyingly hollow sound. This hollow sound is a reliable and time-tested indicator that the bread is fully cooked through to its core.
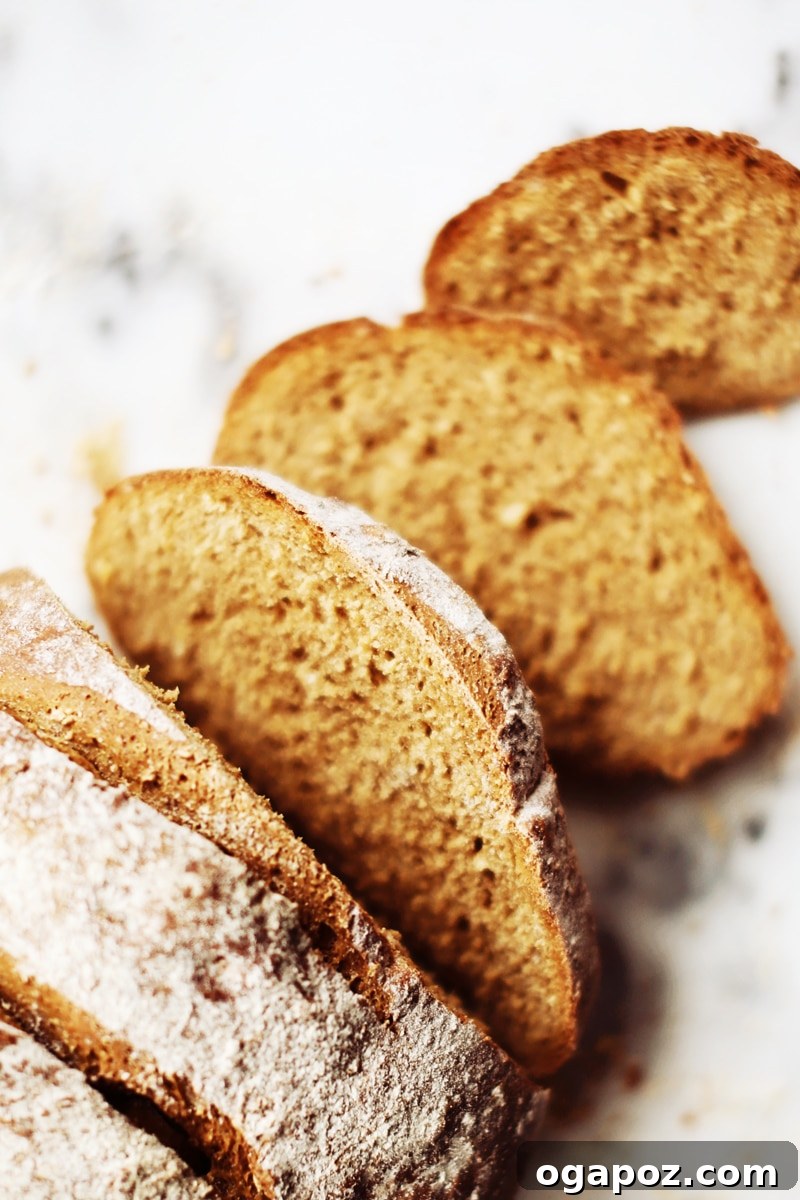
The moment they emerge from the oven, golden brown, perfectly domed, and filling your kitchen with an intoxicating aroma, is truly the most rewarding part of the baking journey. However, the most challenging part often comes next: patience. For neat, thin slices that hold their shape perfectly and don’t become gummy or crumbly, it is absolutely essential to wait until the bread has completely cooled to room temperature. This can feel like an eternity when the irresistible fragrance of fresh bread fills every corner of your kitchen, but trust us, it’s worth every moment of waiting. As bread cools, the internal starches set, and the moisture redistributes evenly throughout the loaf, resulting in a superior texture and ensuring that each slice is firm yet tender. If you possess “god-like patience,” you’ll be rewarded with perfect, clean slices every single time. Otherwise, you might end up with slightly squished, but still undeniably delicious, warm bread!
Sharing the Goodness: Serving Suggestions and Storage Tips
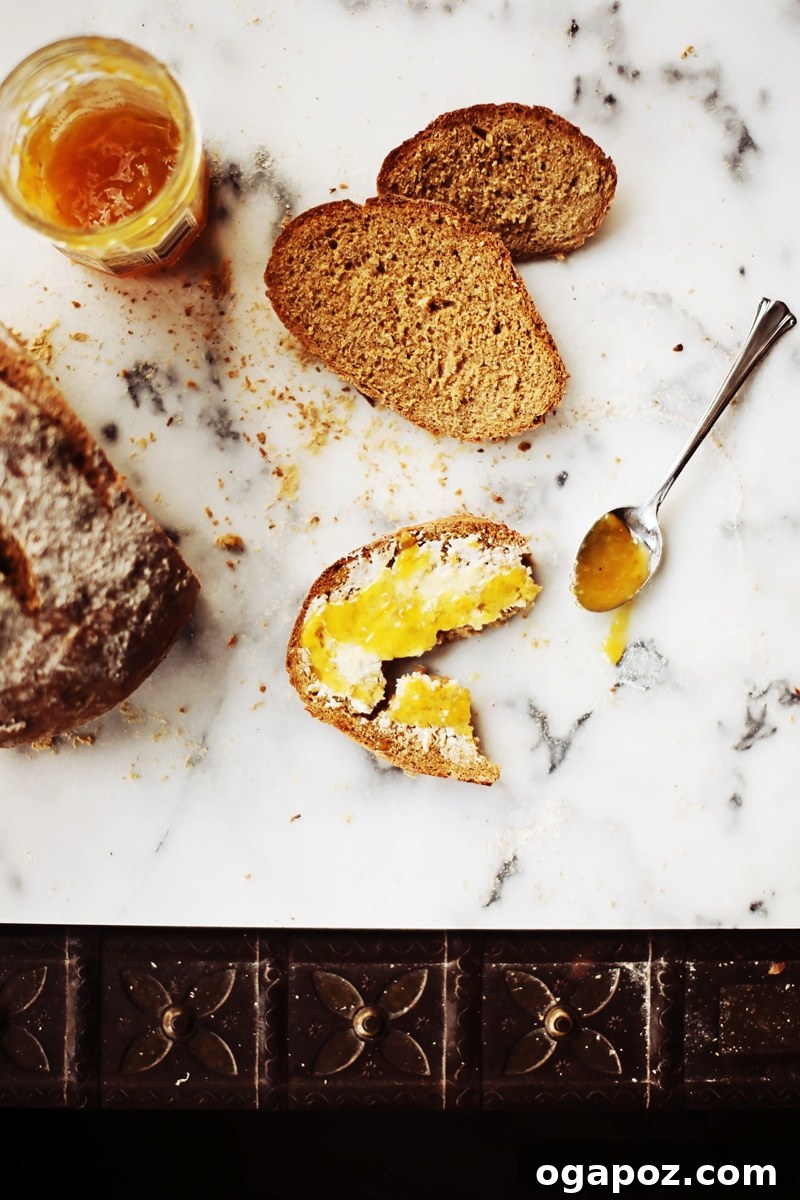
This Oatmeal Brown Bread is a true crowd-pleaser, and its generous yield means there’s plenty to go around. We highly recommend keeping one freshly baked loaf for yourself to enjoy immediately, and sharing the other three with friends, family, or neighbors. There’s an old adage that sharing food brings good fortune, or “good juju,” as we like to call it. The joy of giving a homemade gift is immeasurable, and this bread is sure to be received with delight and gratitude. When it comes to serving, the possibilities are truly endless. Slather warm slices with creamy unsalted butter and your favorite fruit-forward marmalade or jam for a classic breakfast treat. It’s also incredibly versatile for savory dishes: use it to sop up rich, smoky baked beans, pair it with a hearty stew, or transform it into robust sandwiches piled high with your favorite deli meats, cheeses, and fresh vegetables. Imagine thick slices toasted and topped with creamy avocado and a sprinkle of sea salt, or accompanying a warm bowl of soup on a chilly evening. For optimal freshness, store any leftover bread in an airtight container or a bread box at room temperature for up to 3-4 days. For longer storage, slice the cooled bread and freeze the slices in freezer bags, ensuring you always have a wholesome, homemade treat at hand whenever the craving strikes.
Ingredients for Homemade Oatmeal Brown Bread
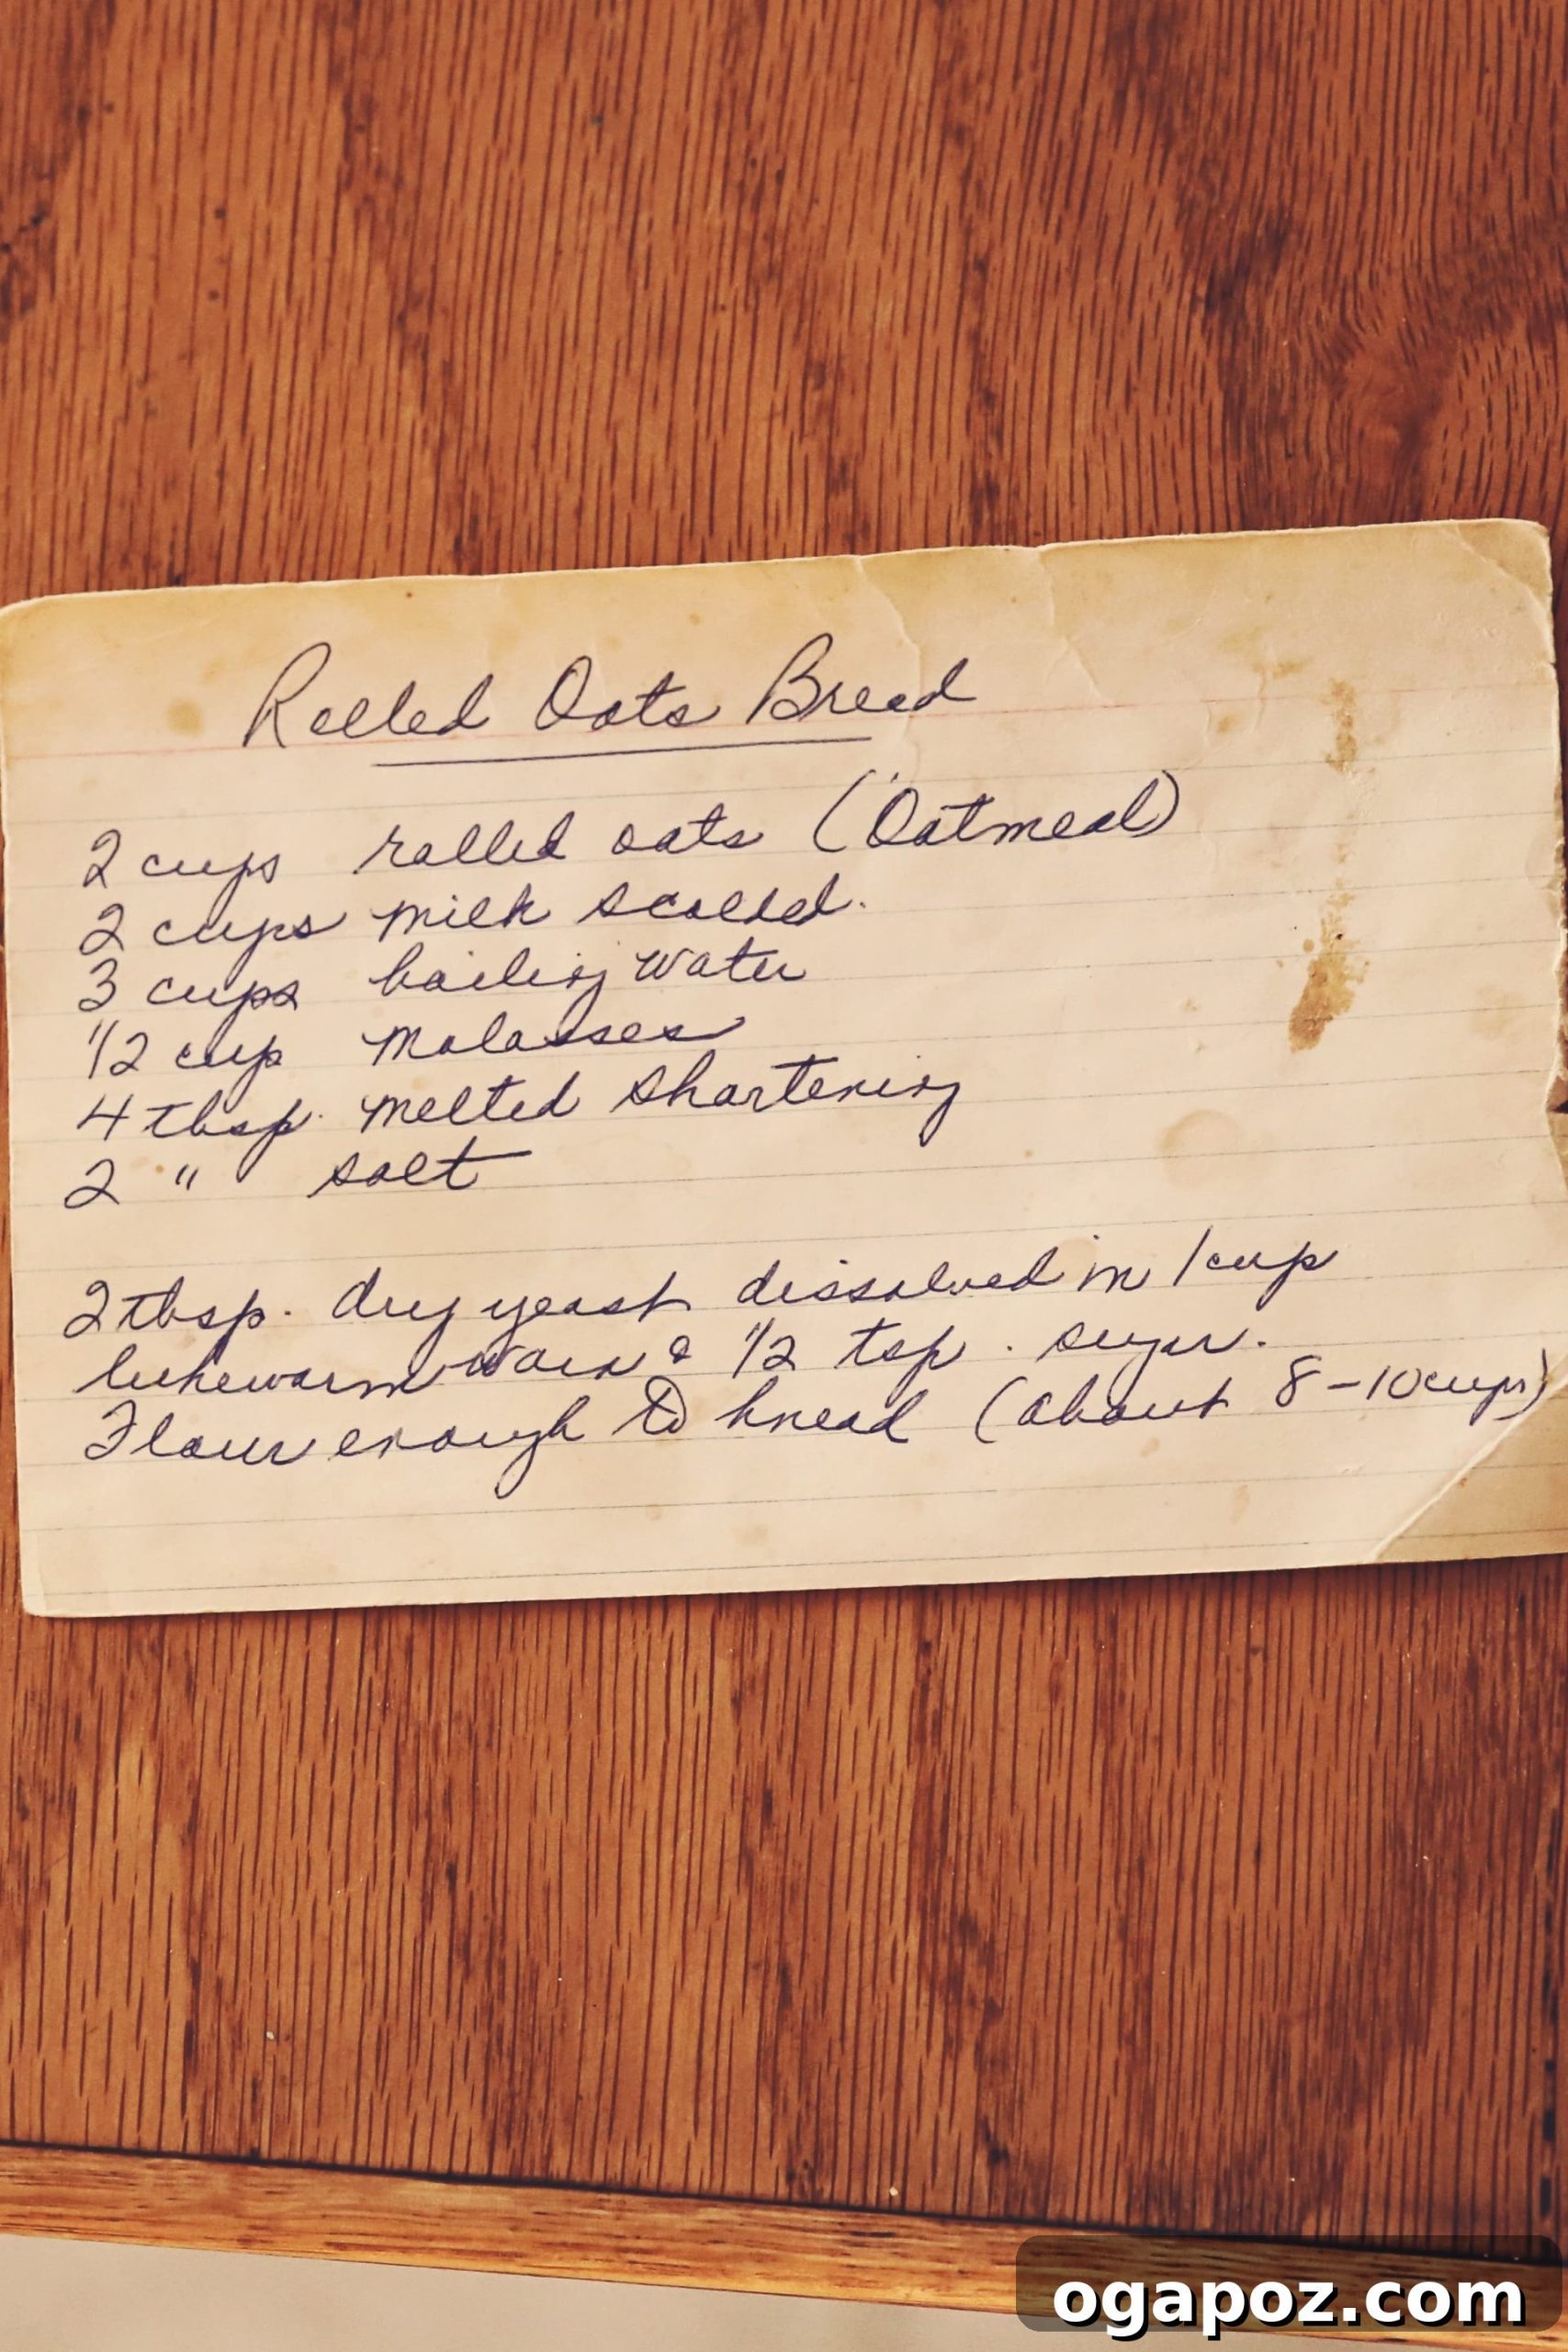
Crafting this delightful and wholesome bread requires a few simple, high-quality ingredients, each playing a crucial role in its unique flavor, texture, and rise. Ensure you have all these components on hand before you begin your rewarding baking adventure.
- 2 cups milk (whole milk or 2% milk is highly recommended for richness and moisture; non-dairy alternatives can be used but may alter the final texture slightly)
- 1/2 cup robust molasses (dark molasses will impart a deeper color and a more intense, complex flavor; avoid blackstrap molasses for this recipe as it can be too bitter)
- 1/4 cup unsalted butter (cut into small pieces for easier and quicker melting into the warm liquid mixture)
- 2 tbsp salt (fine sea salt or kosher salt is recommended for even distribution and flavor; adjust slightly to personal preference but don’t omit entirely as it balances flavors and controls yeast activity)
- 2 cups old-fashioned rolled oats (crucial: use old-fashioned, not quick or instant oats, as these will absorb liquid differently and significantly alter the texture of the bread)
- 2 tbsp active dry yeast (ensure your yeast is fresh and active for a vigorous rise; proofing it in lukewarm water is a good test)
- 1/2 tsp granulated sugar (this provides initial food for the yeast, helping to activate it quickly and effectively)
- 10 cups all-purpose flour (approximate; the exact amount needed can vary depending on factors like humidity, the specific brand of flour, and how well it absorbs liquid, so always keep extra on hand)
Preparation: A Detailed Step-by-Step Guide to Baking Perfect Oatmeal Brown Bread
Follow these detailed steps carefully, paying close attention to temperatures and timings, to achieve a consistently perfect batch of our special Oatmeal Brown Bread. Precision in these stages will lead to the most delicious results.
- Prepare the Oat Infusion: In a medium-sized saucepan, bring 3 cups of water to a rolling boil. Once boiling vigorously, carefully add the milk. Allow the mixture to come back up to a near-boil; you’ll know it’s ready when steam begins to rise visibly and small, delicate bubbles start to form around the edges of the pan. Immediately remove the saucepan from the heat to prevent scorching. Stir in the molasses, pre-cut butter pieces, and salt until the molasses is fully dissolved and the butter has completely melted into the warm liquid. Add the old-fashioned rolled oats and stir well to thoroughly combine all ingredients. Let this mixture stand and cool down until it is only lukewarm to the touch (ideally between 105-115°F or 40-46°C). It is absolutely crucial that this mixture is not too hot, as excessive heat will denature and kill the active yeast in the subsequent step, preventing your bread from rising.
- Activate the Yeast: While the oat mixture is cooling, prepare your yeast. In your largest mixing bowl (you’ll need plenty of room for the dough to expand during its rise), combine the active dry yeast and granulated sugar with 1 cup of lukewarm water (again, aim for a temperature of 105-115°F or 40-46°C). Stir gently with a spoon or whisk until the yeast and sugar are dissolved. Set this mixture aside for about ten minutes. During this time, the yeast should become visibly foamy and bubbly on the surface, indicating that it is active, healthy, and ready to work its magic. If your yeast mixture does not foam or bubble, your yeast may be old or the water temperature was incorrect; in this case, it’s best to discard it and start fresh with new yeast to ensure a successful loaf.
- Combine and Hand-Knead the Dough: Once the oatmeal mixture has cooled to the appropriate lukewarm temperature, pour it into the activated yeast mixture in your large mixing bowl. Beat well with a sturdy wooden spoon, a robust dough whisk, or a heavy-duty spatula to ensure all ingredients are thoroughly combined and evenly distributed. Begin adding the all-purpose flour, one cup at a time, incorporating each addition fully before adding the next. Continue this process until the dough becomes too stiff and difficult to incorporate effectively with the spoon. At this point, turn the shaggy dough out onto a clean, lightly floured counter or a large, dedicated kneading surface. Begin kneading by hand, adding additional flour sparingly, a little at a time, only as needed to prevent sticking, until you achieve a smooth, elastic, and workable ball of dough that is no longer sticky to the touch. Knead continuously and vigorously for approximately 10 minutes to properly develop the gluten structure, which is essential for the bread’s texture. Place the kneaded dough in a lightly oiled bowl, turning once to coat all sides, then cover it securely with a clean tea towel or plastic wrap. Let the dough rise in a warm, draft-free spot (around 75-80°F or 24-27°C) for about an hour, or until it has visibly doubled in size. Once risen, gently “punch down” the dough to release the accumulated gases, then turn it out and divide it into 4 equal pieces, forming each piece into a smooth, round or oblong ball. Cover these individual dough balls and let them rise once again for another hour.
- Prepare for Baking and Oven Process: While your shaped dough is undergoing its crucial second rise, preheat your oven to 350°F (175°C). Line a large baking sheet with parchment paper to prevent sticking, facilitate easy cleanup, and ensure even browning on the bottom of the loaves. For a charming rustic, artisanal appearance, you can lightly dust the dough balls with a little additional flour just before baking. Using a sharp serrated knife or a baker’s lame, make a few strategic 1/2-inch-deep slashes across the top of each dough ball. These slashes, known as “scoring,” serve a dual purpose: they allow the steam to escape in a controlled manner during baking, preventing uncontrolled cracks and promoting even expansion, and they also add an aesthetic appeal, helping the loaves achieve that classic bakery-quality appearance. Bake 1-2 loaves at a time on the lowest rack of your oven, ensuring there’s ample space around each loaf for optimal air circulation and even heat distribution. If you are baking in batches, it’s wise to refrigerate the remaining dough balls in the meantime to slow down their proofing and prevent them from over-rising while they wait for their turn in the oven. Bake for approximately 45 minutes, or until the crust is deeply golden brown and, when tapped firmly on the bottom, the loaf produces a satisfyingly hollow sound, indicating it is thoroughly cooked through. Transfer the baked loaves immediately to a wire rack to cool completely before slicing, a crucial step for optimal texture.
Enjoy the fulfilling process of baking this wonderful Oatmeal Brown Bread, and savor the delicious, comforting results of your labor and love!